Installing PingID integration for Mac login using CLI
Install the PingID integration for Mac login using the command-line interface (CLI).
Before you begin
|
Adding any multi-factor authentication (MFA) is a procedure that carries the risk of being locked out of the machine.
|
To install the PingID integration, you must have:
-
Administrator privileges on the target Mac machine.
-
A copy of the organization’s
pingid.propertiesfile. For instructions on how to download the relevant PingID properties file (with full or restricted permissions), see Managing the PingID properties file.
About this task
Installing the PingID integration from the command line is useful for deploying to multiple machines in batch mode.
To install the PingID Integration for Mac login using the CLI:
Steps
-
On the PingID Downloads page, go to Integrations, and download the PingID package
.pkgfile for Mac login. -
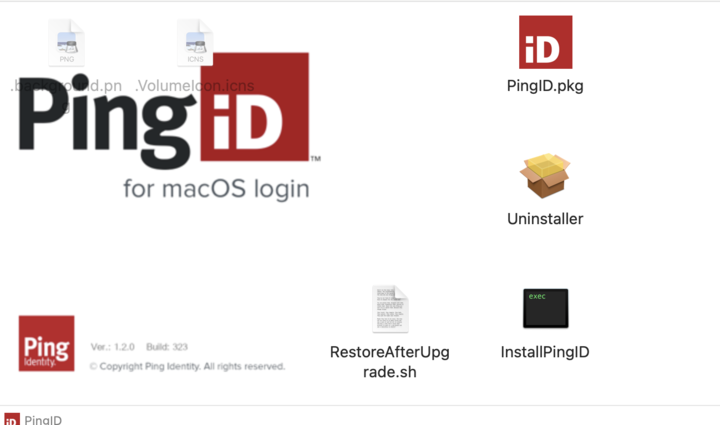
Double-click the PingID-MacOS-Login<version>.dmg file to launch the setup wizard.
Result:
The installer opens.

-
Copy and paste the
PingID.pkgandInstallPingIDfiles to a convenient location. -
Download the PingID properties file to the location in step 3.
-
Open a terminal session and change directory to where you copied the file in step 3.
-
Optional: To see the available CLI help, run the
./InstallPingID --helpcommand. -
Run the installation from a command prompt or create a script containing the required install command.
Choose from:
-
Install using the
pingid.properties file to supply parameter values../InstallPingID --orgSettingsFilePath /Users/admin/Downloads/pingid.properties [optional parameters] -
Install without using the
pingid.propertiesfile. Supply the--orgAlias,--orgKey,--authenticatorAddress,--idpUrl, and--token parametervalues on the command line../InstallPingID --orgAlias <organization alias string> --orgKey <organization key string> --authenticatorAddress <URL of PingID data center> --idpUrl <URL of the server used for PingID API requests> --token <API key identifier> [optional parameters]
-