Setting Global Protect Authentication with the new profile
Add the authentication profile to the Global Protect Portal.
Before you begin
If you have not yet created a Global Protect Portal, see Set Up Access to the GlobalProtect Portal.
Steps
-
Go to Network → Global Protect → Portals, and open the portal you want to modify.
-
On the Authentication tab, choose the SSL/TSL Service Profile for the portal.
-
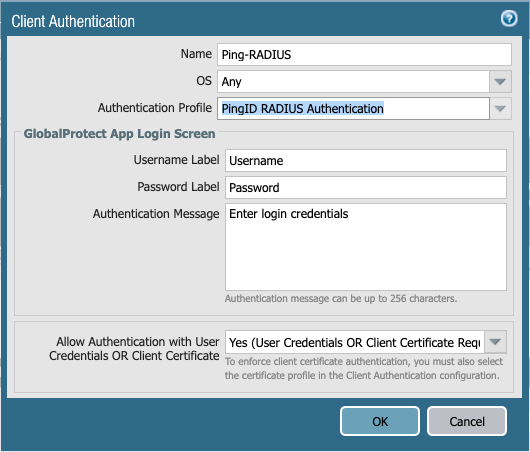
At the bottom left of Client Authentication, click Add.
-
In the Client Authentication window, enter a name in the Name field.
-
From the Authentication Profile list, select the authentication profile that you previously created.
-
Optional: From the Allow Authentication with User Credentials or Client Certificate list, select Yes (User Credentials or Client Certificate Required).
-
Click OK.
-
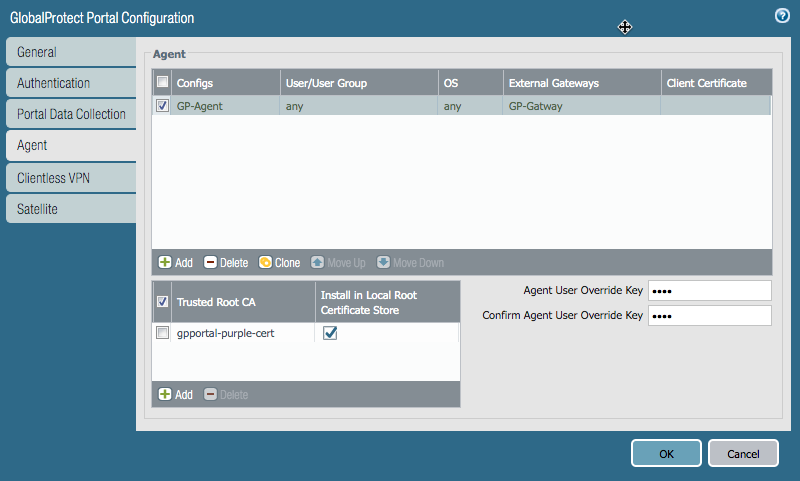
Go to the Agent tab.
-
In the Trusted Root CA section, set the trusted root certificate authority (CA).
-
In the Agent section, click Add.
Result:
The Configs window opens.
-
In the Authentication tab, in the Name field, enter a name.
-
From the Save User Credentials list, select Save Username Only.

-
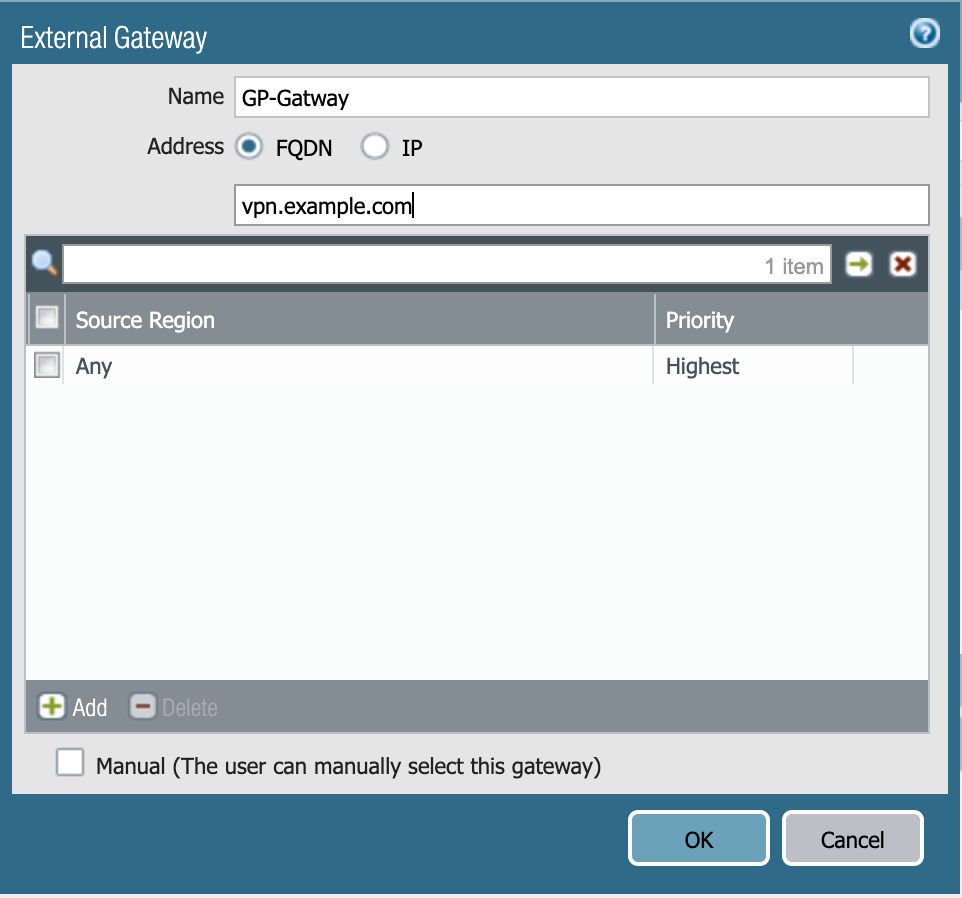
Go to the External tab, and in the External Gateways section, click Add.
-
In the Name field, enter a name for the gateway.
-
In the Address field, enter the fully-qualified domain name (FQDN) or IP for the agent, and select the appropriate check box. Click OK.
-
Go to the App tab and review the App Configurations.
-
Make any necessary changes, and then click OK.
Next steps
Ensure that the Gateway is configured. For more information, see Configure a GlobalProtect Gateway.