Task 1: Get access to your tenant
This task guides you through the process of accessing your Advanced Identity Cloud tenant, either as the initial super administrator for your organization or as an administrator invited by a super administrator.
Register as the first super administrator
After your organization purchases Advanced Identity Cloud and requests a tenant, Ping Identity prepares the tenant for initial use. It then sends a registration email to the person designated as the super administrator in your organization. You’ll receive a separate email for each tenant environment.
To register as the first super administrator:
-
In the registration email from Ping Identity, click Start Registration.
-
On the Welcome to PingOne Advanced Identity Cloud page, click Send Verification Code.
-
Check your email for a message from Ping Identity containing your one-time verification code.
-
On the Admin Invite Code page, enter your 6-digit verification code, and click Next.
-
On the Register Your Account page, enter your first name, last name, and a password, then click Next.
-
Choose a country of residency, accept Ping Identity’s privacy policy, and click Next.
-
Click Set Up and follow the instructions to register an MFA method to protect your account.
When setting up MFA, store your recovery codes in a safe place. -
Authenticate with your chosen MFA method.
After successful authentication, you’re signed on to the Advanced Identity Cloud admin console as a super administrator.
| If you haven’t received a registration email, contact your Ping Identity representative. |
Invite other administrators
Only super administrators can invite other administrators.
Choose one of the following:
-
To give administrator access to a group of administrators in another identity provider (IdP), set up federated access. Learn more in Configure federated access for tenant administrators.
-
To invite other administrators manually:
-
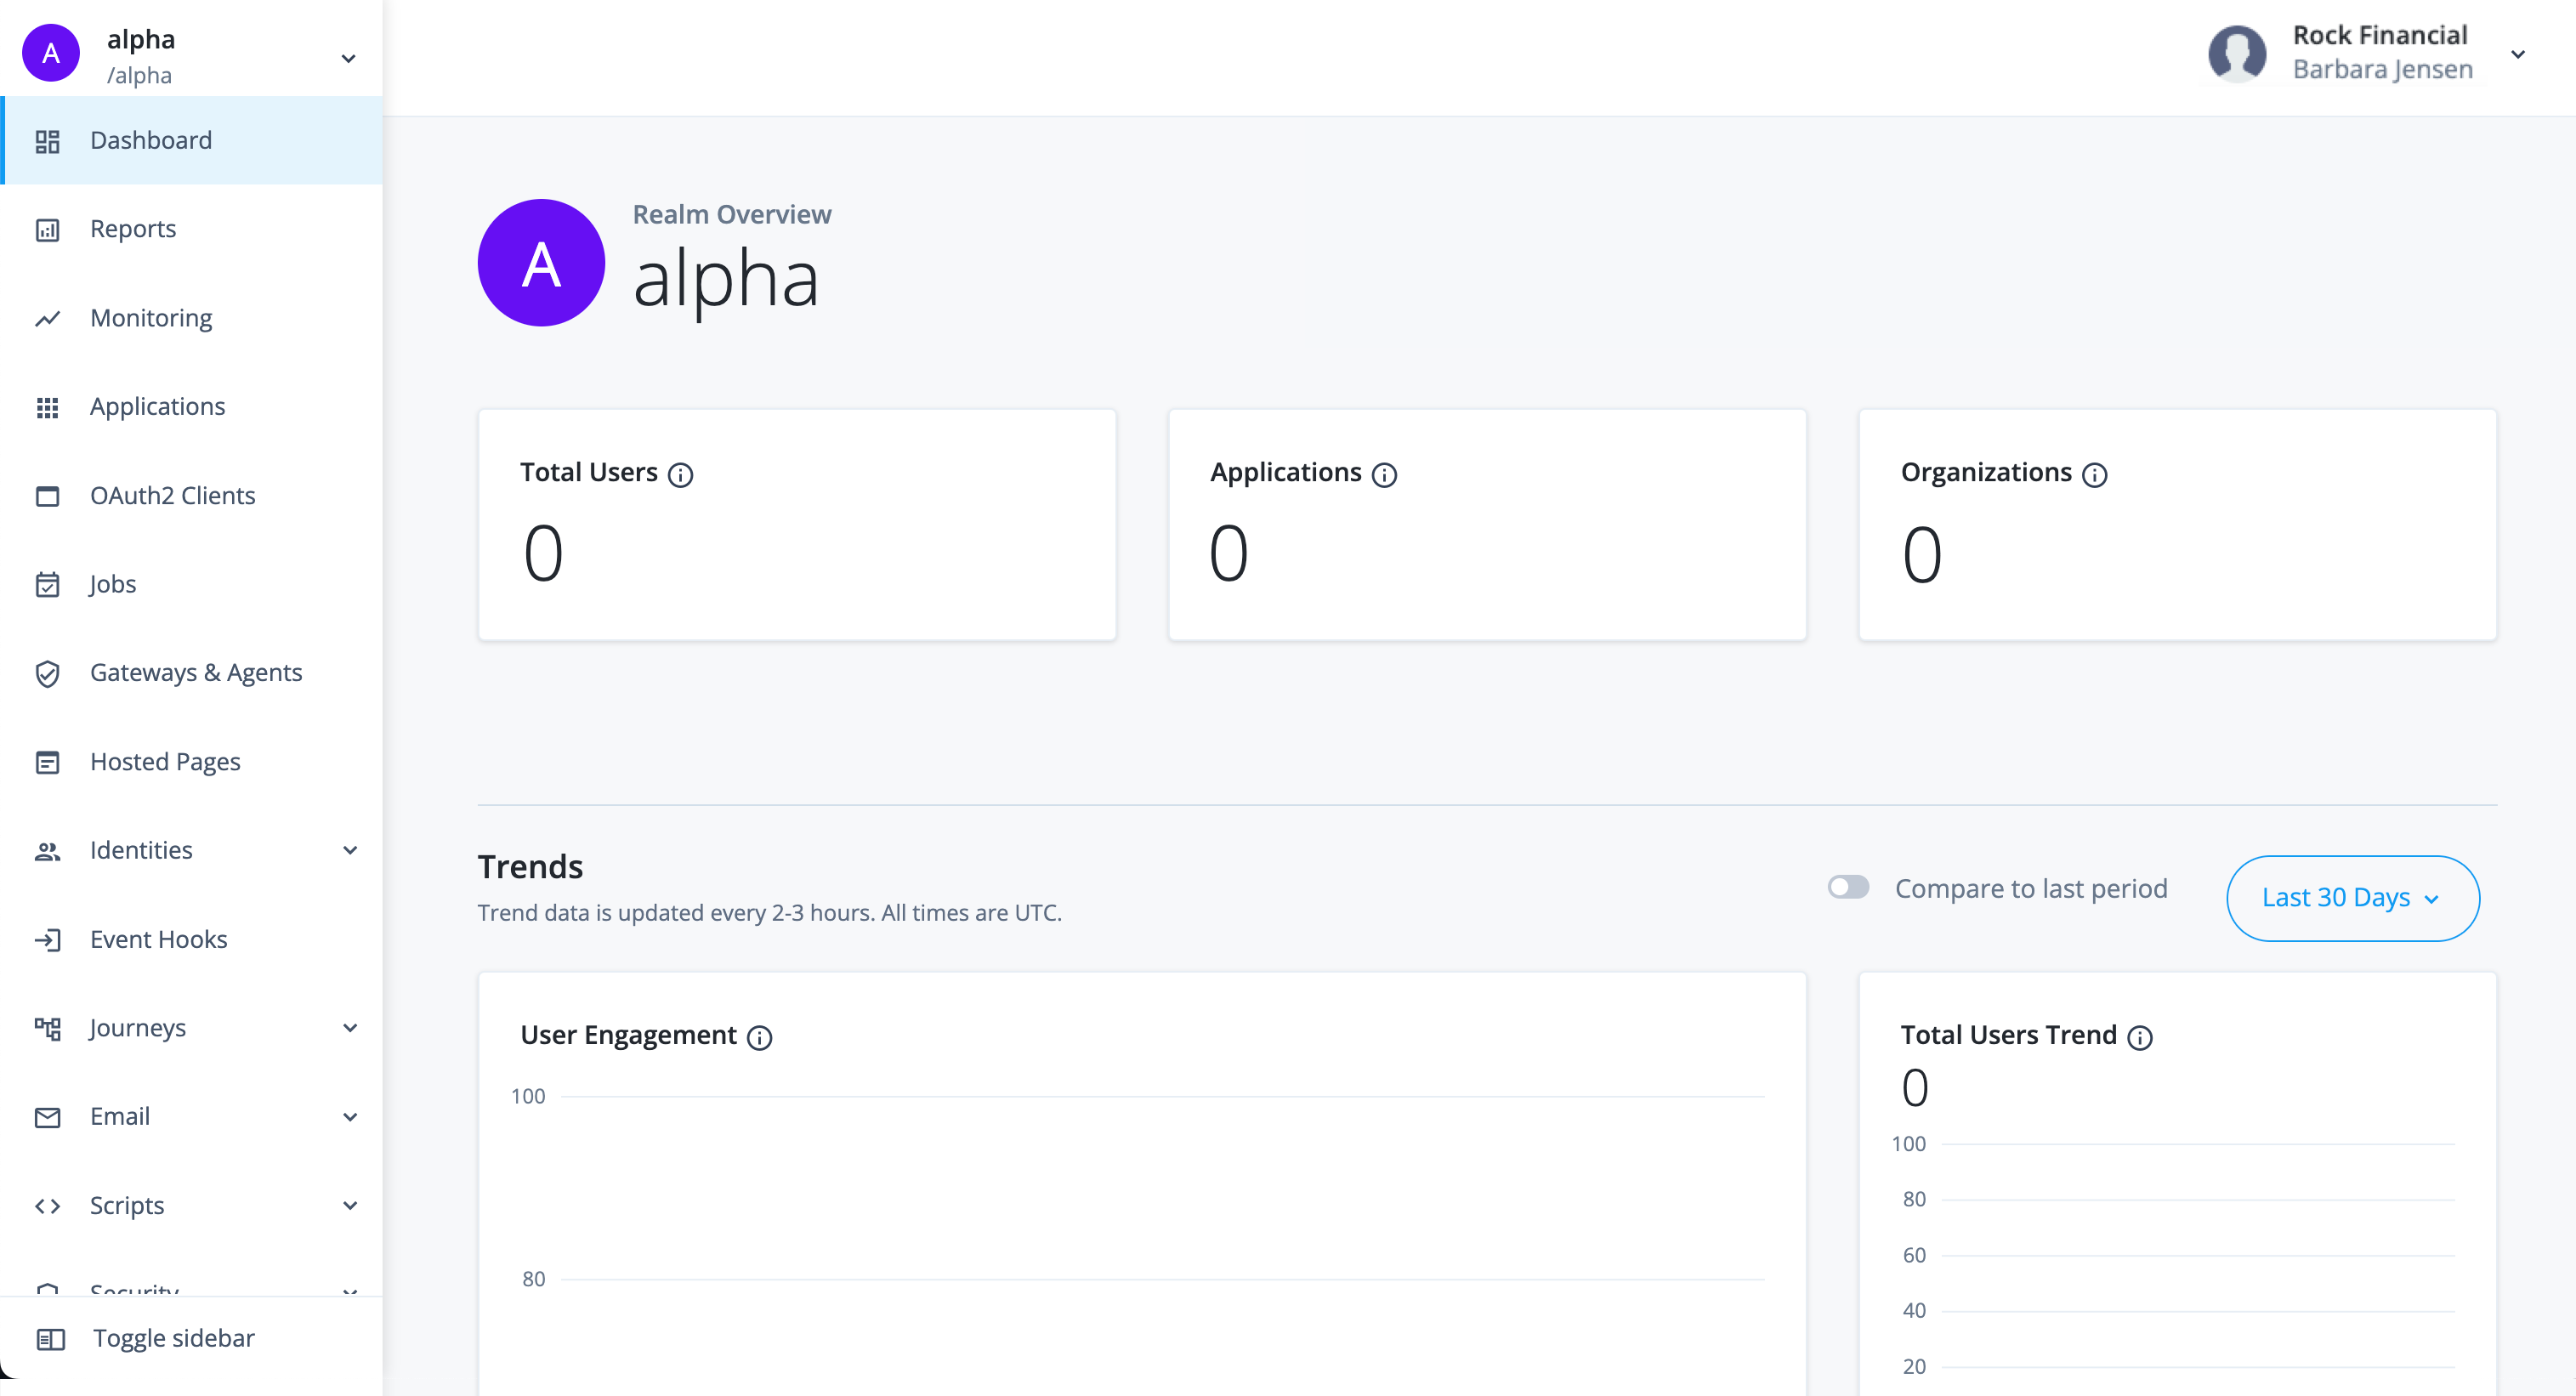
In the Advanced Identity Cloud admin console, open the Tenant menu (upper right).
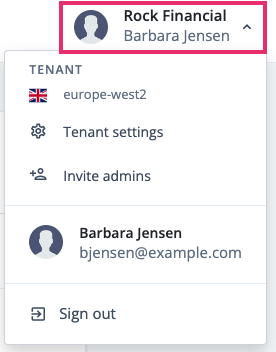
-
Click Invite admins.
-
In the Invite Admins modal, enter the email addresses of the people you want to invite.
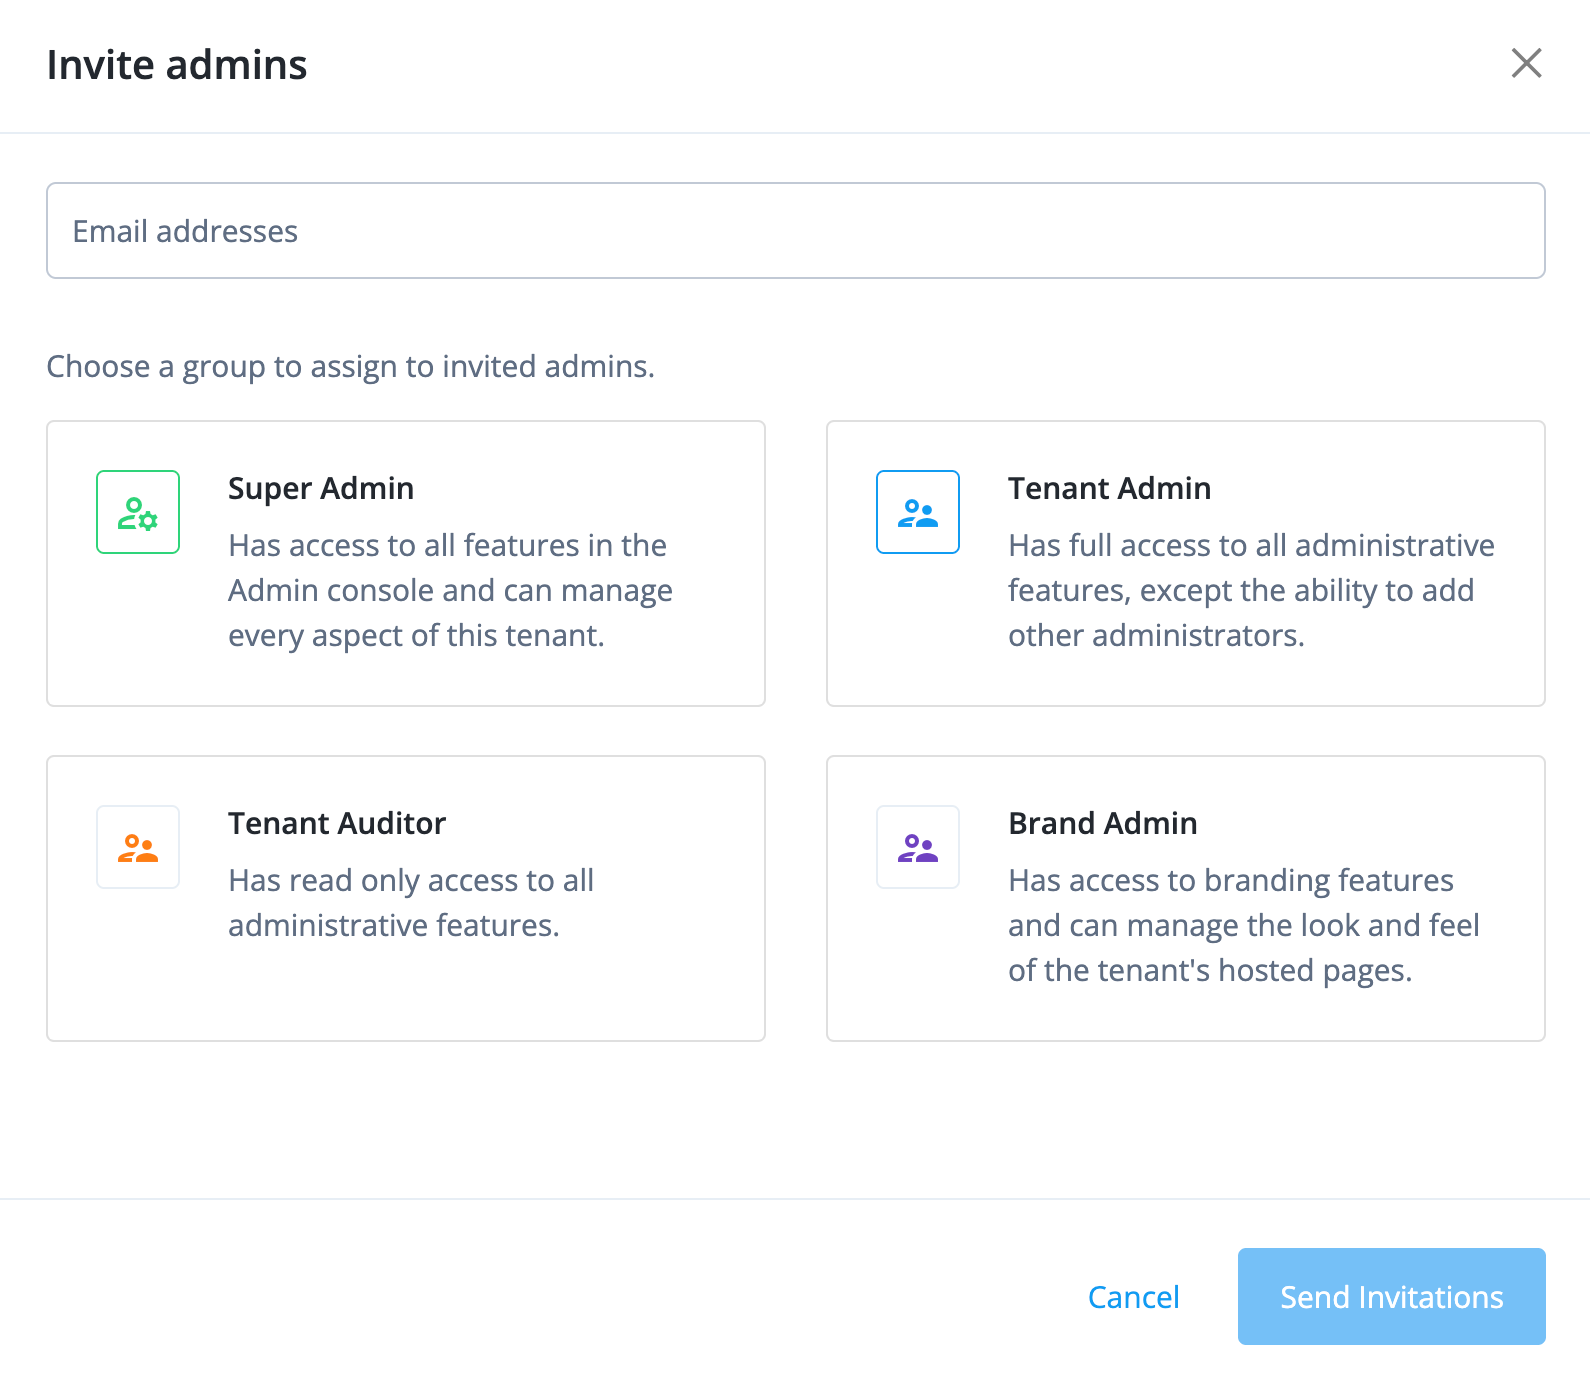
-
Select the administrator role to grant them either Super Admin or Tenant Admin access.
-
Click Send Invitations.
Advanced Identity Cloud sends an email to each address, containing instructions to set up an administrator account.
-
Click Done to return to the tenant administrators list.
-
Register as an invited administrator
If you’ve been invited as a tenant administrator, you’ll receive an email with the subject Complete your Ping Identity Advanced Identity Cloud registration.
-
In the registration email, click Start Registration.
-
On the Welcome to PingOne Advanced Identity Cloud page, click Send Verification Code.
-
Check your email for a message from Ping Identity containing your one-time verification code.
-
On the Admin Invite Code page, enter your 6-digit verification code and click Next.
-
On the Register Your Account page, enter your first name, last name, and a password, then click Next.
-
Choose a country of residency, accept Ping Identity’s privacy policy, and click Next.
-
Click Set Up and follow the instructions to register a multi-factor authentication (MFA) method to protect your account.
When setting up MFA, store your recovery codes in a safe place. -
Authenticate with your chosen MFA method.
After successful authentication, you’re signed on to the Advanced Identity Cloud admin console as an administrator.
| When you first sign on, your username defaults to your email address. You can edit your profile settings, including your username, from the TENANT menu (upper right). Learn more in Edit your own tenant administrator profile. |
Sign on as an administrator
After you’ve registered, use these steps any time to sign on to the Advanced Identity Cloud admin console.
-
In a supported web browser, go to the following URL:
https://<tenant-env-fqdn>/login/adminFor example, if your tenant environment FQDN is
openam-mycompany-ew2.id.forgerock.io, use the URLhttps://openam-mycompany-ew2.id.forgerock.io/login/admin. -
Enter your email address and password.
-
Click Next.
-
Authenticate with your chosen MFA method.
After successful authentication, you’re signed on to the Advanced Identity Cloud admin console.