Troubleshooting access requests
This section provides troubleshooting tips for common access request issues. More tips will be added here as they become available.
Assign access privileges to identities
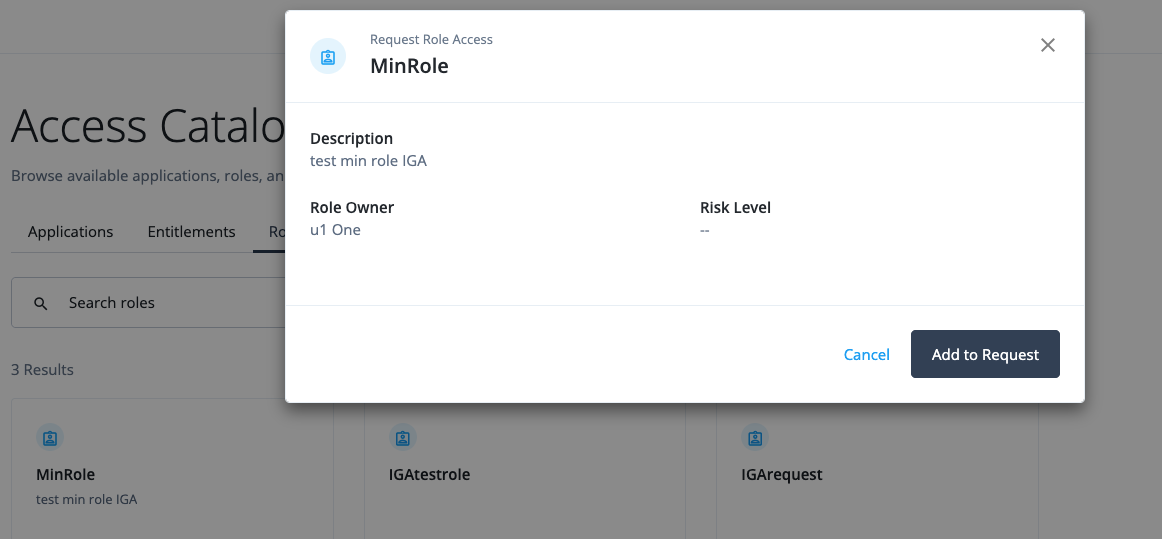
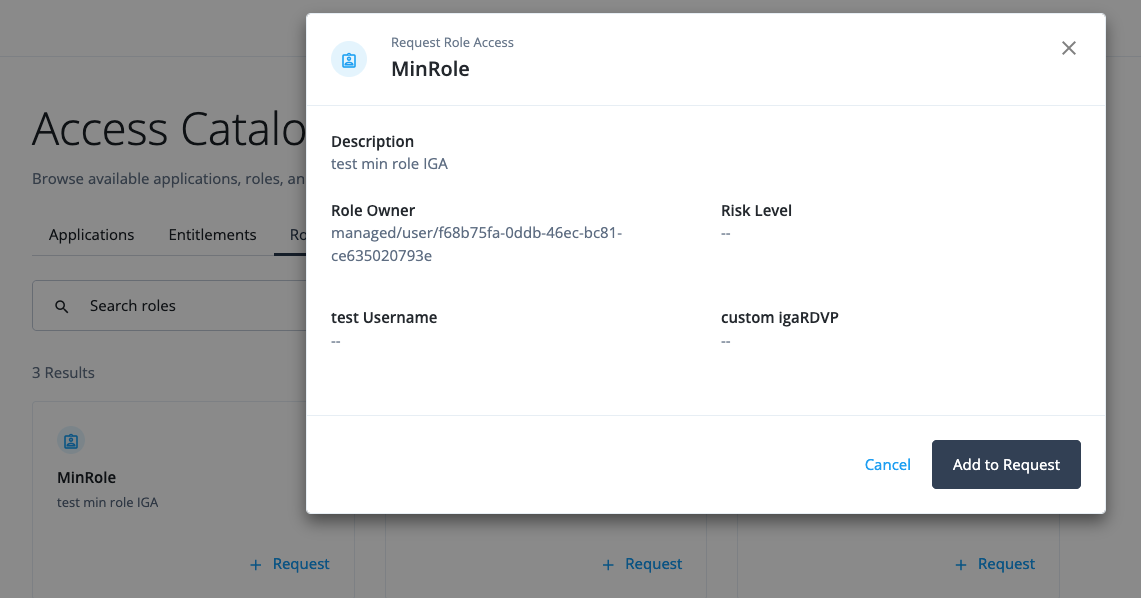
Identity Governance requires end users to have permissions through an internal role to access an identity. For example, if an end user submits a role access request but lacks the required privileges, the role owner attribute displays a universally unique identifier (UUID) instead of the role owner’s name. This occurs because the end user doesn’t have read access to the identity. The solution is to create an internal role with the read privileges to the identity and assign the internal role to the end user.
To create an internal role and assign it to the end user:
-
In the Advanced Identity Cloud admin console, select Identities > Manage > Internal Roles.
-
Click New Internal Role.
-
In the New Internal role modal, enter the following and click Next:
-
Name: Enter a name for the internal role.
-
Description (optional): Add a description for the internal role.
-
-
In the Internal role Permissions modal, select Alpha realm - Users managed/alpha_user and click Next.
-
In the Dynamic Internal role Assignment modal, click Next.
-
In the Time Constraint modal, click Save.
-
On your internal role page, select Privileges > Add Privileges.
-
In the Add Privileges modal, select Alpha realm - Users managed/alpha_user and click Add.
-
Click Show advanced.
-
In the Attribute Permissions section, select set all attributes and select None to set all permissions to
None. -
Click Read for the following attributes:
-
userName
-
givenName
-
sn
If you are granting privileges for the
Alpha Realm - RolesorAlpha Realm - Organizationsidentity, setReadaccess for thenameattribute instead of theuserName,givenName, andsnattributes.
-
-
Click Save.
-
-
On the internal role page, select Members > Add Members.
-
In the Add Members modal, select the end user and click Save.
-
-
When the end user enters an access request for a role, they see the role owner information: