Replace lost second-factor authentication devices
Estimated time to complete: 15 minutes.
In this use case, you create a journey in PingOne Advanced Identity Cloud that lets end users recover from a lost or stolen second-factor authentication device.
The journey uses the WebAuthn nodes for the FIDO2 standard to allow end users to authenticate with a recovery code instead of their missing device. After authentication, they’re guided through the process of creating a new passkey for their replacement device. The end user can then remove the old device from their profile.
Goals
After completing this use case, you’ll know how to do the following:
-
Create a journey that includes WebAuthn nodes for FIDO2-enabled device registration and authentication.
-
Authenticate end users if their registered device is lost or stolen.
Before you begin
Before you start work on this use case, make sure you meet the following prerequisites:
-
A basic understanding of journeys.
-
Access to your Advanced Identity Cloud development environment as a tenant administrator.
-
An end user in Advanced Identity Cloud to test the journey. Make sure this user doesn’t have any devices registered on their profile.
-
Two FIDO2-enabled devices to simulate the lost device scenario. A FIDO2-enabled device is a hardware authenticator that lets end users sign on without a password by using public key cryptography. It can be a built-in platform authenticator (for example, Windows Hello or Apple Touch ID) or an external security key (for example, a YubiKey).
-
A WebAuthn-compatible browser (such as Google Chrome, Mozilla Firefox, Microsoft Edge, or Apple Safari) on the devices you’ll use for testing. Learn more in MFA: Authenticate using a device with WebAuthn and passkeys.
Tasks
Task 1: Create the journey
-
Sign on to the Advanced Identity Cloud admin console as a tenant administrator.
-
In the Advanced Identity Cloud admin console, click Journeys > Journeys.
-
Click Add Journey, select Start from scratch, and then click Next.
-
Enter at least the following and click Save:
Field Value Name
Device recoveryIdentity Object
managed/alpha_userDescription
Device recovery journey to replace lost second-factor authentication devices. -
Click Save.
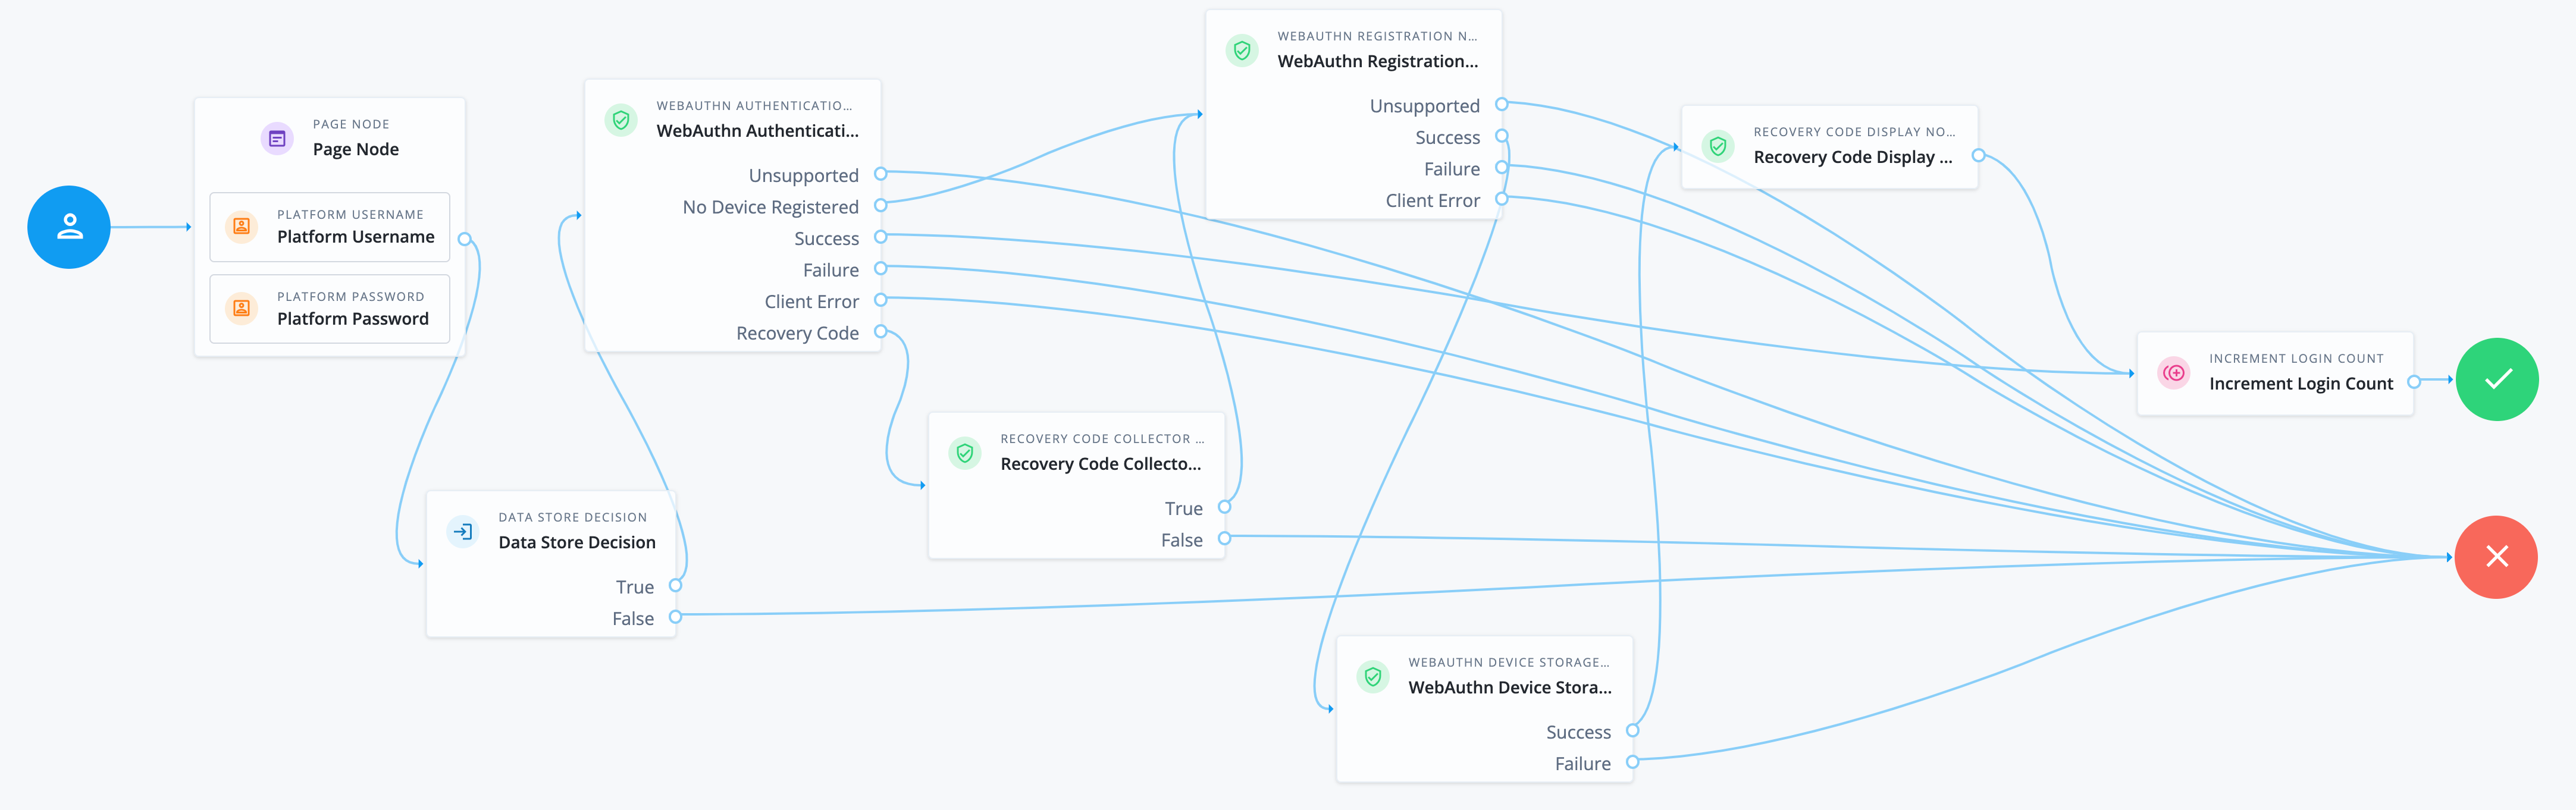
The journey editor opens displaying the journey canvas.
-
Search for and drag the following nodes onto the canvas:
-
Page node containing:
-
Platform Username node
-
Platform Password node
-
-
Data Store Decision node
-
WebAuthn Authentication node
-
Recovery Code Collector Decision node
-
WebAuthn Registration node
-
WebAuthn Device Storage node
-
Recovery Code Display node
-
Increment Login Count node
-
-
Connect the nodes, clicking Save from time to time to keep your work:
Source node Outcome path Target node Start (person icon)
→
Page node
Page node containing:
-
Platform Username node
-
Platform Password node
Data Store Decision node
TrueWebAuthn Authentication node
FalseFailure node
UnsupportedFailure node
No Device RegisteredWebAuthn Registration node
SuccessIncrement Login Count node
Client ErrorFailure node
Recovery CodeThis outcome is available only if you enable recovery codes in the WebAuthn Authentication node. Recovery Code Collector Decision node
TrueWebAuthn Registration node
FalseFailure node
UnsupportedFailure node
SuccessWebAuthn Device Storage node
FailureFailure node
Client ErrorFailure node
SuccessRecovery Code Display node
FailureFailure node
→
Increment Login Count node
→
Success node
-
Task 2: Configure the journey
In this task, you’ll configure the journey you created in the previous task.
-
Configure the WebAuthn Authentication node to allow recovery codes:
-
Click the WebAuthn Authentication node.
-
In the node configuration, select the Allow recovery codes checkbox and click Save. This enables the
Recovery Codeoutcome. -
Connect the
Recovery Codeoutcome to the Recovery Code Collector Decision node.
-
-
Configure the Recovery Code Collector Decision node to use WebAuthn recovery codes:
-
Click the Recovery Code Collector Decision node.
-
In the Recovery Code Type list, select
WEB_AUTHNand click Save. This tells the node to validate recovery codes specifically generated for WebAuthn.
-
-
Configure the WebAuthn Registration node to store device data in a transient state:
-
Click the WebAuthn Registration node.
-
Select the Store device data in a transient state checkbox. This passes the registration data to the WebAuthn Device Storage node, which handles the saving of the device to the user profile.
-
-
Click Save to save the journey.
Validation
Now that you’ve created and configured the journey, you’re ready to validate the end-to-end flow.
The validation process has two parts:
-
Register a FIDO2-enabled device and store the recovery codes
-
Use a recovery code to sign on to Advanced Identity Cloud and register a different FIDO2-enabled device
Steps
| The steps may differ slightly depending on your browser type. The example uses Google Chrome. |
Register a FIDO2-enabled device and store the recovery codes
As a tenant administrator:
-
Sign on to the Advanced Identity Cloud admin console.
-
Go to Journeys > Journeys and click
Device recovery. -
In the Preview URL field, click to copy the journey’s URL.
-
Paste the URL somewhere accessible for the next steps.
As an end user:
-
Access your first FIDO2-enabled device, for example, a laptop with built-in fingerprint reader.
-
In a browser, paste the URL from the previous steps.
If you’re using the same device as the tenant administrator, use an incognito browser window. You’re prompted to enter a set of end-user credentials.
-
Enter the username and password of the end user you set up in the prerequisites section and click Next.
-
Choose where to save your passkey for the device. For example,
This deviceorYour Chrome profile. -
Click Continue.
-
Follow the browser prompts to create your passkey.
-
On the Device sign-in is enabled page, copy or download the recovery codes and store them securely.
The codes won’t be shown again, so it’s important to save them now. 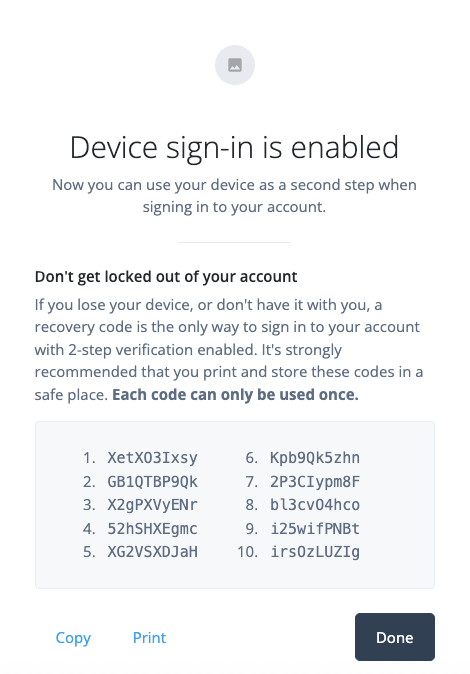
-
Click Done.
After the device is registered, you’re signed on to the hosted account pages as the end user.
-
Click Profile on the left menu pane to display the end user’s profile information.
In the Sign-in & Security section, 2-Step Verification should be
On. This indicates that a device is registered.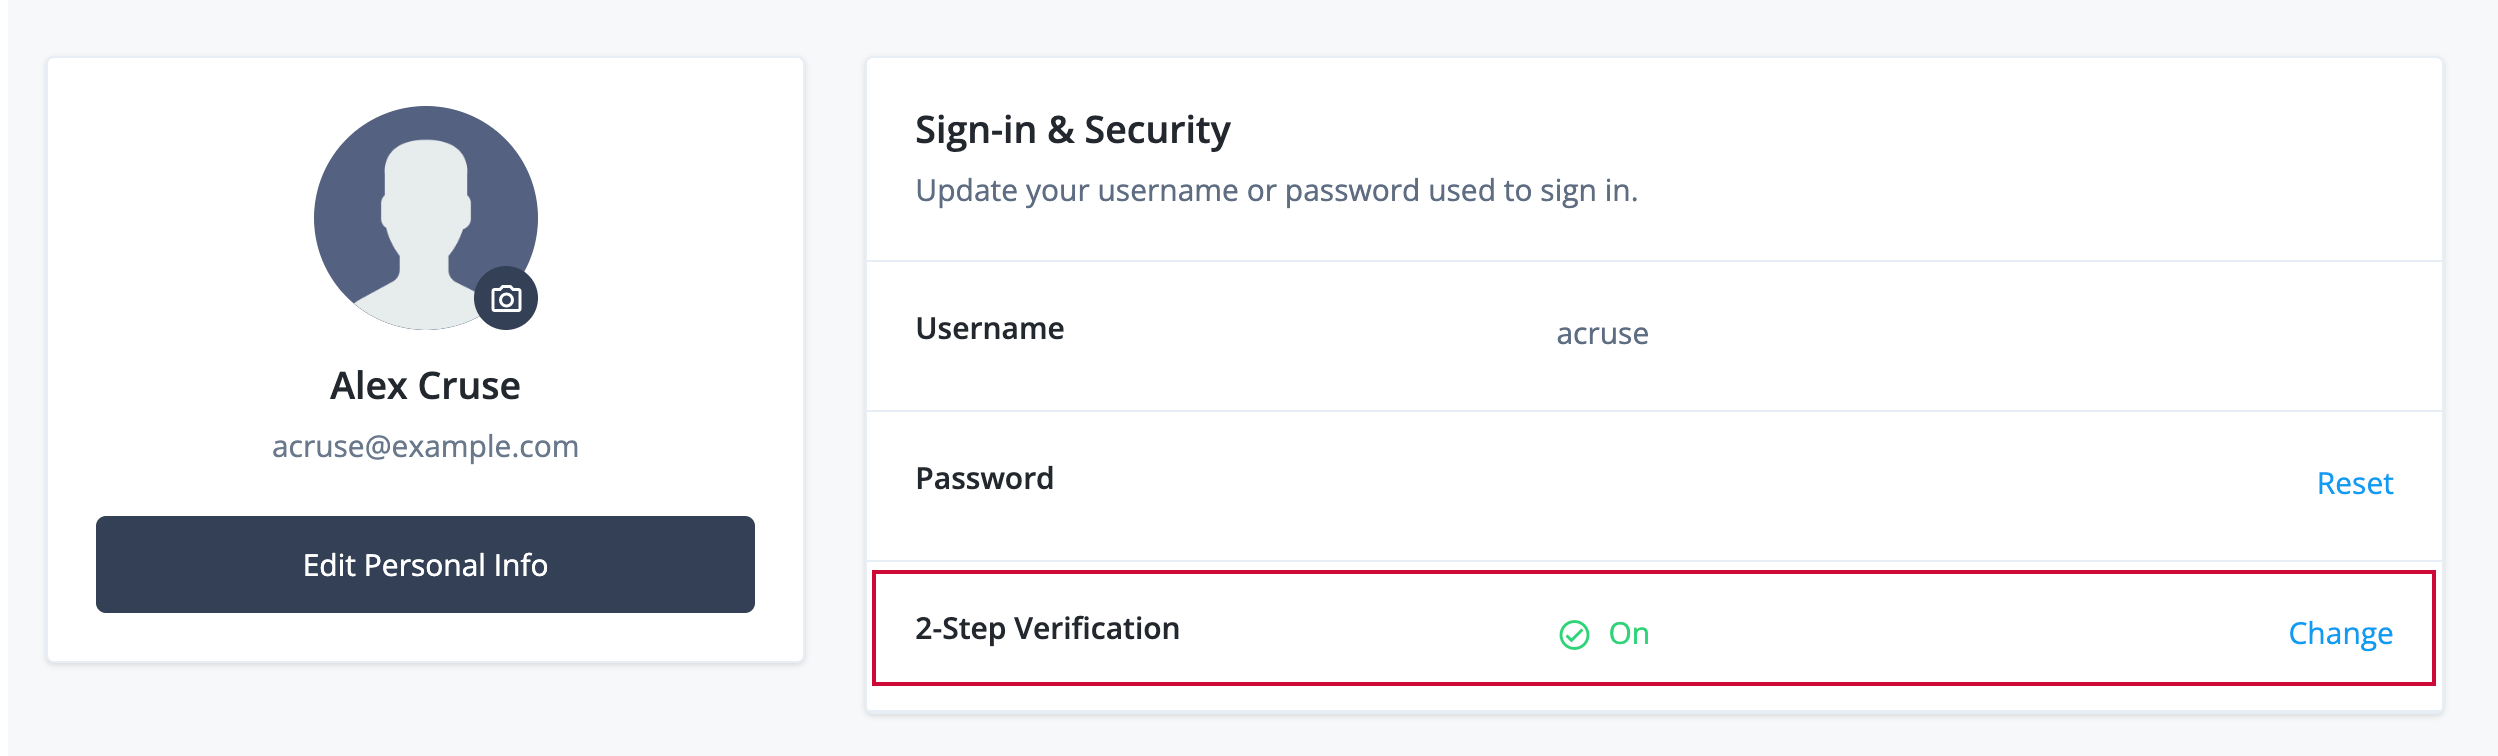
-
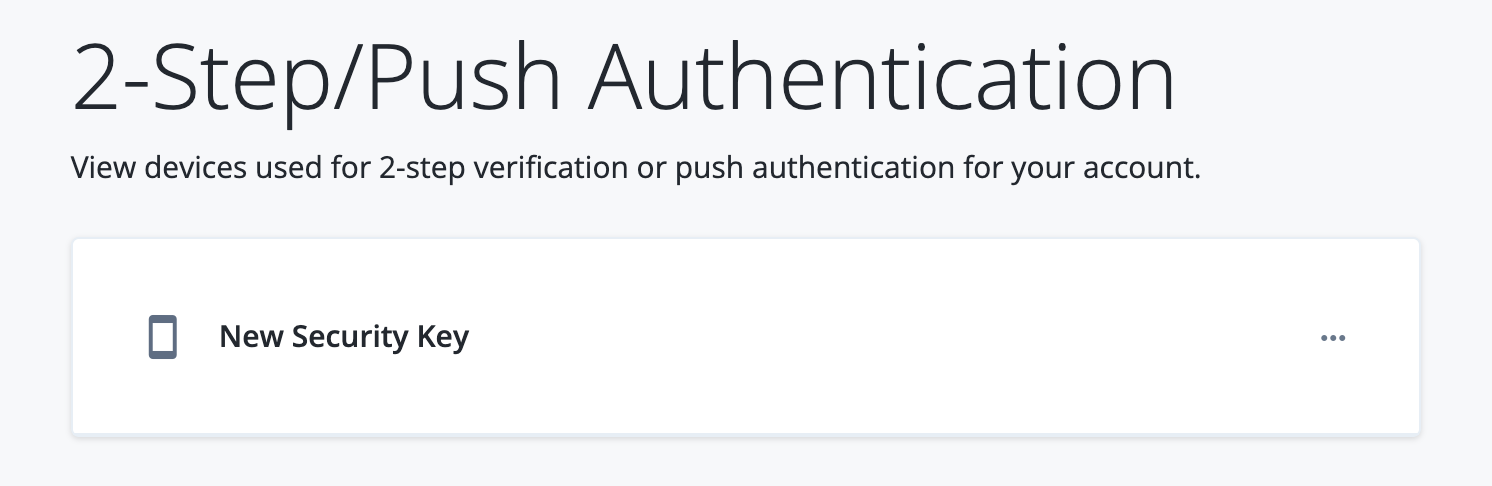
Click Change next to 2-Step Verification to view the registered device.
-
Rename the registered device to something recognizable:
-
Next to New Security Key, click > Edit Name.
-
Enter a new name for the device. For example,
Alex’s laptop.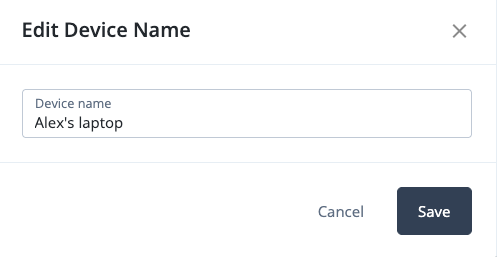
-
Click Save.
-
-
Sign out of the hosted account pages.
Use a recovery code to register a new FIDO2-enabled device
As an end user:
-
Access your second FIDO2-enabled device, for example, a mobile phone or a laptop using a portable hardware security key.
-
In a browser, paste the journey URL you copied earlier.
-
Enter the username and password of the end user you set up in the prerequisites section and click Next.
-
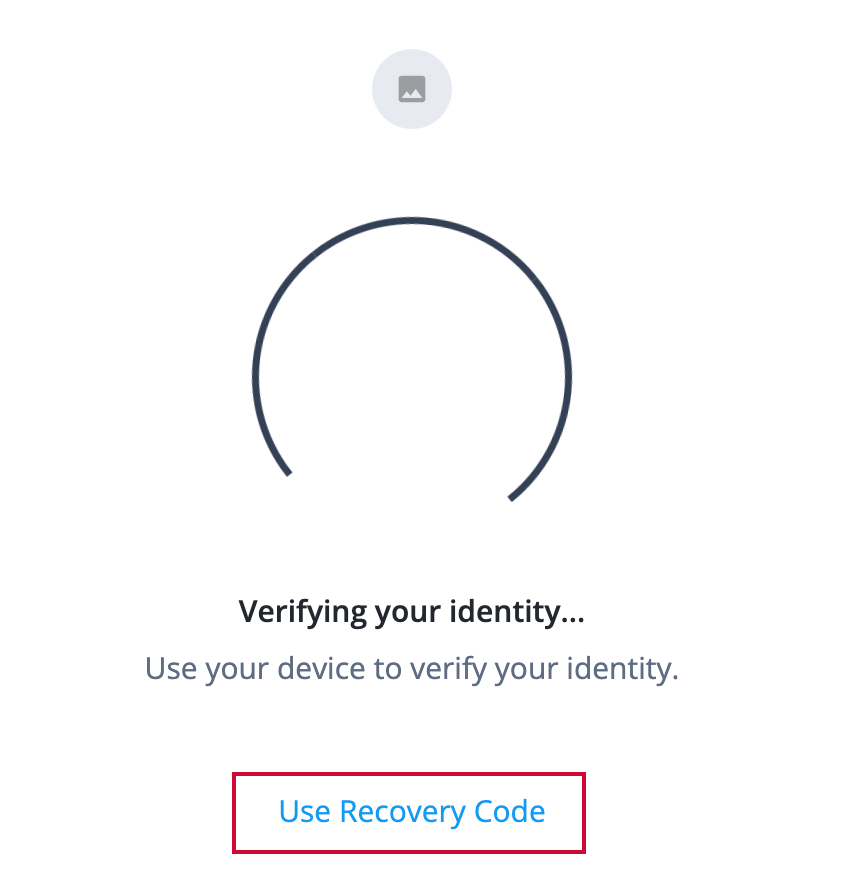
Click Use Recovery Code.
-
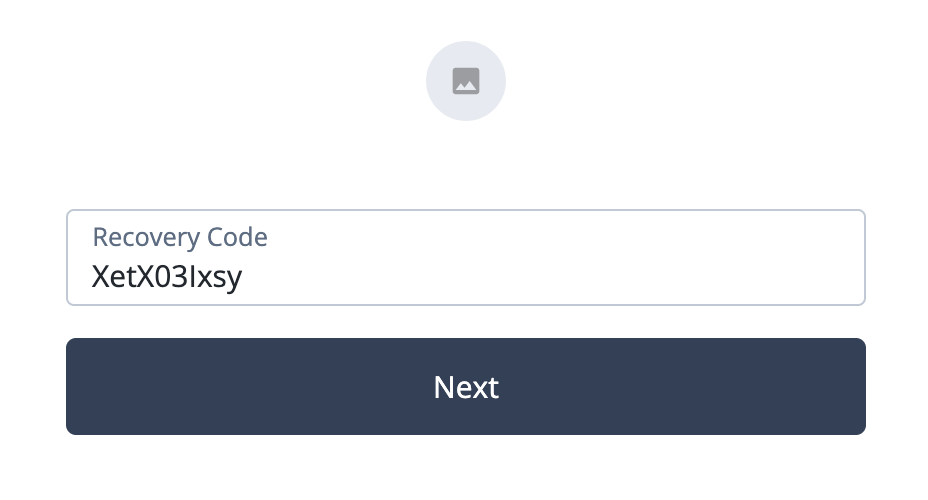
Enter one of the recovery codes you saved in the previous steps and click Next.
-
Choose where to save your passkey for the new device and click Continue.
-
Follow the browser prompts to create a new passkey.
-
On the Device sign-in is enabled page, copy or download the recovery codes for the new device and store them securely.
The codes won’t be shown again, so it’s important to save them now. After the device is registered, you’re signed on to the end user’s hosted account pages.
-
Click Profile on the left menu pane to display the end user’s profile information.
-
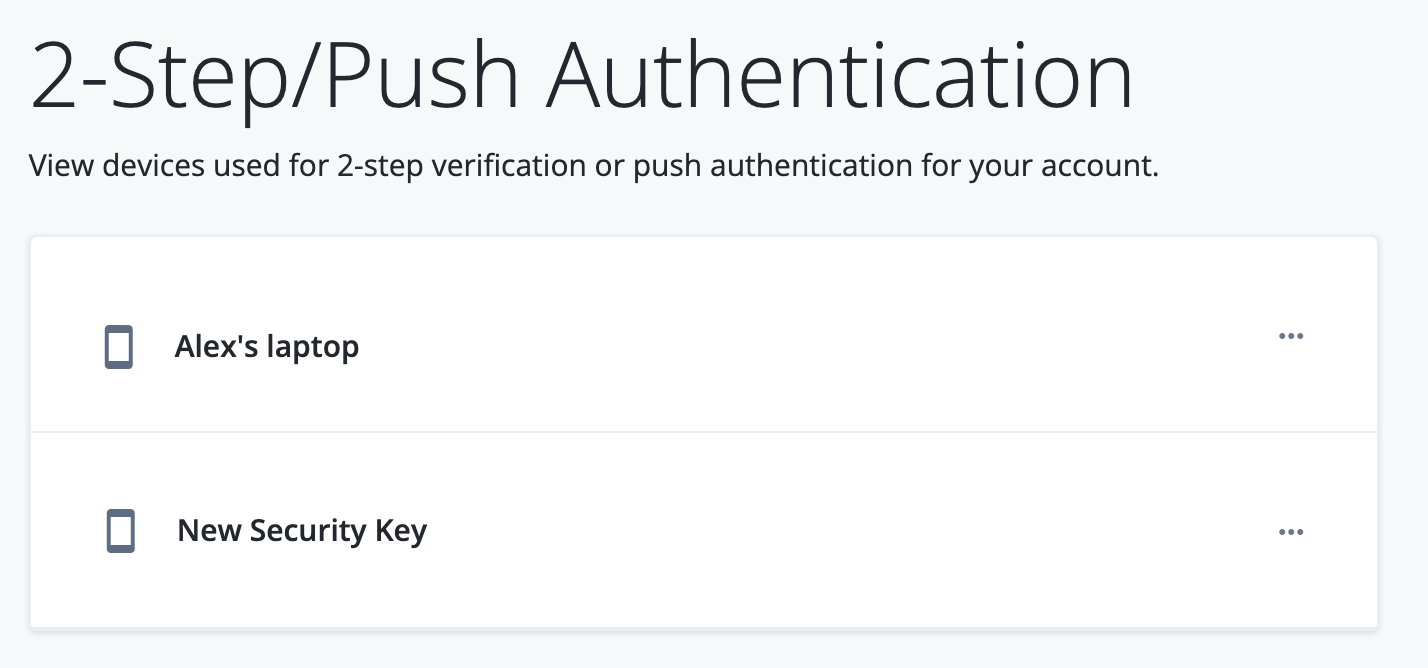
Click Change next to 2-Step Verification.
There are now two devices registered for the account.
-
Rename the new registered device to something recognizable:
-
Next to New Security Key, click > Edit Name
-
Enter a new name. For example,
Alex’s new laptop. -
Click Save.
-
-
Remove the old device from the end user’s profile:
-
Click Change next to 2-Step Verification.
-
For the old device, click > Delete.
-
Confirm the removal by clicking Delete device.
-
-
Sign out of the Advanced Identity Cloud end-user UI.
Troubleshooting
If you encounter issues during validation, consider the following:
-
If you can’t sign on using a recovery code, make sure the code is valid and hasn’t already been used.
-
If you can’t register a new device, make sure your browser supports WebAuthn and that you’re following the browser prompts correctly.