Access authorization
Before you can delegate user and entitlement management to designated end users, you must configure access authorization using scopes. Access authorization defines what actions a delegated administrator can perform and on which set of users.
Configure authorization using scopes
Scope permissions grant a specific subset of permissions for user management.
Permissions for user management are as follows:
| Permission | Description |
|---|---|
Create User |
Allows the end user to create new users in the system. This global permission overrides a scope’s target conditions. For example, even if a scope is set to target only contractor users, a person with this permission can create any type of user, not just contractors. |
Modify User |
Allows the end user to modify the users matching the filter. |
Delete User |
Allows the end user to delete the users matching the filter. |
View Grants |
Allows the user to view the access of the matching users, for example, applications, entitlements, and roles. |
Add scopes and assign to users
-
Sign on to the Advanced Identity Cloud admin console as a tenant administrator.
-
Go to Governance > Scopes.
-
Click New Scopes.
-
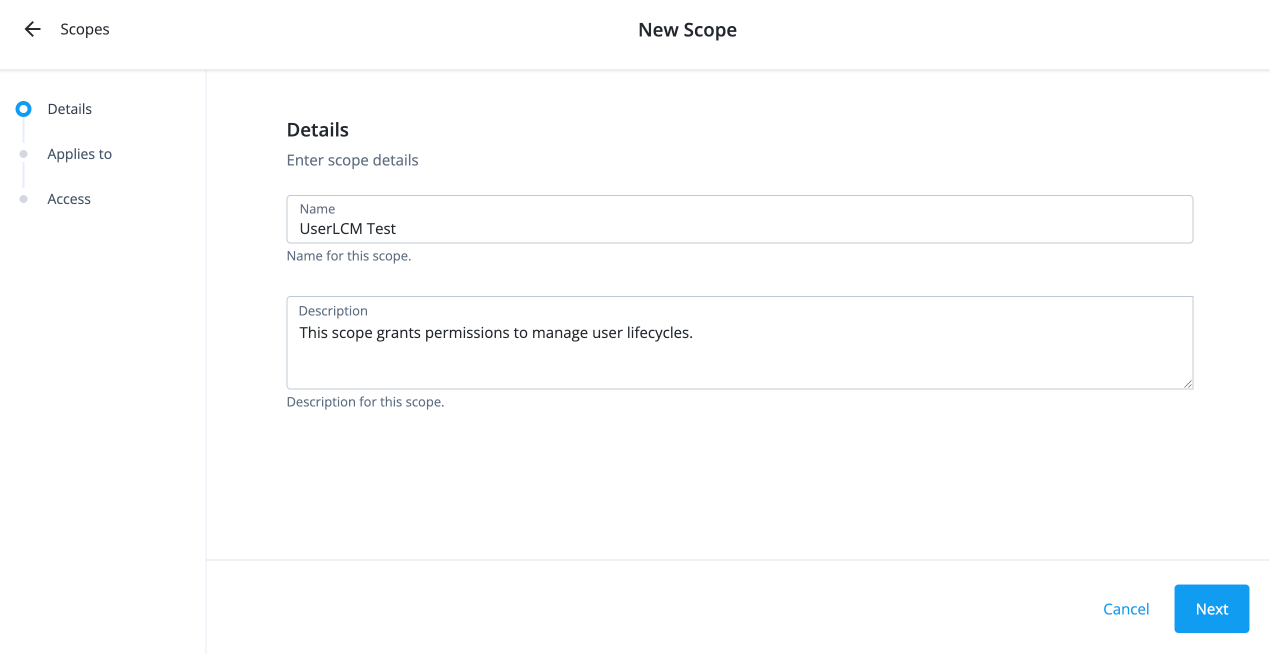
On the New Scope page, enter the following in the Details section:
-
Name: Enter the name for the scope.
-
Description: Enter a description for the scope.
-
Click Next.
-
-
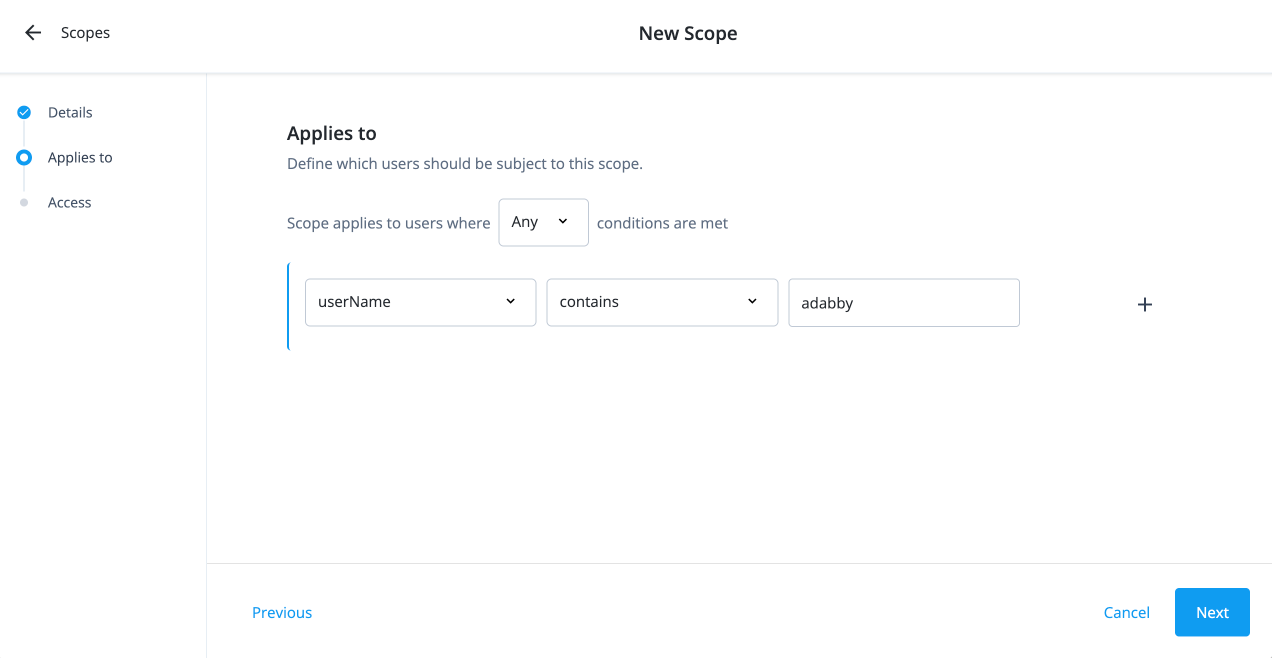
On the Applies to page, define which users should be subject to this scope.
-
Select if the All or Any condition must be met.
-
Select a property for this scoping rule. For example, select userName.
-
Select an operator for the scoping rule. For example, select contains.
-
If you want to add another rule, click and repeat the steps.
-
Click Next.
-
-
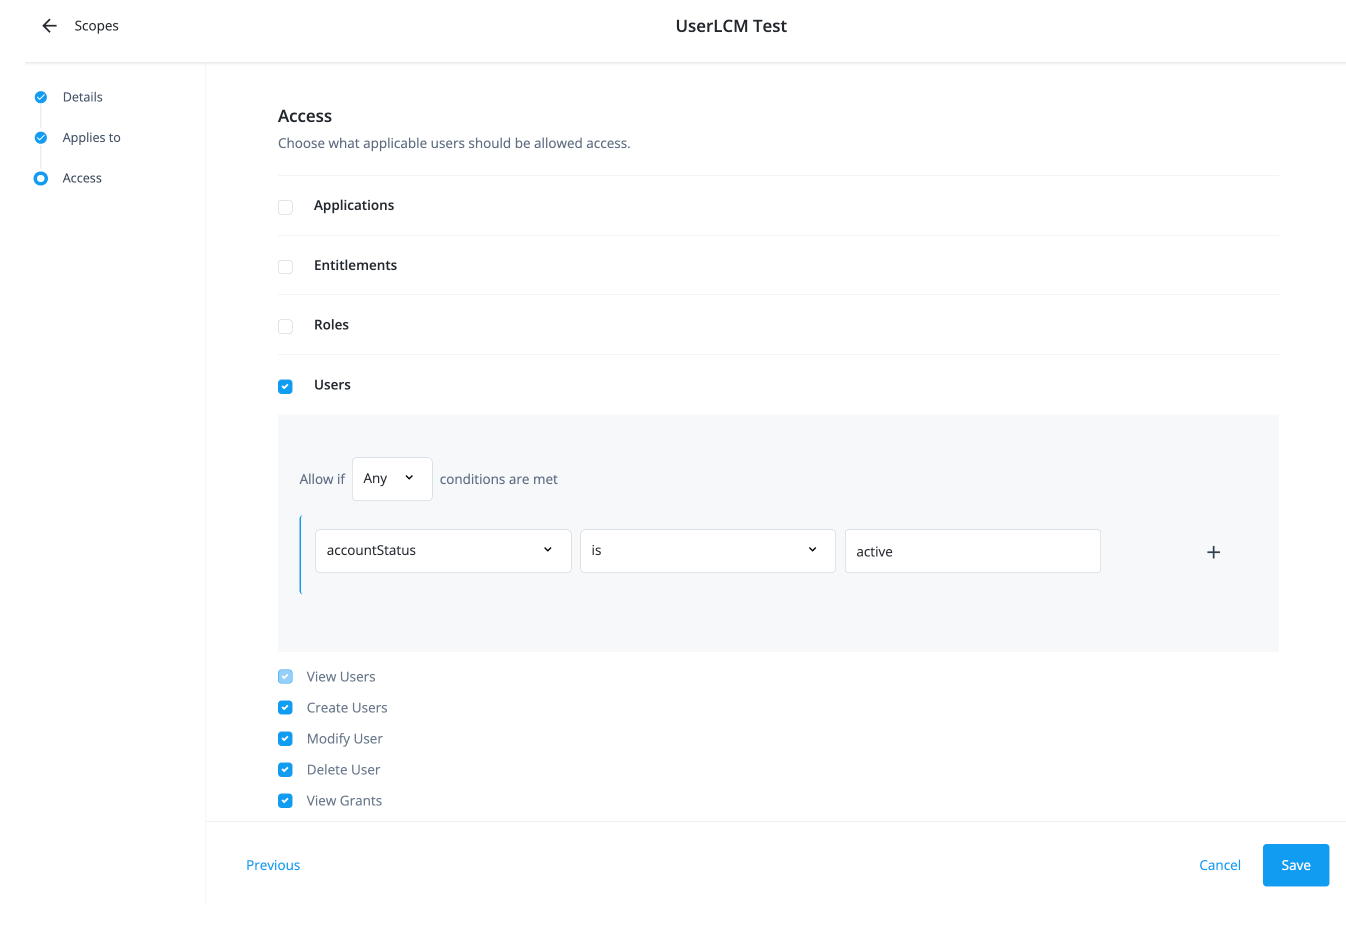
If you’re granting user permissions, configure the following on the Access page:
-
Select the Users checkbox.
-
Select if All or Any condition must be met.
-
Select a property for this scoping rule. For example, select accountStatus.
-
Select an operator for the scoping rule. For example, select is.
-
Enter a condition. For example, enter active.
-
If you want to add another rule, click and repeat the steps.
-
Select the permissions available to the scope:
-
Create Users: Permission to create a new user.
-
Modify User: Permission to modify a user.
-
Delete User: Permission to delete a user.
-
View Grants: Permission to view the access for the users matching the scope filter.
-
-
Click Save.
-
Create an internal role
Administrators must create an internal role so that authorized end users can view the Users identity object.
-
Sign on to the Advanced Identity Cloud admin console as a tenant administrator.
-
Go to Identities > Manage.
-
Click Internal Roles > New Internal Role.
-
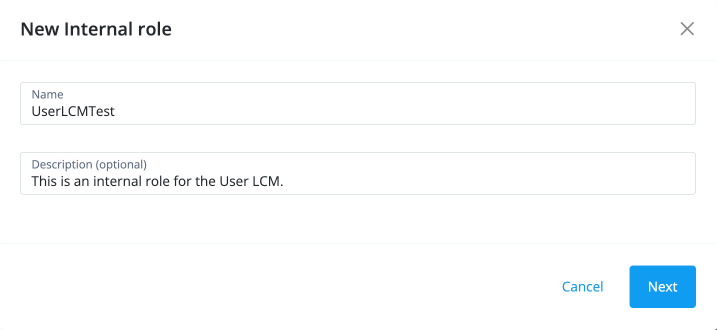
In the New Internal Role modal, enter the following and click Next.
-
Name: Enter a name for the internal role, such as UserLCMTest.
-
Description: Enter a description for the internal role.
-
-
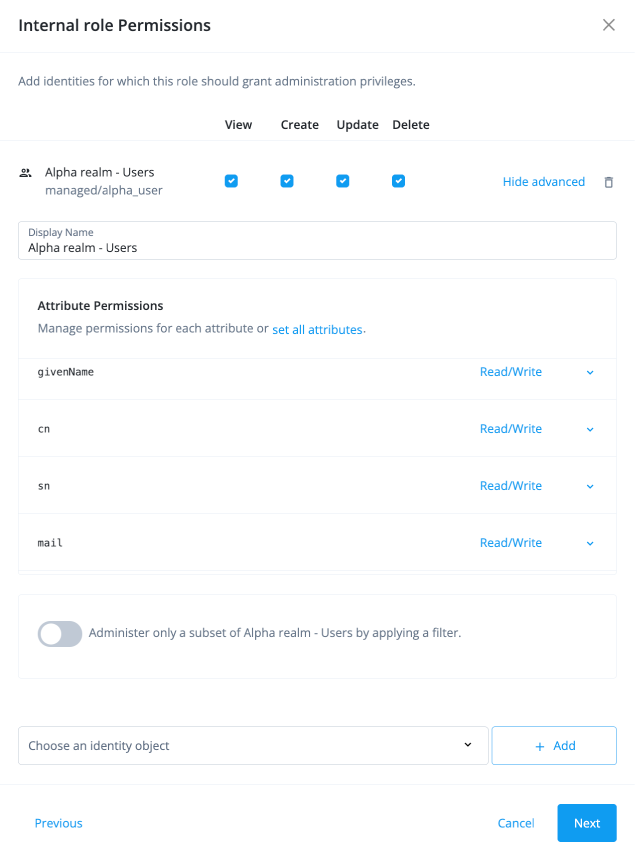
In the Internal role Permissions modal, select Alpha realm - Users managed/alpha_user, and click Add.
-
Click the internal role permissions you want available with the role:
-
View
-
Create
-
Update
-
Delete
-
-
Click Show advanced. Select Read/Write for the attribute permissions and click Next:
-
userName
-
givenName
-
cn
-
sn
-
mail
-
-
In the Dynamic Internal role Assignment modal, click Next.
-
In the Time Constraint modal, click Save.
-
-
-
In the UserLCMTest page, click Add Members.
-
In the Add Members modal, select the users to which the internal role applies, and then click Save.
-