Manage roles
Role lifecycle management (LCM) lets administrators delegate key responsibilities to delegated end users. This lets the delegated end users perform administrative tasks on behalf of other end users without granting them full administrative privileges.
|
This section is for end users who have been granted role LCM privileges through scopes and internal roles. If you’re a tenant administrator looking to configure role LCM, see Configure role lifecycle management. |
The delegated end user can now manage the entire lifecycle of specific roles directly from their hosted page dashboard. This includes the ability to:
-
Create new roles.
-
Modify existing roles.
-
Delete roles that are no longer needed.
To ensure proper governance and security, the system submits every action the delegated end user takes, such as creating, modifying, or deleting a role, as a request that requires workflow approval. This approach streamlines role management by empowering those closest to the business needs to handle these tasks.
The following tasks assume you are a delegated end user who has been granted role LCM permissions.
|
A `delegated administrator is a user who received scoped administrative privileges to manage specific users or objects without becoming a full tenant administrator. A |
Create a new role and assign it to an end user
-
In the hosted pages, sign on to your account. You should have received a notification that you have new permissions to manage roles.
-
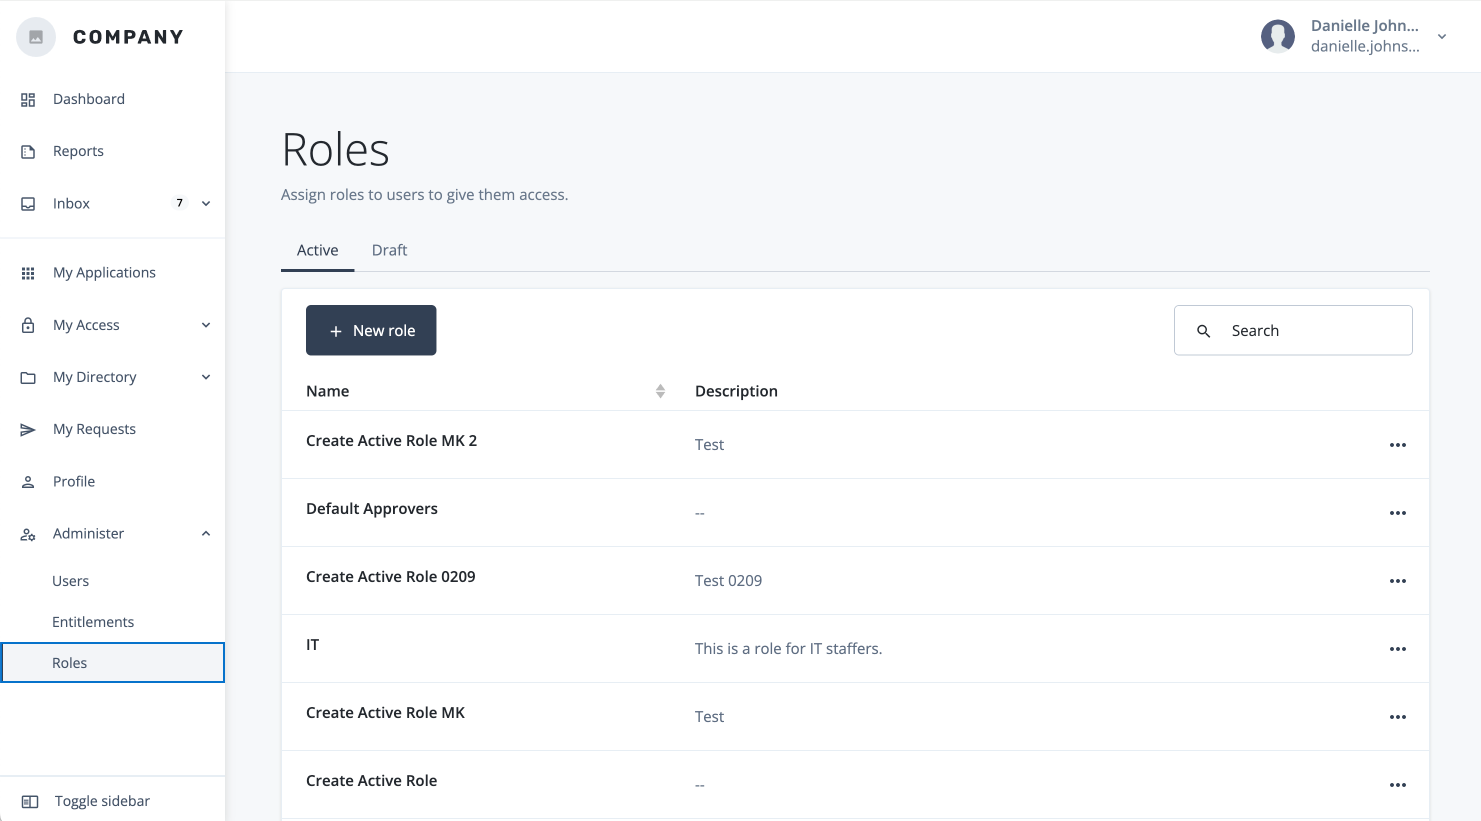
Go to Administer > Roles.
-
On the Roles page, click New Role.
-
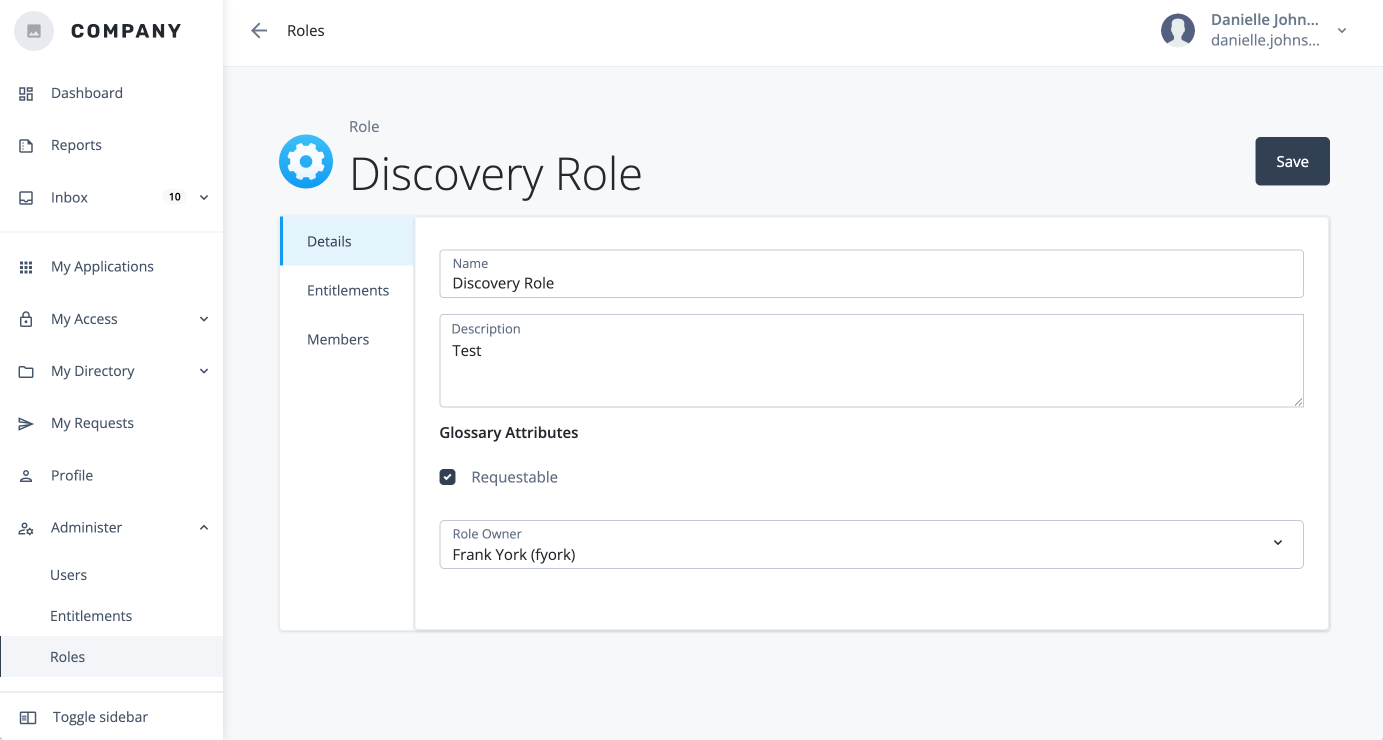
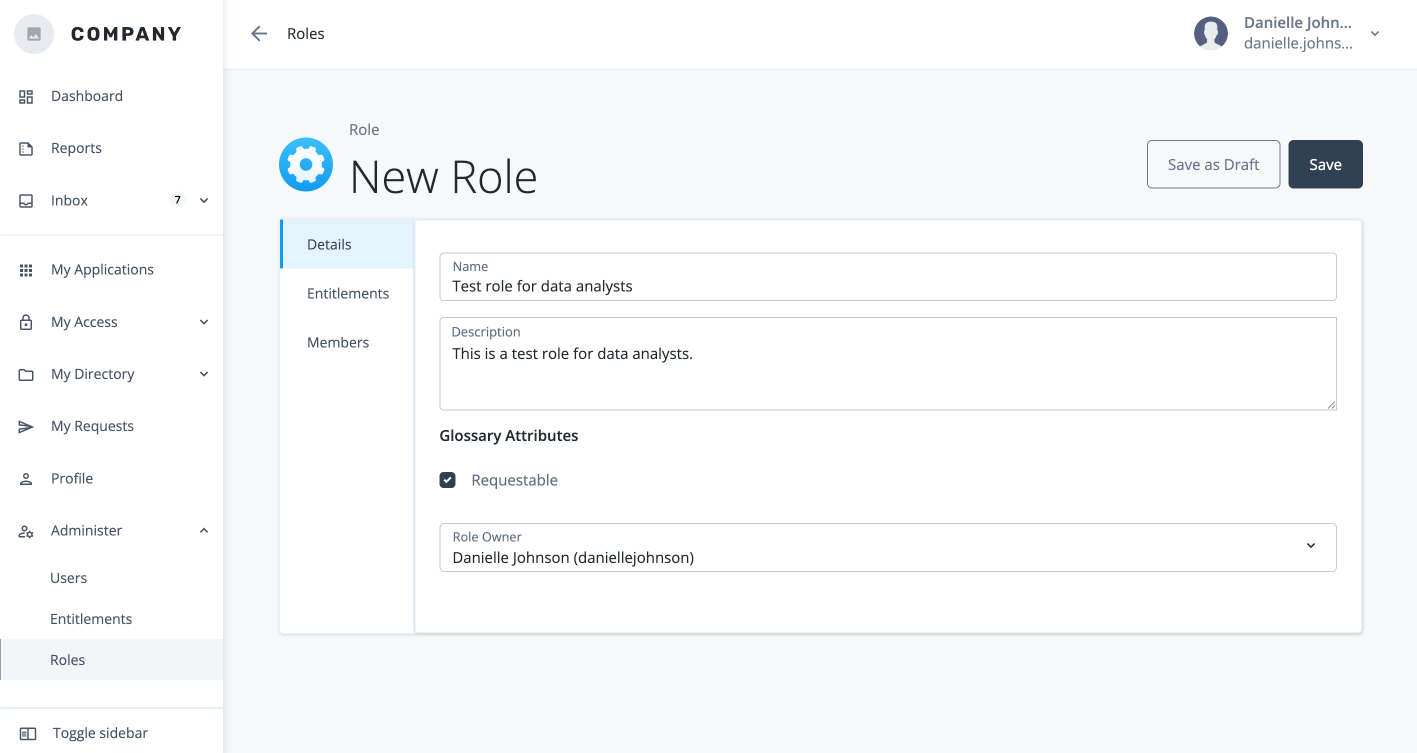
In the New role modal, fill out the form for the new role:
-
Name: Enter a name for the role. This is a required field.
-
Description: Enter a general description of the role.
-
Requestable: Click to enable the role as requestable. This means that the role can be requested in access requests and access reviews.
-
Role Owner: Select a user as a role owner. A role owner is responsible for approving or rejecting requests for a specific role.
-
-
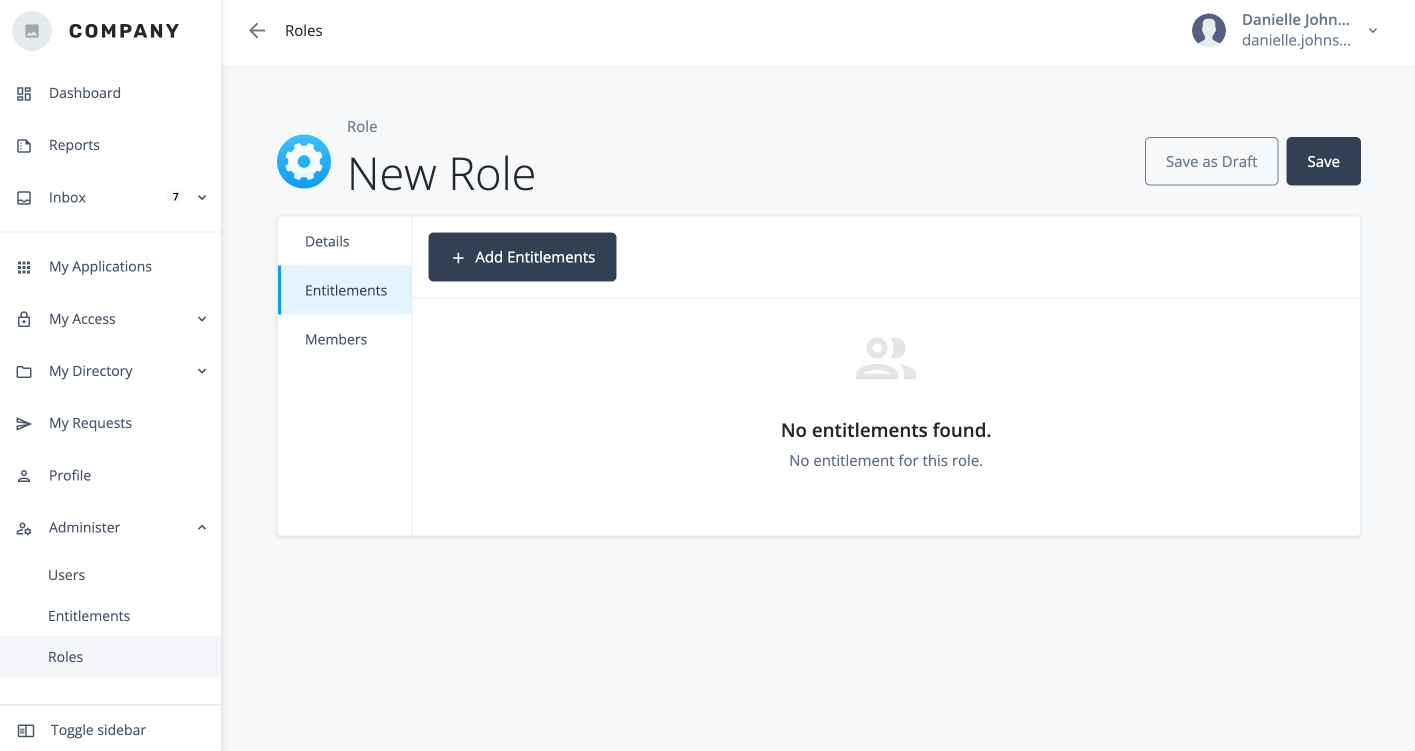
Go to Entitlements > Add Entitlements.
-
In the Add entitlements modal, select the entitlement and object type and click Next.
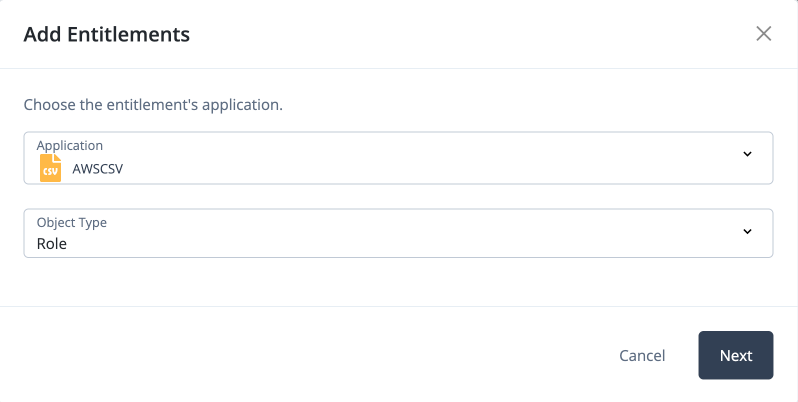
The Add entitlements modal excludes entitlements sourced from unmanaged apps because Advanced Identity Cloud can’t access them through a live connector. These disconnected entitlements remain visible in role LCM views and in an end user’s access details. Learn more in Unmanaged applications.
-
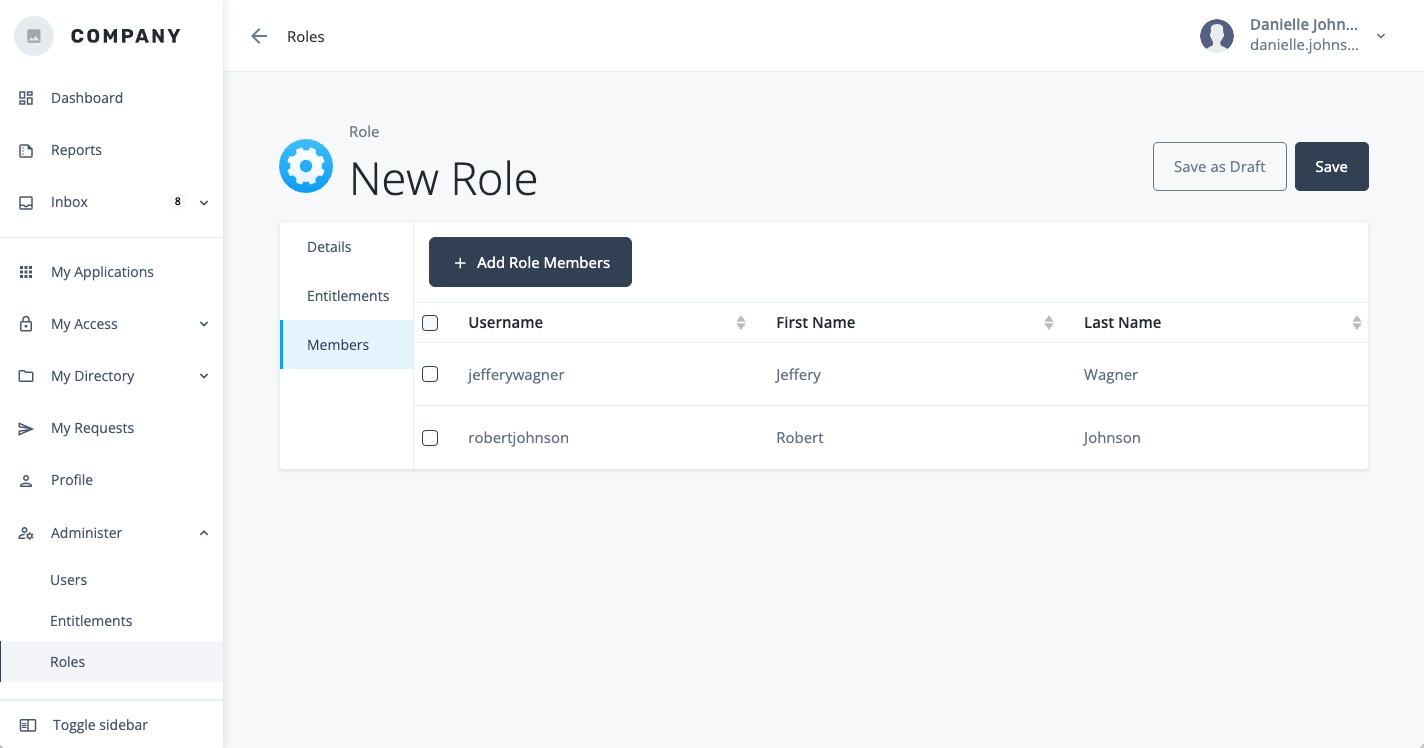
Go to Members > Add Role Members.
-
In the Add role members modal, select the end users who will be members of this role, and click Save.
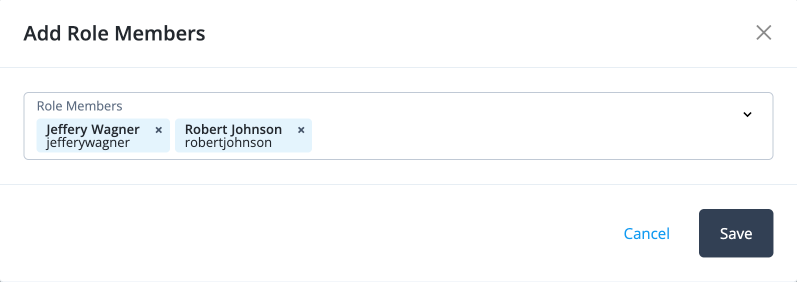
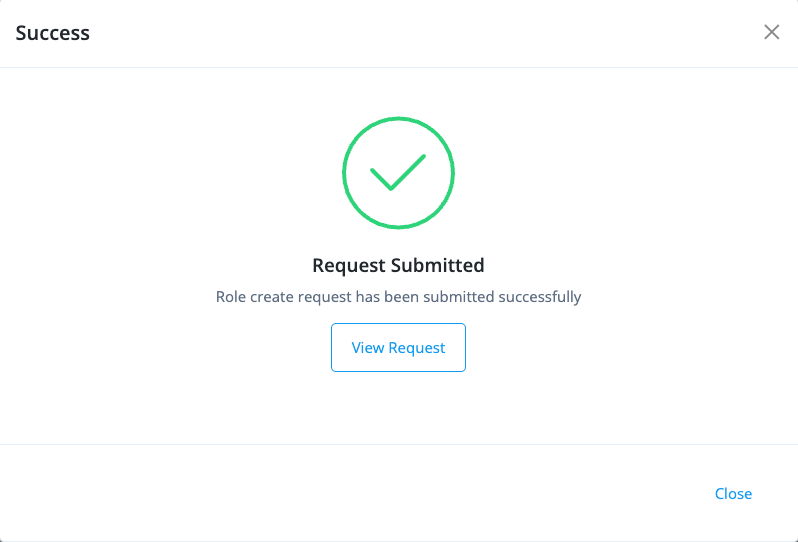
This action creates a change request that requires approval from the user specified in the workflow.
-
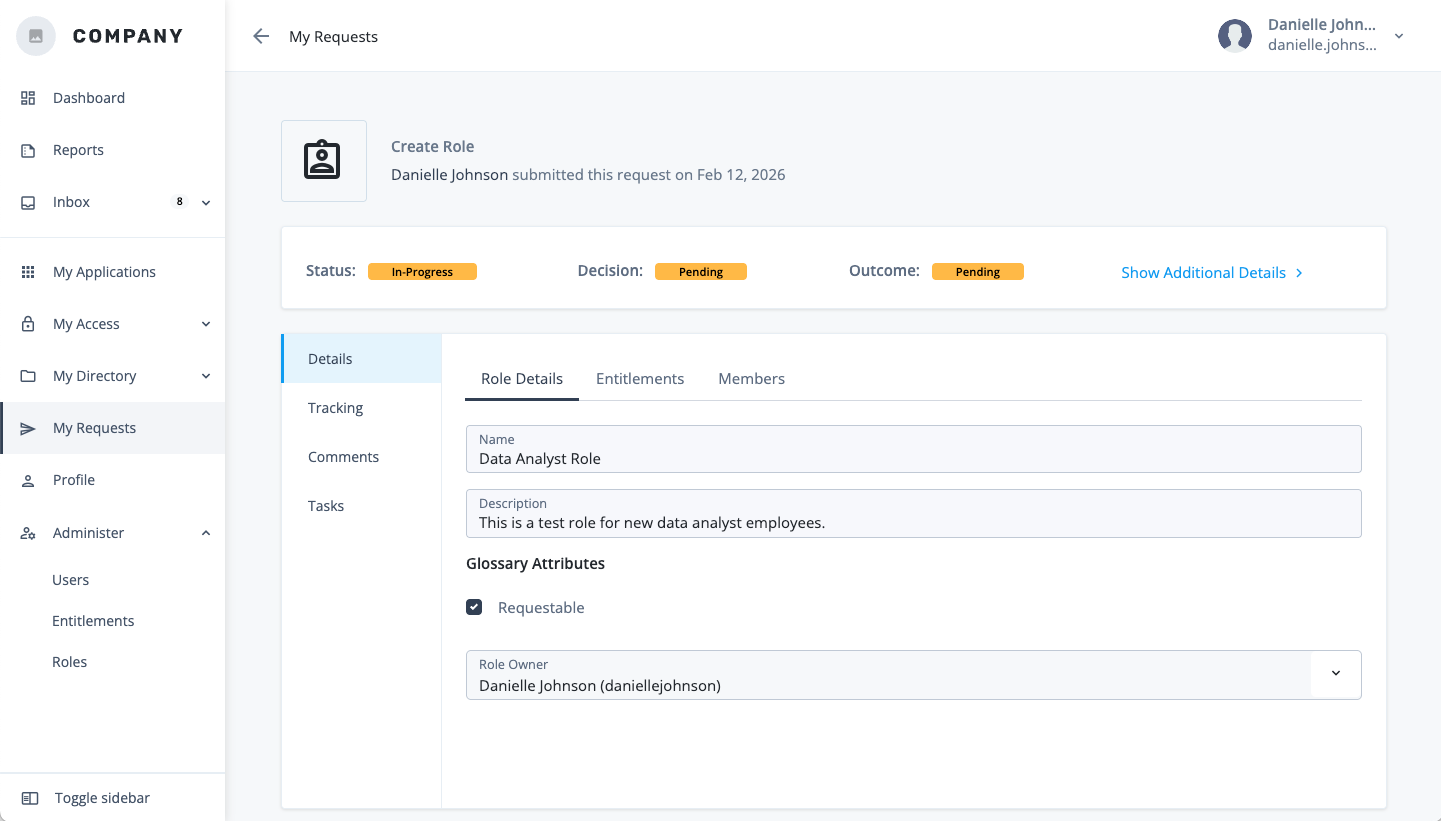
Click View request to see the details of the change request you just submitted.