Enabling user ID verification
Enable user ID verification to require a user to go through the verification process when they register or sign on. You can enable ID verification using the PingOne admin console or the PingOne Verify REST API.
-
Console
-
API
Enabling user ID verification in the PingOne admin console
Steps
-
In the PingOne admin console, go to Directory > Users.
-
Locate the user you want to edit.
You can browse or search for users.
-
Click the user entry to open the user details panel.
-
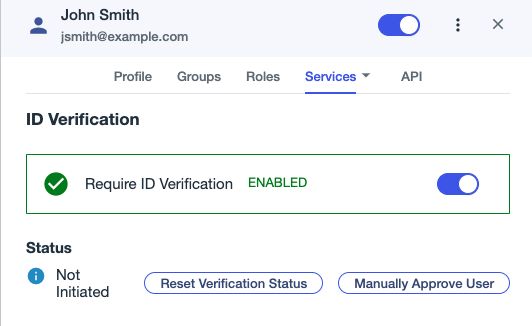
In the user details panel, click the Services tab → ID Verification to view the verification details for the user.
This tab remains in place if ID verification was previously enabled for a user, but is now disabled.
-
Click the Require ID Verification toggle to enable ID verification for the user.
-
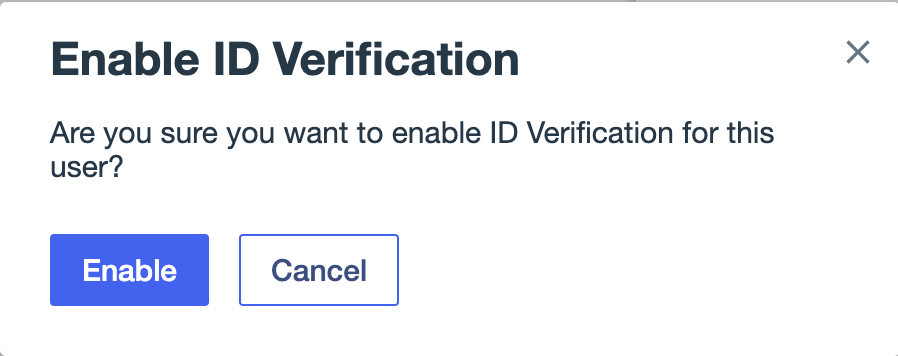
In the confirmation popup, click Enable.
Result
When the user attempts to sign on or register, instructions for ID verification are shown on their device. The connection to their device and the instructions displayed are created by the Verify app using the PingOne Verify SDK for iOS or Android devices. For more information, see PingOne Verify Mobile SDKs.
Enabling user ID verification with the PingOne Verify API
Steps
-
Use the PingOne Verify REST API to make the following request:
POST /environments/{envID}/users/{userID}/verifyTransactionsLearn more in Verify Transactions in the PingOne Platform API Reference.
Result
When the user attempts to sign on or register, instructions for ID verification are shown on their device. The connection to their device and the instructions displayed are created by the Verify app using the PingOne Verify SDK for iOS or Android devices. For more information, see PingOne Verify Mobile SDKs.