Integrate PingOne with a Node.js Express app
In this tutorial, you configure a Node.js application running Express to connect to your PingOne instance using OpenID Connect (OIDC).
You can then authenticate as a user and obtain both an access and ID token.
Time to success: 10 minutes
Before you begin
To complete this tutorial you must have:
-
An OIDC Web application in PingOne configured with the following settings:
-
Response Type: Code
-
Grant Type: Authorization Code
-
Redirect URIs: http://localhost:3000/callback
-
Token Endpoint Authentication Method: Client Secret Basic
As a starting point, use the Getting Started Application built into all customer solution environments when you select the Include a solution designer to easily design and test experiences checkbox. Learn more in Building solutions.
Learn more in Adding an application and Editing an application - OIDC.
-
-
Node.js v18.7.1 or later.
-
A user created in your environment. Learn more in Adding a user.
Step 1. Download and initialize the sample app
We provide a sample app project that you can download and configure to connect to PingOne quickly and easily.
The project uses npm to manage the packages it requires, such as Express and Dotenv.
Download the sample app
Clone the Git repository or download a .zip archive to obtain the sample app source code:
-
Clone with Git
-
Download a
.ziparchive
-
From the command line, clone the sample repo using Git:
git clone https://github.com/pingidentity/generic-sample-apps.git
-
Navigate to the root of the sample using the following command:
cd express-authorization-code % npm start
-
Run the following command to download and install the required packages and modules:
npm install
-
In a browser, go to https://github.com/pingidentity/generic-sample-apps.git.
-
Select Code, and then click Download ZIP.
-
Extract the contents of the
.ziparchive to a folder on your computer. For example{generic-sample-apps}.
Initialize the sample app
The sample app requires a number of packages, which you can install by using npm:
-
Navigate to the express authorization code folder in the root directory using the following command:
cd express-authorization-code
-
Run the following command to download and install the required packages and modules:
npm install
Example:
The result resembles the following:
`~/PingOneNodeExpressSample $ npm install

added 134 packages, and audited 135 packages in 3s

19 packages are looking for funding
run `npm fund for details

found 0 vulnerabilities`
Step 2. Configure the sample app
Add the code and configuration the app needs to connect to PingOne:
-
In the PingOne admin console, go to Applications > Applications, and select the application to use for this tutorial.
-
On the Integrate tab, select the following:
-
In Authorization Flows, ensure that Authorization Code is selected.
-
In Language Framework, select Express.
This tutorial is for Express only. Selecting Ping SDK for JavaScript creates a different snippet. Go to JavaScript Tutorials for detailed instructions and links to the sample app.
-
If you’ve enabled custom domains, in the Domain Path list, select one of the following:
-
Base: Select to use the default *.pingone.com domain.
-
Custom: Select to use the custom domain configured for the environment.
-
-
-
Click the Copy to clipboard icon to copy the code snippet.
The code is preconfigured with the environment settings the app requires for a connection, excluding the client secret.
Example:
`PingOne Express Authorization Code Flow PINGONE_AUTH_ENDPOINT="https://auth.pingone.com/####-####-####-####-######/as/authorize" PINGONE_TOKEN_ENDPOINT="https://auth.pingone.com/######-####-####-####-#########/as/token" PINGONE_SIGNOFF_ENDPOINT="https://auth.pingone.com/#######-####-####-####-############/as/signoff" PINGONE_CLIENT_ID="########-####-####-####-##########" PINGONE_CLIENT_SECRET="{{PINGONE_CLIENT_SECRET}}" REDIRECT_URI="http://localhost:3000/callback" PINGONE_SCOPES="openid"` -
Open the application and folder in the IDE.
-
Paste the code from the PingOne console into the
.envfile, replacing the# Replace with Snippetstring. -
Save the
.envfile.
Step 3. Test the sample app
You can now run the sample app, which starts a server at http://localhost:3000 by default.
-
Navigate to the express authorization code folder in the root directory using the following command:
cd express-authorization-code
-
Run the following command to build the project and start the local server:
npm start
Example:
The result resembles the following:
express-authorization-code % npm start


> node-ex-website@1.0.0 start
> node server.js

Server listening on port 3000`
-
In a browser, go to http://localhost:3000/.
Result:
A wireframe for the application opens:

-
Click Sign On.
Result:
The PingOne sign-on page opens.
-
Enter a known user’s credentials and click Sign On.
Result:
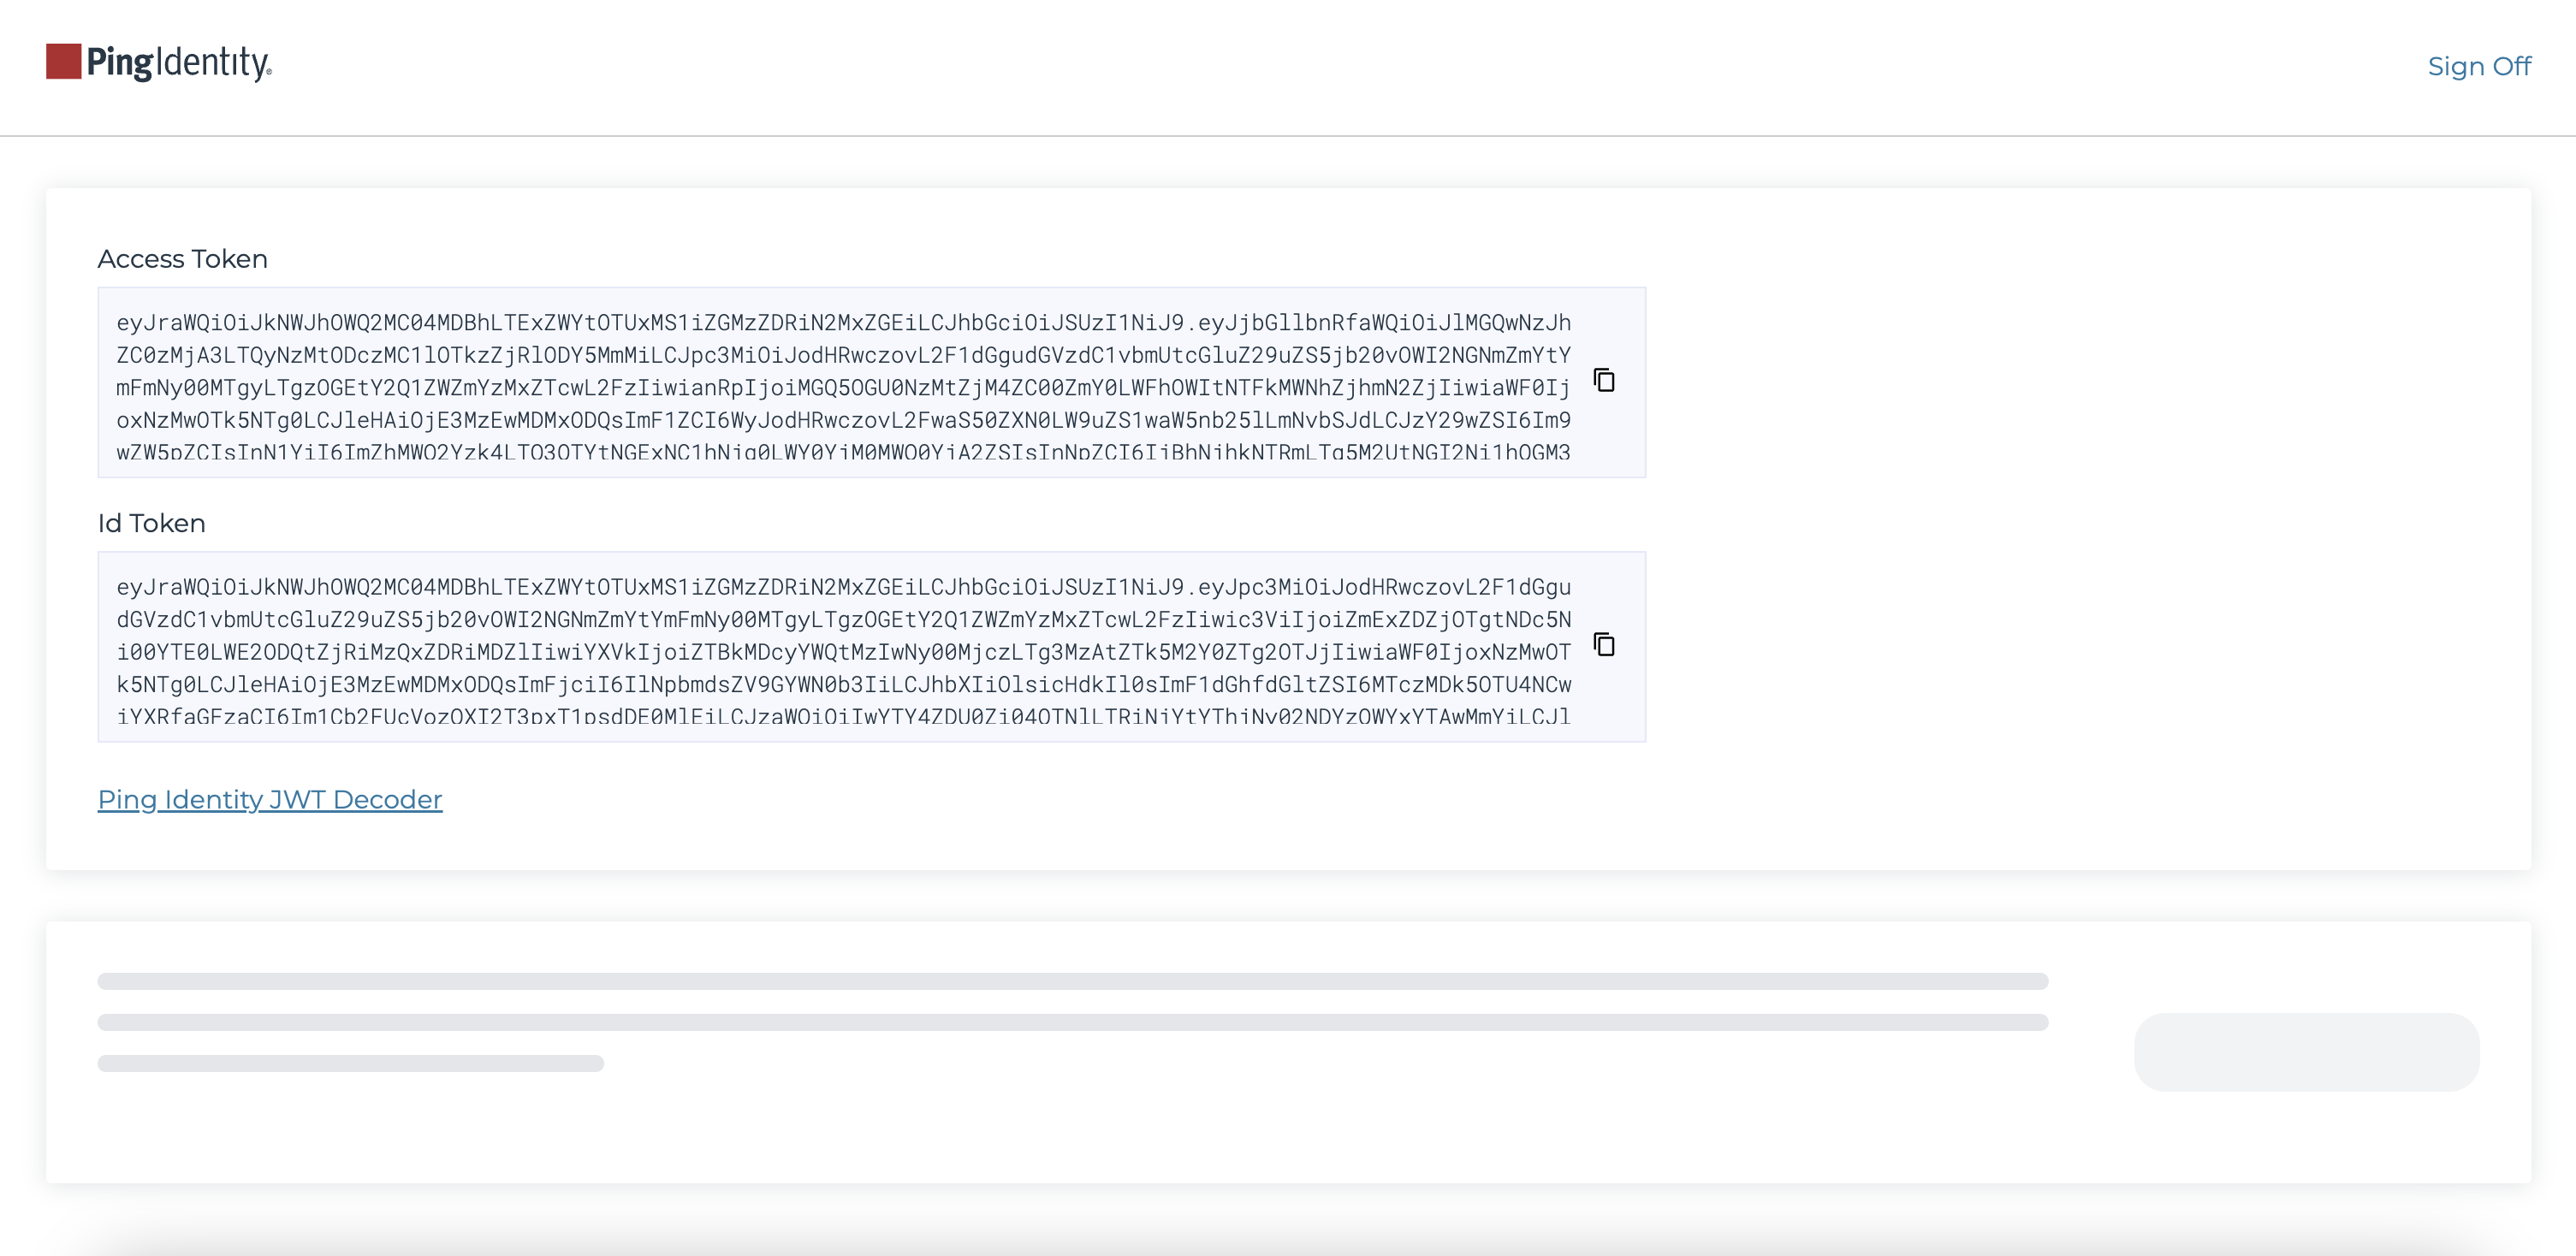
PingOne verifies the credentials and redirects the browser to the sample app, which opens a wireframe profile page that includes the access and ID tokens:

Copy a token value and inspect its contents using the Ping Identity JWT Decoder.
-
To revoke the tokens and sign the user off of PingOne, click Sign Off.
Result
You have successfully added PingOne-backed sign on and sign off to a Node.js app running Express.
Next steps
-
You can easily change the sign-on experience by changing the authentication policy the application uses without rebuilding the sample app.
-
Learn more in Authentication policies for applications.
-
Learn more about what you can do with the tokens you obtained during the OIDC in The Essential OAuth Primer. To see how PingFederate uses OAuth 2.0 and OIDC, download the OAuth Playground (requires sign on).
Troubleshooting redirect URI mismatch errors
Try the tips and workarounds in the following section if you encounter a redirect URI mismatch error.
How to fix "Redirect URI mismatch" errors
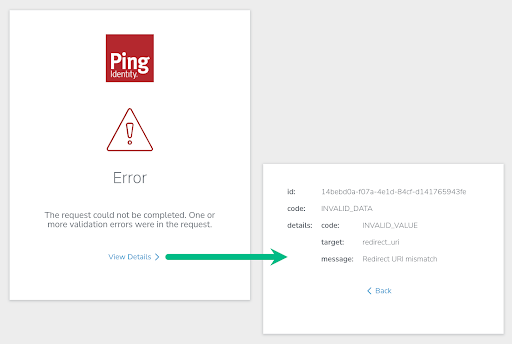
The sample application sends a redirect_uri parameter when contacting the PingOne instance. If the value doesn’t match a value configured in the web app in PingOne, you receive the following error:
The request could not be completed. One or more validation errors were in the request.

To resolve the issue:
-
In the PingOne admin console, go to Applications > Applications and select the application the sample is using.
-
On the Configuration tab, ensure that the Redirect URIs property contains http://localhost:3000/callback.
-
In an IDE or text editor, open the
.envfile in the root folder of the sample app. -
Ensure the
REDIRECT_URIproperty exactly matches the value in PingOne and is surrounded with double quotes:"http://localhost:3000/callback".