Adding a banking application in PingOne
Learn how to create an application in PingOne that is granted access to a generic OAuth resource server. Later, you’ll use this application to demonstrate protection against unauthorized access to a managed API service.
About this task
Create a banking application and its resources. You’ll use the banking application to represent every other API client on the internet that doesn’t have access to the Meme Game API.
First, add a banking resource in PingOne and give it an OAuth scope. Scopes determine the permissions for services that the application can access. Then, add a single page application in PingOne that represents your banking application. Grant permission for the banking application to access your banking resource.
Steps
-
Add the banking resource in PingOne:
-
In the PingOne admin console, go to Applications > Resources and click the icon.
-
For the Resource Name, enter
Banking Appas a unique identifier for the resource.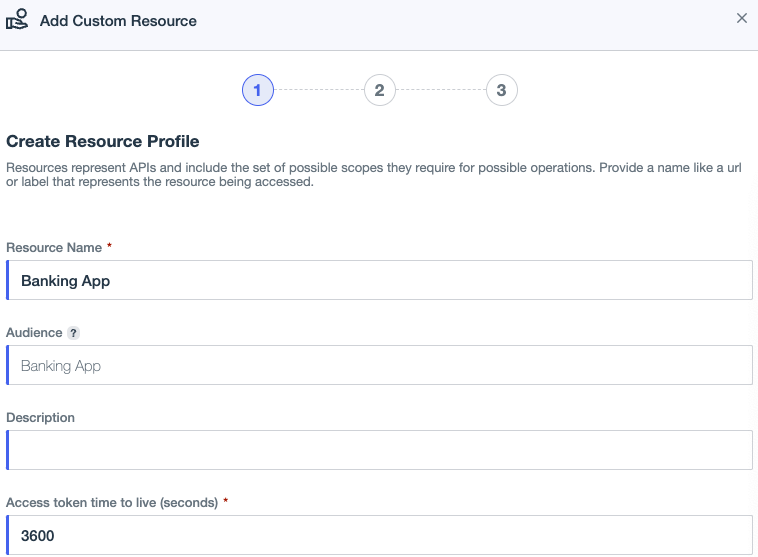
-
Click Next.
-
In Attributes, you don’t need to configure any attribute mappings, so click Next.
-
To configure scopes, click Add Scope.
-
For the Scope Name, enter
bankingas an identifier for the scope, and then enter a meaningful Description.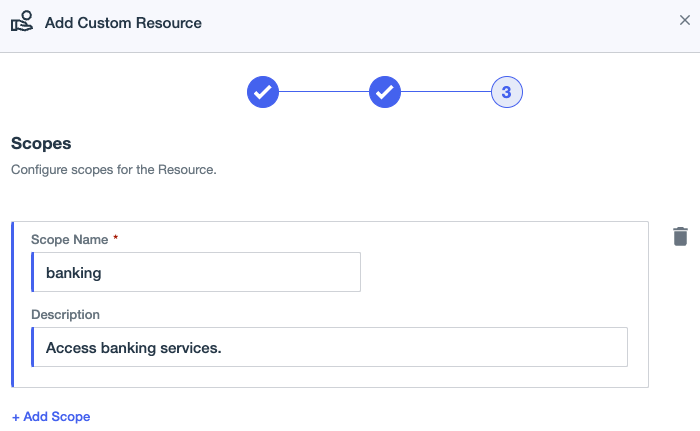
-
Click Save.
Result:
You’re ready to add a single page banking application in PingOne.
-
-
Add the banking application in PingOne:
-
Go to Applications → Applications and click the icon to add an application.
-
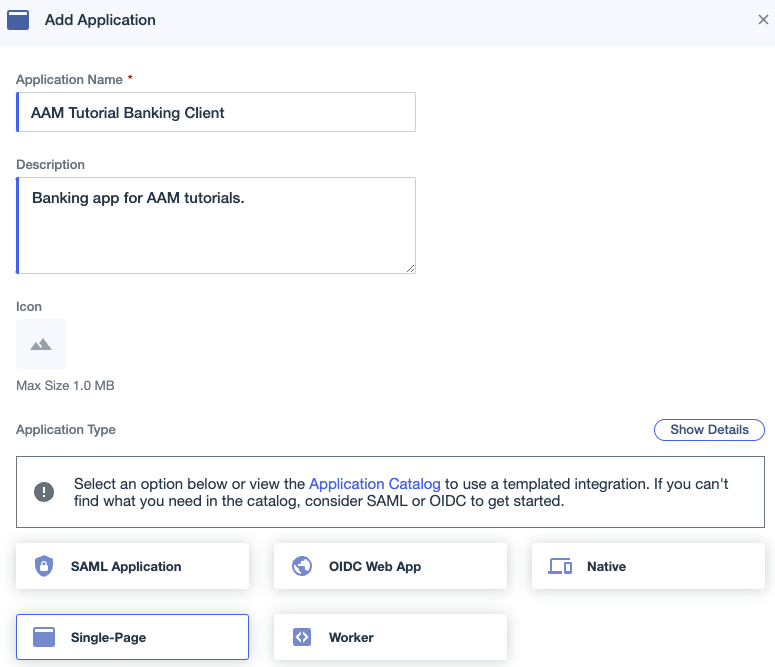
For the Application Name, enter
AAM Tutorial Banking Clientas a unique identifier for the application, and then enter a meaningful Description. -
For the Application Type, click Single-Page.
-
Click Save.
-
-
To enable the application, click the Enable toggle.

-
Configure the banking application to act as an API client without any notion of users.
Later, this makes testing easier because you won’t have to configure users.
-
On the Configuration tab, click the Pencil icon.
-
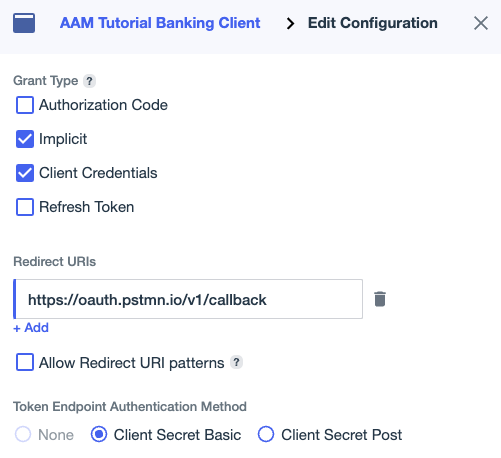
Under Grant Type, select the Client Credentials checkbox, and then in the Token Endpoint Authentication Method list, select Client Secret Basic.
-
For Redirect URIs, enter the following redirect:
https://oauth.pstmn.io/v1/callbackThis enables you to sign on as a user from Postman in a later tutorial.
-
Click Save.
-
-
Grant an OAuth scope to your application.
This allows your application to access banking APIs.
-
Click the Resources tab, and then click the Pencil icon.
-
Select the banking checkbox.
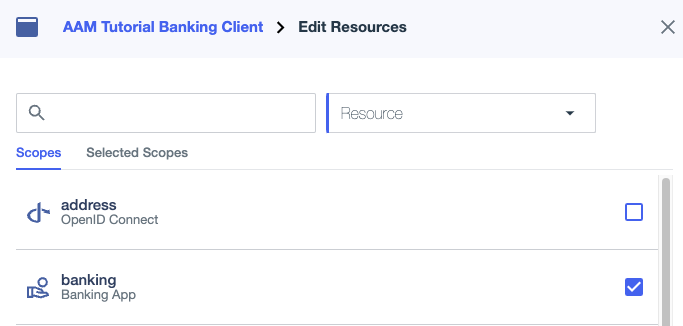
-
Click Save.
Keep the banking application open in PingOne for now. You’ll need it in the next task.
-
Result
You added a single page application in PingOne to represent your banking application and configured it for access to the banking resource.
Next steps
You’re ready to get an access token for the banking application so it can make calls to APIs.