Create a group
Learn how to create a group to better manage your users and to provide improved access control to your applications.
This tutorial walks you through the creation of a group that you can use to manage access to your applications. You can create groups with a manually specified membership or by specifying criteria that dynamically adds users when a match is found.
|
To add users either manually or dynamically to a group, you must first create users. |
Steps
-
In the PingOne admin console, go to Directory > Groups.
-
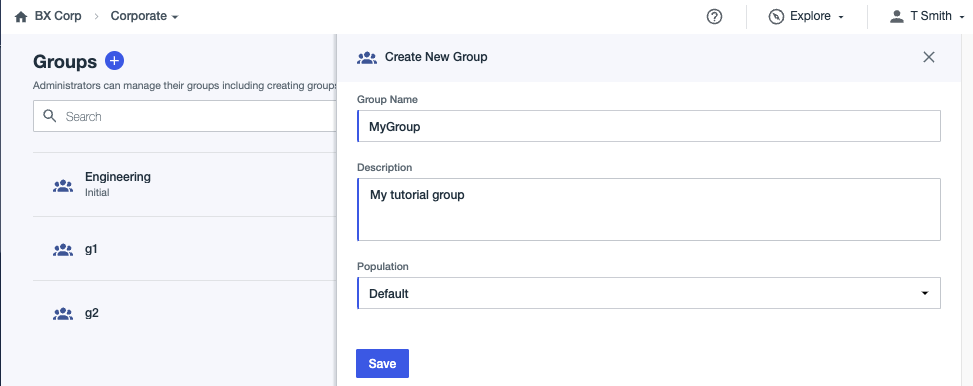
Click the Plus icon () to add a group.
-
Enter the following information:
-
Group name: A name for the group. The name must be unique within the environment for environment groups, and unique within a population for population groups.
-
Description (optional): A brief description of the group.
-
Population (optional): The population in which the group will be created. Users with the Environment Admin role can create groups at the environment level, but users with the Identity Admin role must assign a group to a population for which they are an Identity Admin. If you select a population, the group can contain users from that population only.
-
Metadata Properties (optional): Custom metadata properties associated with the group, represented as key-value pairs for administrative purposes.
-
-
Click Save.
-
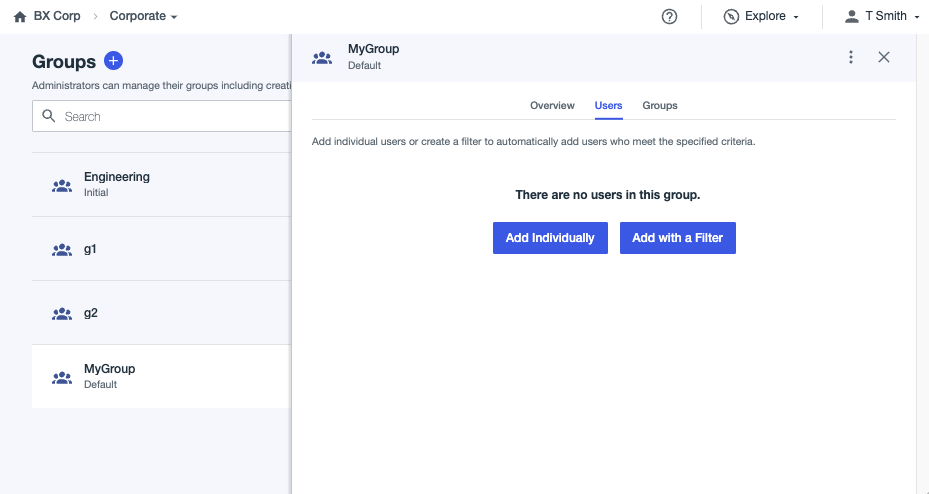
Click the Users tab.
-
Do one of the following:
Choose from:
-
To add users from a list of users in the environment (for environment-level groups) or in the population (for population-level groups), click Add Individually. Learn more on the Manually from Groups tab of Managing group membership.
-
To create a filter to determine group membership, click Add with a Filter. Learn more on the Dynamically from Groups tab of Managing group membership.
-