Building a customer solution
By following the guidance on the Getting Started page in your PingOne trial environment, you’ll quickly learn how to:
-
Create a sign-on experience.
-
Add an application to your environment.
-
Assign the experience to the application.
-
Integrate the application with PingOne.
-
Apply branding to the registration and sign-on pages to customize the look and feel of those pages for your customers.
Before you begin
These instructions assume that you’ve already created your PingOne trial environment and that you chose Customer for the Environment Use Case. Learn more in Starting a PingOne trial.
|
After completing each step in the applicable area of PingOne, you can click Getting Started in the sidebar to return and determine what to do next. |
Steps
-
Click Getting Started, either from the message you receive after creating your environment or from the top of the sidebar in the PingOne admin console.
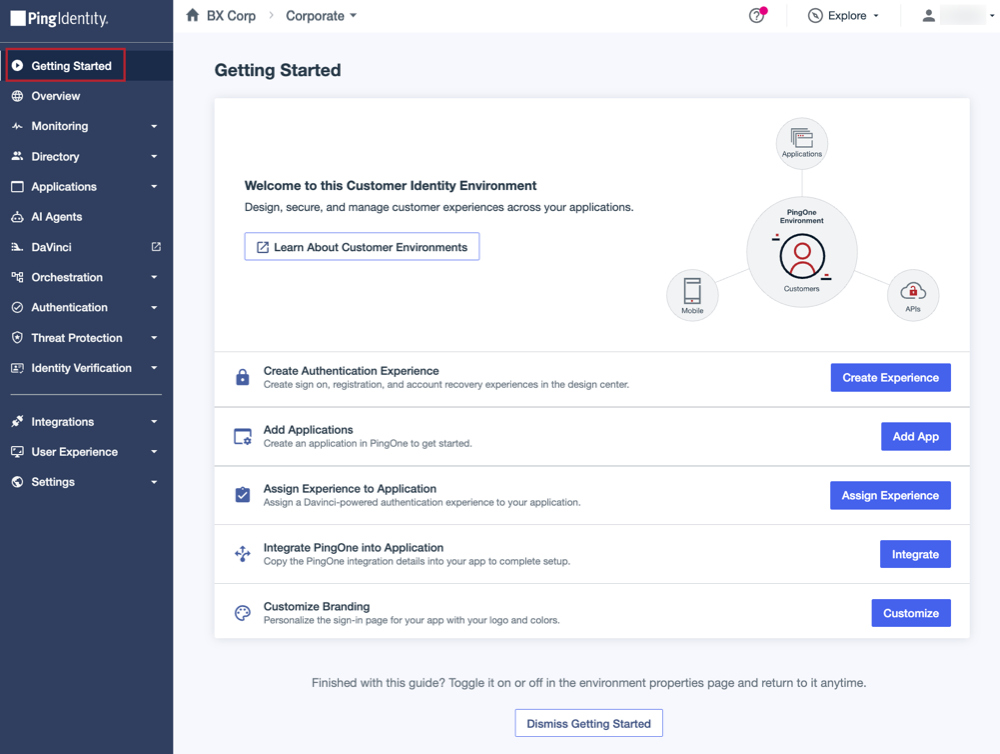
Although not required, follow the steps in the order presented on the Getting Started page to see how they are connected.
-
Click Create Experience to open the Design Center.
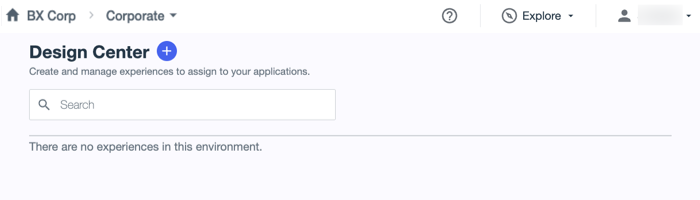
-
Create a sign-on and registration experience for the application.
You can choose from three sign-on patterns to implement in your experience:
-
Username and Password
-
Identifier First
-
Identity Provider First
Experiences created in the Design Center define how users authenticate when they access the application. The experience determines whether the user can authenticate using passwordless options, whether they’re prompted to register for an account, what multi-factor authentication (MFA) methods they can choose, and more.
Learn more about building experiences in Design Center.
-
-
Return to the Getting Started page and click Add App to add an application to the environment.
Follow the prompts in the environment or learn more in Adding an application.
For the purposes of this trial, you won’t need to configure the application beyond providing a name and selecting an application type. If you want to explore further, you can learn more about application configuration in Editing an application.
-
After you save your application, go back to the Getting Started page and click Assign Experience.
-
Follow the prompts to assign the experience you created in step 3 to the application you created in step 4.
Learn more in Applying authentication policies to an application.
Experiences created in the Design Center are listed on the DaVinci Policies tab and include a PingOne Experience label.
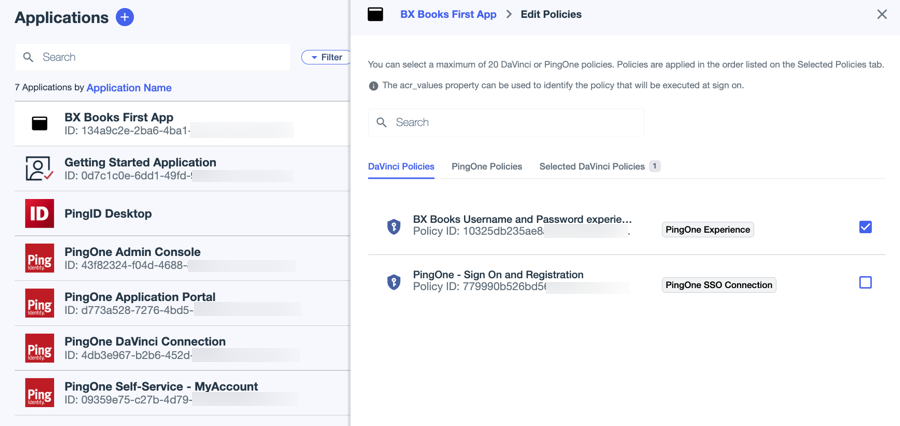
-
Return to the Getting Started page and click Integrate.
-
Follow the prompts to integrate your application with PingOne and test the sign-on experience in a local project.
Learn more by following the steps in the Integrate PingOne with a Node.js Express app tutorial.
-
Return to the Getting Started page and click Customize to create a new theme or modify an existing theme to apply your own branding to the sign-on forms.
Learn more in Branding and Themes and Adding a theme.
The forms generated when you created the experience in step 3 are included in the Form Preview list on the Forms tab for the selected theme. Use the settings on the Component Specific tab in the Theme Styles pane to edit these forms and preview your changes.
-
Return to the Getting Started page and click Dismiss Getting Started to close the page and remove Getting Started from the sidebar.
Result:
You’re taken to the Overview page for the environment, where you can continue exploring and building your customer solution.
To enable the Getting Started page at any time, go to Settings > Environment Properties and click the toggle in the Getting Started Guides section to the right (blue).
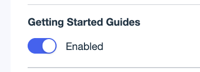
Getting Started is added back to the sidebar, and you can click it to return to the page.