Managing a verify policy
Edit, rename, or set your verify policy as the default.
Steps
-
To edit a verify policy:
-
In the PingOne admin console, go to Identity Verification > Verify Policies.
-
Click the policy you want to edit.
Result:
The Policy Details panel opens.
-
Click the Pencil icon.
-
Enter or edit the following configurations:
Policy configuration
Field Description Name
The policy’s name.
Description
The policy’s description.
Store Verified Claims
Stores verified personally identifiable information (PII) in the Identity Assurance (IDA) object within the PingOne Directory. Learn more in Viewing user details and Editing a user in PingOne.
Select the checkbox to enable storing verified claims.
Configuration
-
Transaction Timeout: Time period (in minutes) in which data can be collected after a transaction is created. The maximum transaction timeout is 30 minutes.
-
Data Collection Timeout: Time period (in minutes) in which data can be collected after initiating verification from the UI. By default, the data collection timeout is set to 15 minutes. The maximum data collection timeout is 30 minutes.
-
Data Collection Only: Click the toggle to enable data collection from a user without verification.
Government ID
Verification based on government-issued documents. For example, a driver license or a passport.
Configure the following policy settings:
-
ID Verification: Select Required or Disabled to determine whether the end user must provide a government ID for verification.
If Government ID is Required, a government ID must be collected to compare with a selfie.
-
Document Authentication Provider: The provider used to authenticate government documents. Select Mitek or Veriff (default).
-
Inspection Type: Select the type of inspection performed on government-issued documents:
-
Automatic: AI-based analytics examine the ID document to determine if it’s original and unaltered.
-
Manual: A human agent trained in document authentication examines the photo of the ID to determine its authenticity.
-
Step-Up to Manual: Automated inspection is tried first. If the document cannot be verified, the service switches to manual inspection.
Manual and Step-Up to Manual inspection types require an additional license.
-
-
Government ID Retry Attempts: The number of times a user can retry scanning an ID if the first attempt fails. Possible values for government ID retry attempts are 0 - 3.
-
Enable AAMVA: Click the toggle to enable verification of ID information against the issuing agency database, the AAMVA Driver’s License Data Verification (DLDV) service. Learn more in PingOne Verify and the American Association of Motor Vehicle Administrator’s system of record.
-
Fail Expired IDs: Click the toggle to fail verification for expired IDs.
-
Enable Aadhaar Verification (India): Click the toggle to enable user verification of Aadhaar digital IDs through the DigiLocker wallet.
Facial Comparison
A live photo (selfie) compared with government ID documents or reference selfie for verification.
Configure the following policy settings:
-
Facial Comparison: Select Required, Optional, or Disabled to determine whether the end user must provide a selfie for verification.
If Facial Comparison is Required, a government ID and selfie must be collected.
-
Threshold: The probability that selfies are likely to match with document images (facial comparison) or pass liveness checks (liveness). Select Low, Medium, or High threshold.
Selfies are less likely to match or pass with a higher threshold.
Liveness
A liveness check on the live photo (selfie) for verification.
Configure the following policy settings:
-
Liveness: Select Required, Optional, or Disabled to determine whether the end user must provide a selfie for verification.
If Liveness is Required, a selfie must be collected.
Disabling Liveness automatically deactivates the backend injection attack detection (IAD) process. IAD detects and blocks attempts to bypass the device camera using synthetic or prerecorded media.
-
Threshold: The probability that selfies are likely to match with document images (facial comparison) or pass liveness checks (liveness). Select Low, Medium, or High threshold.
Selfies are less likely to match or pass with a higher threshold.
-
Selfie Retry Attempts: The number of times a user can retake a selfie if the first attempt fails. Possible values for selfie retry attempts are 0 - 3.
Voice Verification
Verification using voice samples of the end user. There are two types of voice verification policies: enrollment and verification.
Voice verification is deprecated and will be removed on October 17, 2026.
You must configure a separate enrollment policy and verification policy.
Configure the following policy settings:
-
Voice Verification: Select Required or Disabled to determine whether the end user must use their voice to provide an audio sample for verification.
-
Enrollment: Click the toggle to enable an enrollment policy. Disable for a verification policy.
-
Samples Required: The number of voice samples the user must record for enrollment.
-
Voice Phrase: Phrase the user repeats for enrollment or verification.
You can configure custom phrases with the API. Learn more in Create Custom Voice Phrase in the PingOne developer documentation.
-
Comparison Threshold: Voice samples are less likely to match with the voice template at higher thresholds.
-
Liveness Threshold: Voice samples are less likely to pass liveness testing at higher thresholds.
-
Store Original Recordings: Click the toggle to enable storing the original voice sample after a successful transaction.
-
Enhance Reference On Re-Enrollment: Click the toggle to enhance the existing voice reference on re-enrollment. If disabled, the voice reference is replaced instead of enhanced with additional data.
-
Enhance Reference on Verification: Click the toggle to enable improving the existing voice reference by adding a new template.
You can only enable or disable Enhance Reference on Verification if Enrollment is enabled.
Phone
Configure the following policy settings:
-
Phone Verification: Select Required or Disabled to determine whether the end user must provide their phone number for verification.
-
Create MFA Device: Click the toggle to enable registration of a user’s phone number as a trusted MFA device after successful OTP or web link verification.
Email
Configure the following policy settings:
-
Email Verification: Select Required or Disabled to determine whether the end user must provide their email address for verification.
-
Create MFA Device: Click the toggle to enable registration of a user’s email address as a trusted MFA device after successful OTP or web link verification.
Identity Data
Data Matching compares the identity data extracted during verification with data from an identity record.
Configure the following policy settings:
-
Attribute: Lists Given Name, Family Name, Full Name, Date of Birth, and Address.
-
Confidence Threshold: The probability that an attribute (the data extracted during verification) matches the data from an identity record. Select None, Low, Medium, or High.
Selecting None leaves an attribute unconfigured and no matching occurs.
-
Required: Select the checkbox to make the value of an attribute required.
The verification fails automatically if a required value can’t be extracted during verification or isn’t included in the transaction input.
Data-Based Identity Verification
Verify user identity attributes with trusted third-party data.
Configure the following policy settings:
-
US Data-Based Identity Verification: Select Enabled or Disabled.
-
Threshold: Assesses whether there’s fraud or risk associated with the user. Select Low, Medium, or High.
-
Required Contractual Obligation: Select the checkbox to acknowledge that by enabling this feature, you’re contractually obligated to obtain user consent.
You must select the Required Contractual Obligation checkbox to enable the Data-Based Identity Verification policy.
Learn more in PingOne Verify and data-based verification.
Device Ownership and Risk
Verify the end user legally owns or is associated with the phone number or email being used to complete the verification transaction.
Configure the following policy settings:
-
Device Ownership Check: Select Enabled or Disabled.
-
Phone Number Risk Threshold: Determines the acceptable risk level for phone behavioral data inferred from the carrier history and other data sources. This field is required if Device Ownership Check is set to Enabled. Select Medium (default) or High.
-
Phone-to-Name Threshold: Determines linkage between phone and name. Select Medium (default) or High.
You may also configure the following optional thresholds:
-
(Optional) Email-to-Phone Threshold: Select Medium or High.
-
(Optional) Email-to-Name Threshold: Select Medium or High.
-
-
Click Save.
-
-
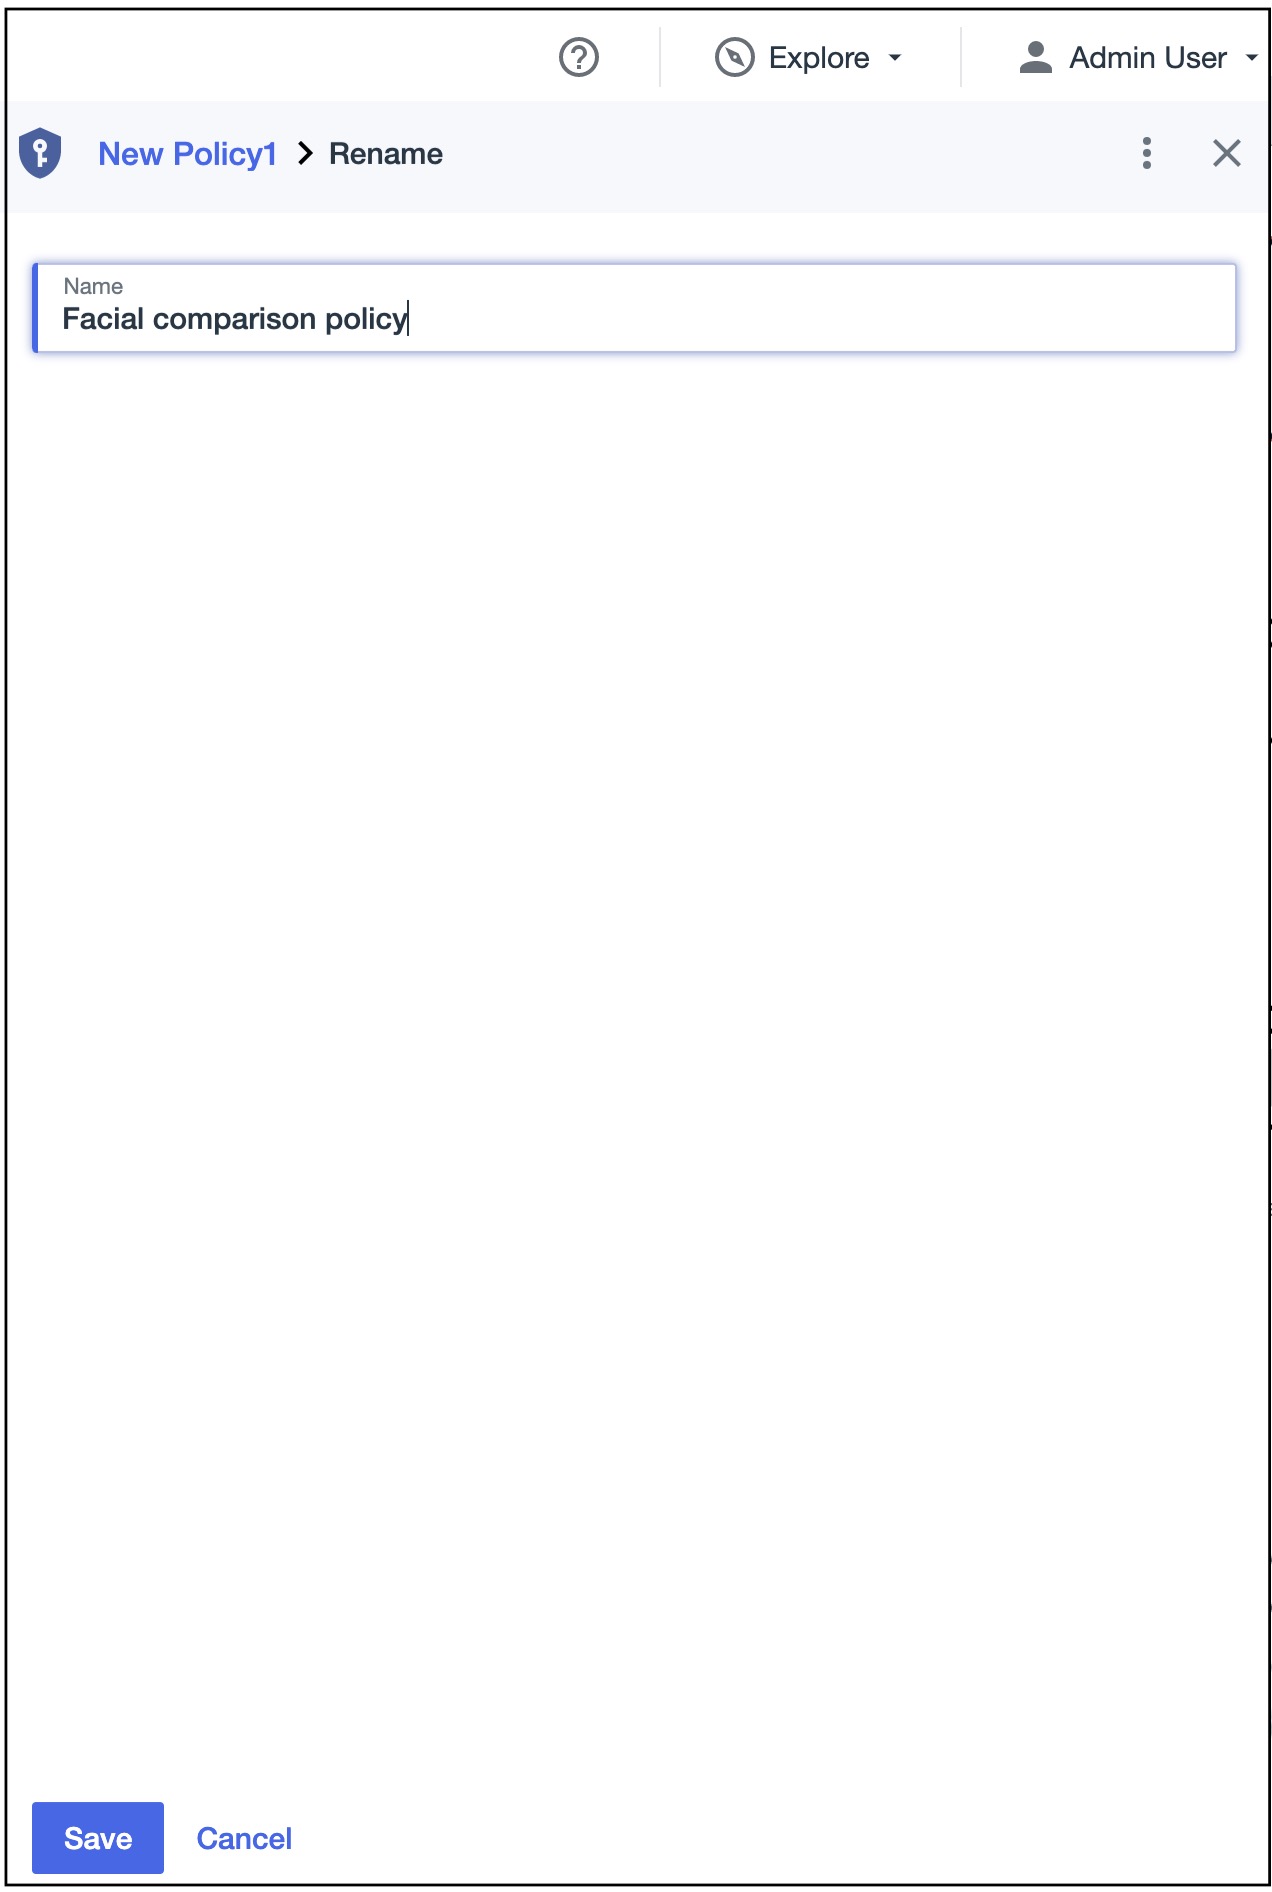
To rename a verify policy:
-
In the PingOne admin console, go to Identity Verification > Verify Policies.
-
Next to the policy you want to rename, click the More Options (⋮) icon, and then click Rename.
-
Enter a new Name.
-
Click Save.
-
-
To set the verify policy as the default:
-
In the PingOne admin console, go to Identity Verification > Verify Policies.
-
Next to the policy you want to set as the default, click the More Options (⋮) icon, and then click Make Default.
Result:
You see a message asking if you’re sure you want to select this as your default policy.
-
Click Save.
Result:
A Default icon is added next to your policy name on the Verify Policies page.
Default policies can’t be deleted. You must set a different policy as the default before you can delete a default policy.
-