Adding and testing a policy
Learn how to add and test a dynamic authorization policy that uses an attribute.
Adding a policy
Policies model business requirements into authorization logic. They’re built by business analysts who understand your application requirements and the regulations you’re complying with.
Let’s add a policy that will deny payments over 10,000 USD.
Steps
-
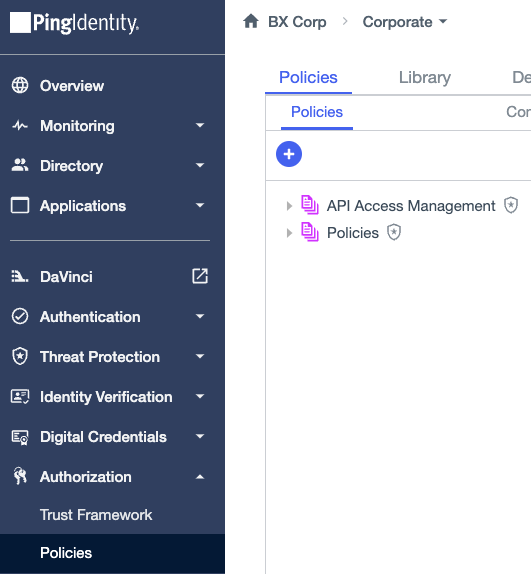
Go to Authorization > Policies.
On the Policies tab, you’ll see the default policy set called Policies. Policy sets are like folders that you can use to group and organize policies. You’re going to add your policy to the default policy set.
-
Select the root policy set Policies, then click the icon and select Add Policy.
-
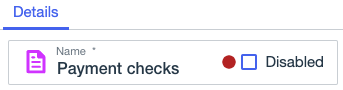
For the policy Name, enter
Payment checks.The red dot on the right indicates that there are unsaved changes in the policy.
Now you need a rule that defines the policy logic.
-
Click Add Rule.
To keep things simple, leave out the description for now. When you develop your own policies, you can enter a description to document the underlying business case for the rule or the specific business policy the rule is enforcing.
-
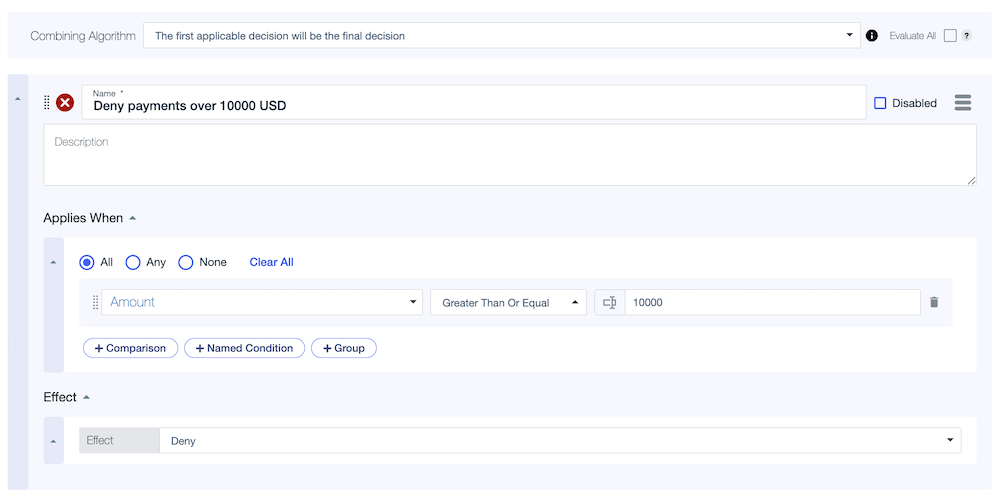
For the rule Name, enter
Deny payments over 10000 USD. -
Because you want to deny certain payments, select Deny for the Effect.
Let’s make a comparison to determine if the payment amount is over $10,000 USD.
-
Click the hamburger menu next to the Name field and select Add "Applies When".
-
In the Applies When section, click Comparison.
-
In Select an attribute, select Amount, which is the attribute that you added to the Trust Framework.
-
For the comparator, select Greater Than Or Equal.
-
For the constant value, enter
10000.Result:
Your rule looks like this:
-
-
Click Save changes.
Result:
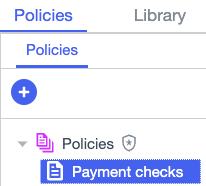
Your new policy is displayed in the default policy set.
Testing the policy
About this task
Next you’ll test your policy to make sure it does what you expect.
Steps
-
Go to Authorization > Policies, then select the Payment checks policy and click the Test tab.
-
In the Request section, in the Attributes list, select the Amount attribute and enter
10900as the attribute value.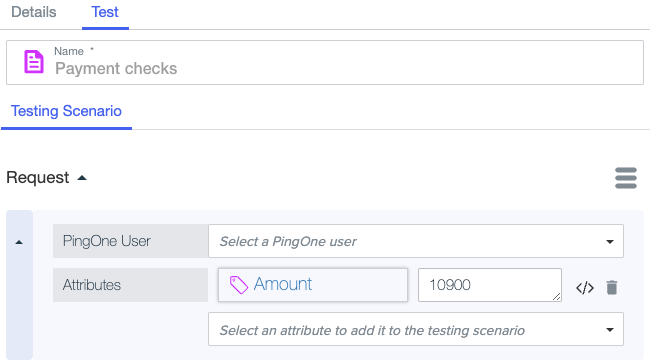
-
Click Execute.
Result:
The Visualization tab shows a deny result, as you’d expect, because the amount is over 10000. The policy is working.

Now let’s test a value less than 10,000 to see if the policy handles it.
-
Click the Testing Scenario tab, enter
9900as the attribute value, and click Execute.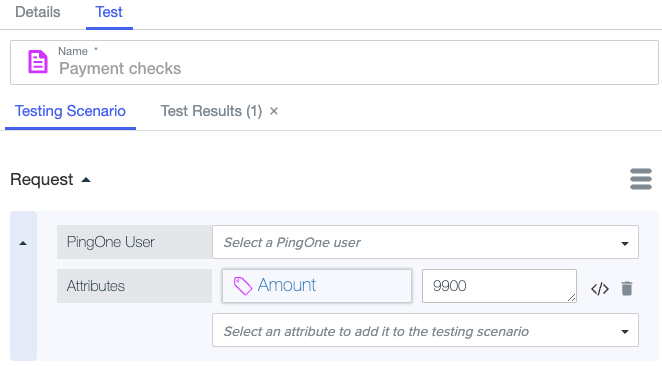
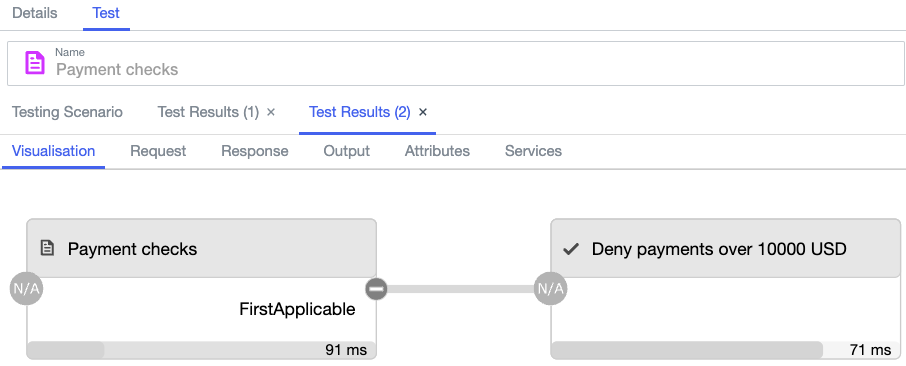
Result:
A second Test Results tab is displayed that shows a result that’s not applicable. Your rule only applies to amounts greater than or equal to 10000, so right now the rule doesn’t apply to amounts less than 10000. This neutral decision indicates that the policy doesn’t apply in this situation.
You have more work to do with your policy to account for amounts less than $10,000 USD.
Next steps
You used the amount attribute to build a basic policy with a rule that denies payments over $10,000 USD. Then you tested your policy and found that it doesn’t account for payments less than $10,000 USD.
Let’s update and retest the policy.