Creating a credential
Define the information that you want to collect from your customer and customize the look and feel of your credential.
About this task
-
Customize a credential: Add a background, icon, and customize fonts and colors to create a credential with the branding that your customers know and trust.
-
Customize data collection: Add directory attributes, date of issuance, or create alphanumeric text fields to capture more specific customer data. Specify which details appear on the credential and which details are collected as metadata only.
Before you begin
-
Add PingOne Credentials to your environment.
-
(Optional) Add PingID to your environment to add PingID as a digital wallet.
You can add PingOne Credentials or PingID with a Workforce solution or build your own solution. Learn more in Adding a new environment and Building solutions.
-
(Optional) Create a native application to have an existing digital wallet to add to the credential. You can also wait to add a digital wallet during configuration.
Steps
-
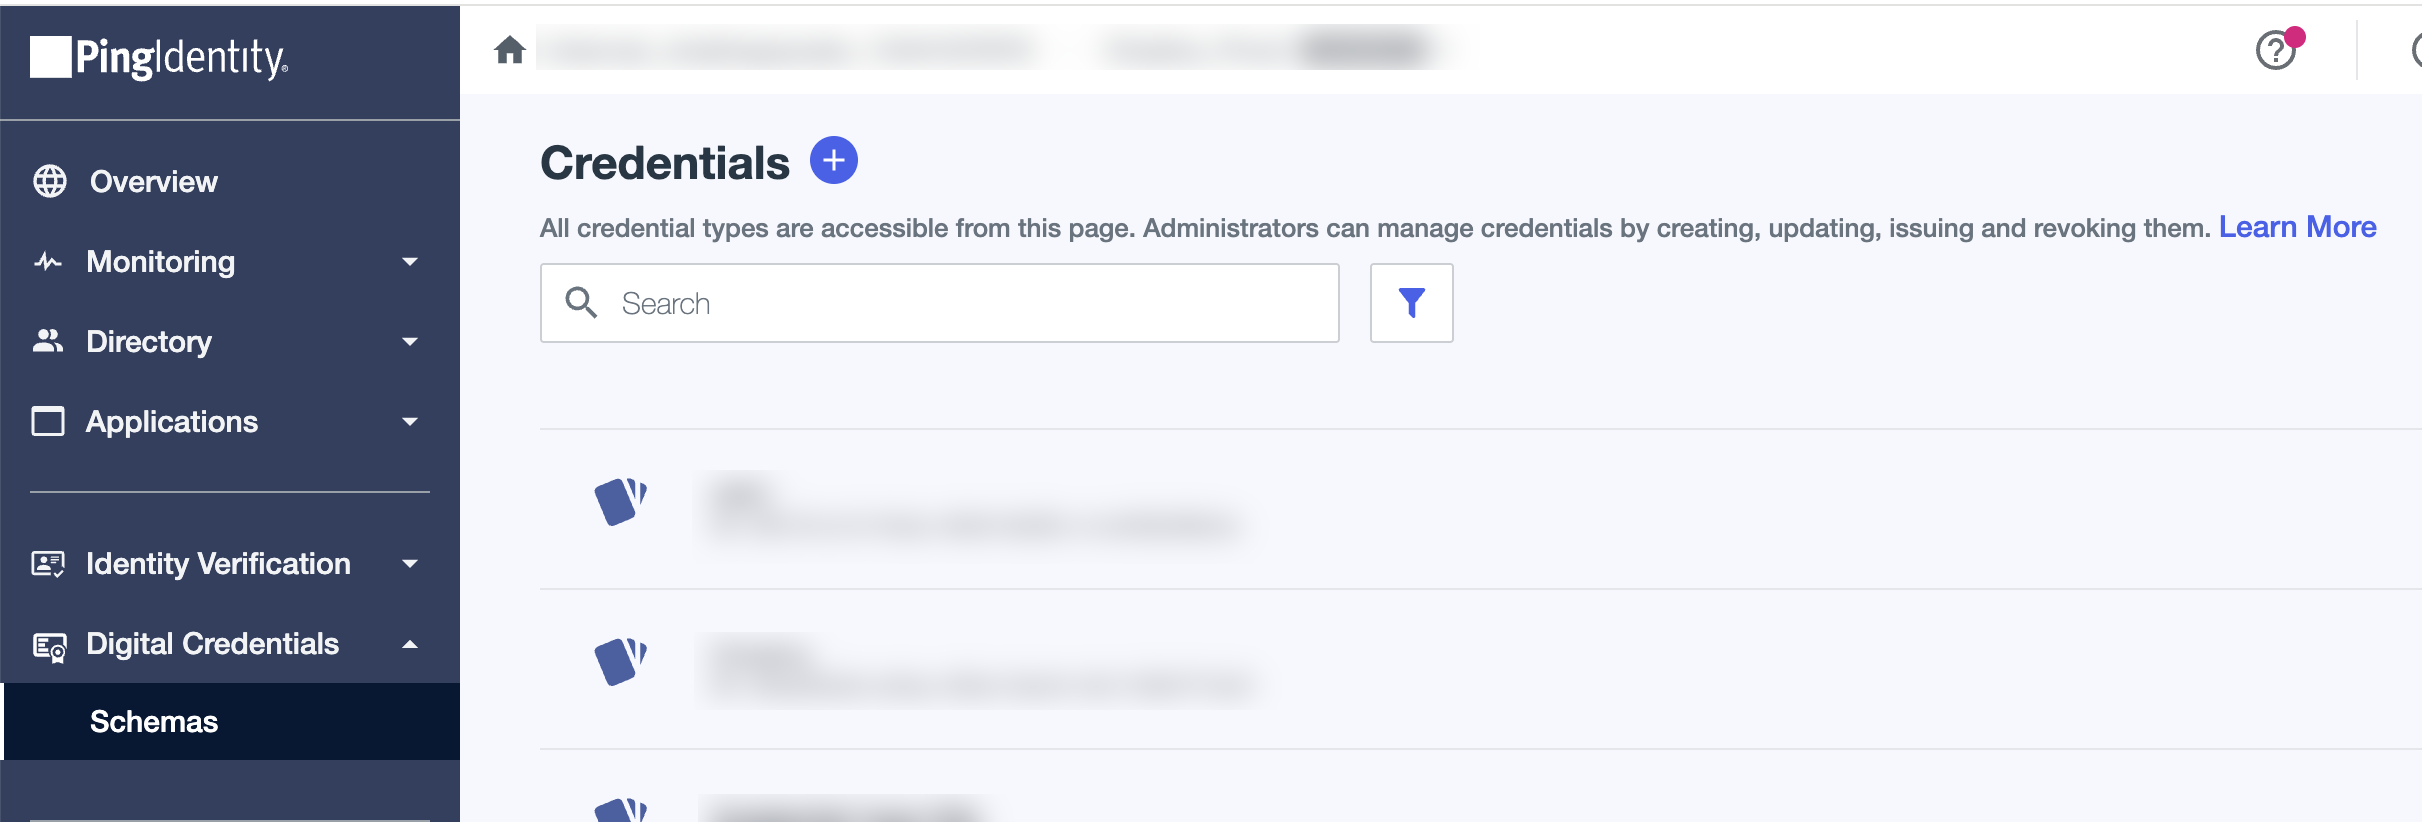
In the PingOne admin console, go to Digital Credentials > Schemas.
Result:
The Credentials page opens, showing a list of existing credentials.
-
Click the icon.
The Add Credential panel opens.
-
For Overview:
-
Enter a Credential Type to identify the type of credential required for verification.
This value doesn’t appear on the credential.
-
Enter a user-friendly Credential Name to display on the credential.
-
-
In the Fields section, configure the data to store in the credential:
-
In the Data Type list, select an attribute.
-
In the Field Title, enter a field title to display on your credential.
-
To add a field, click Add Field.
-
To make a field required, select the checkbox.
Only required fields appear on the card SVG.
-
To remove a field, click the Delete icon ().
-
-
In the Issuance Rules section, choose how often credentials are issued, updated, and revoked:
-
Click Automatic to automatically update credentials every 2 minutes in response to PingOne directory changes.
-
Click Manual to manually update credentials through API calls for immediate changes.
-
-
Click Next.
-
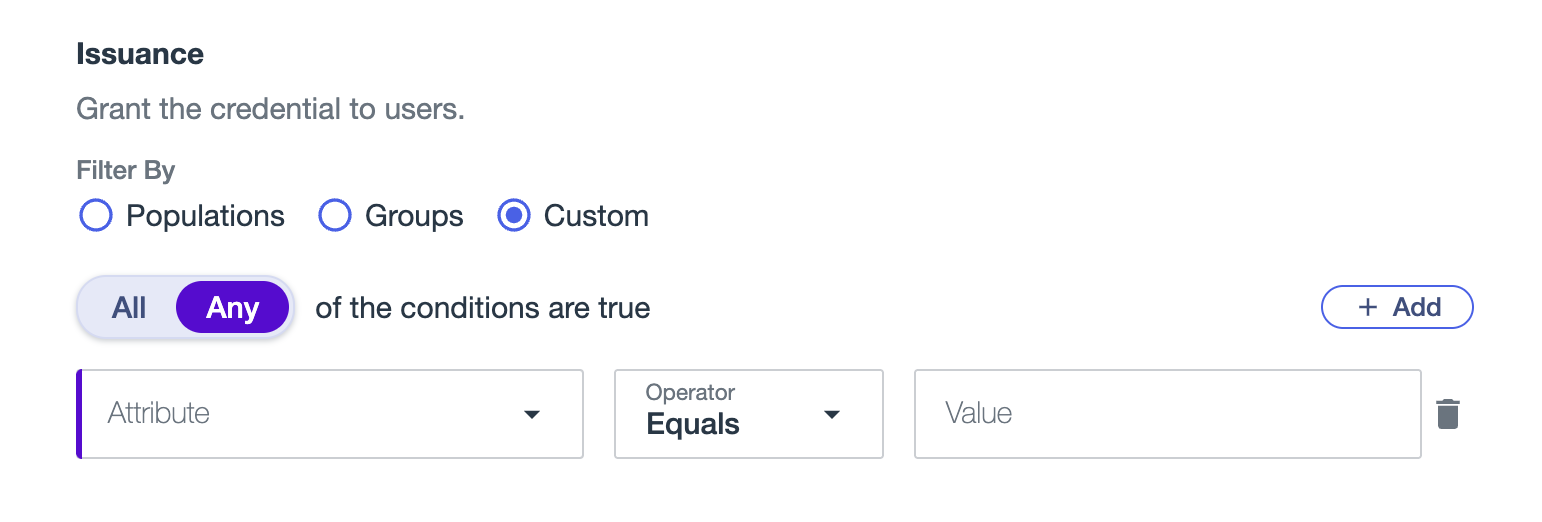
For Issuance, grant the credential to users:
Choose from:
-
Select Populations to choose a population that you want to issue credentials to.
-
Select Groups to choose a group that you want to issue credentials to.
If you select multiple groups or populations, a user has to be a member of at least one of those selected to be issued a credential.
-
Select Custom to create a filter that identifies a certain category of users to automatically issue credentials based on attributes from the PingOne Directory.
-
Enter the first condition:
-
Attribute: Select an attribute.
-
Operator: Select Equals, Starts with, Ends with, or Contains.
-
Value: Enter the appropriate value.
-
-
(Optional) Click + Add, and then click Condition to add another condition or Condition Set to add a set of conditions.
-
Select All or Any to determine how the linked conditions will be evaluated.
-
To delete a condition, click .
-
-
-
Click Next.
-
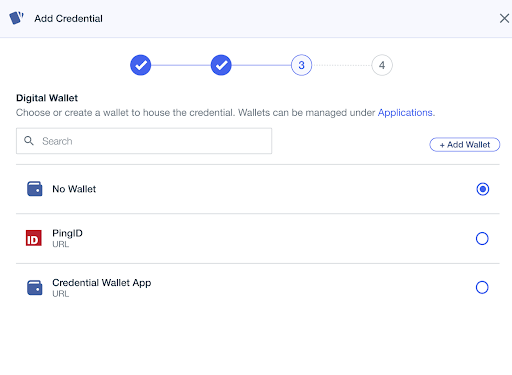
For Digital Wallet, browse or search for the application you want to use.
You can only select one wallet.
To manage existing digital wallets, edit your native applications on the Applications page.
-
To add a PingID digital wallet, browse or search for the PingID wallet you want to use.
-
To add a new wallet, click Add Wallet and configure the following:
-
Wallet Name: Name of the digital wallet.
-
Operating System: Select IOS, Android, or both, and configure the following:
Operating system Configuration IOS
Bundle ID: A unique identifier assigned to an iOS app, essential for configuring app-specific notifications and services.
Android
-
Google Play Services: JSON key files generated in the Google Cloud Console that contain authentication details for a service account.
-
Package Name: A unique identifier for an Android app, structured like a reversed domain name ( com.example.app) required for configuring push notifications using Firebase Cloud Messaging (FCM).
-
-
Huwei Mobile Services: An alternative mobile services platform to Google Play Services, used for devices running on Huawei’s ecosystem.
-
Package Name (Android): A unique identifier for an Android app, structured like a reversed domain name (com.example.app) required for configuring push notifications using Firebase Cloud Messaging (FCM).
-
App ID: The unique identifier for the app on the device and in the Huwei Mobile AppGallery.
-
-
-
-
Digital Wallet Link: The mobile app URL for the wallet. Allows users to access their wallet from another app, such as through a browser or email, by clicking a URL link or scanning a QR Code.
-
To clear the selected wallet, click another wallet of your choice or click No Selection.
-
-
Click Next.
-
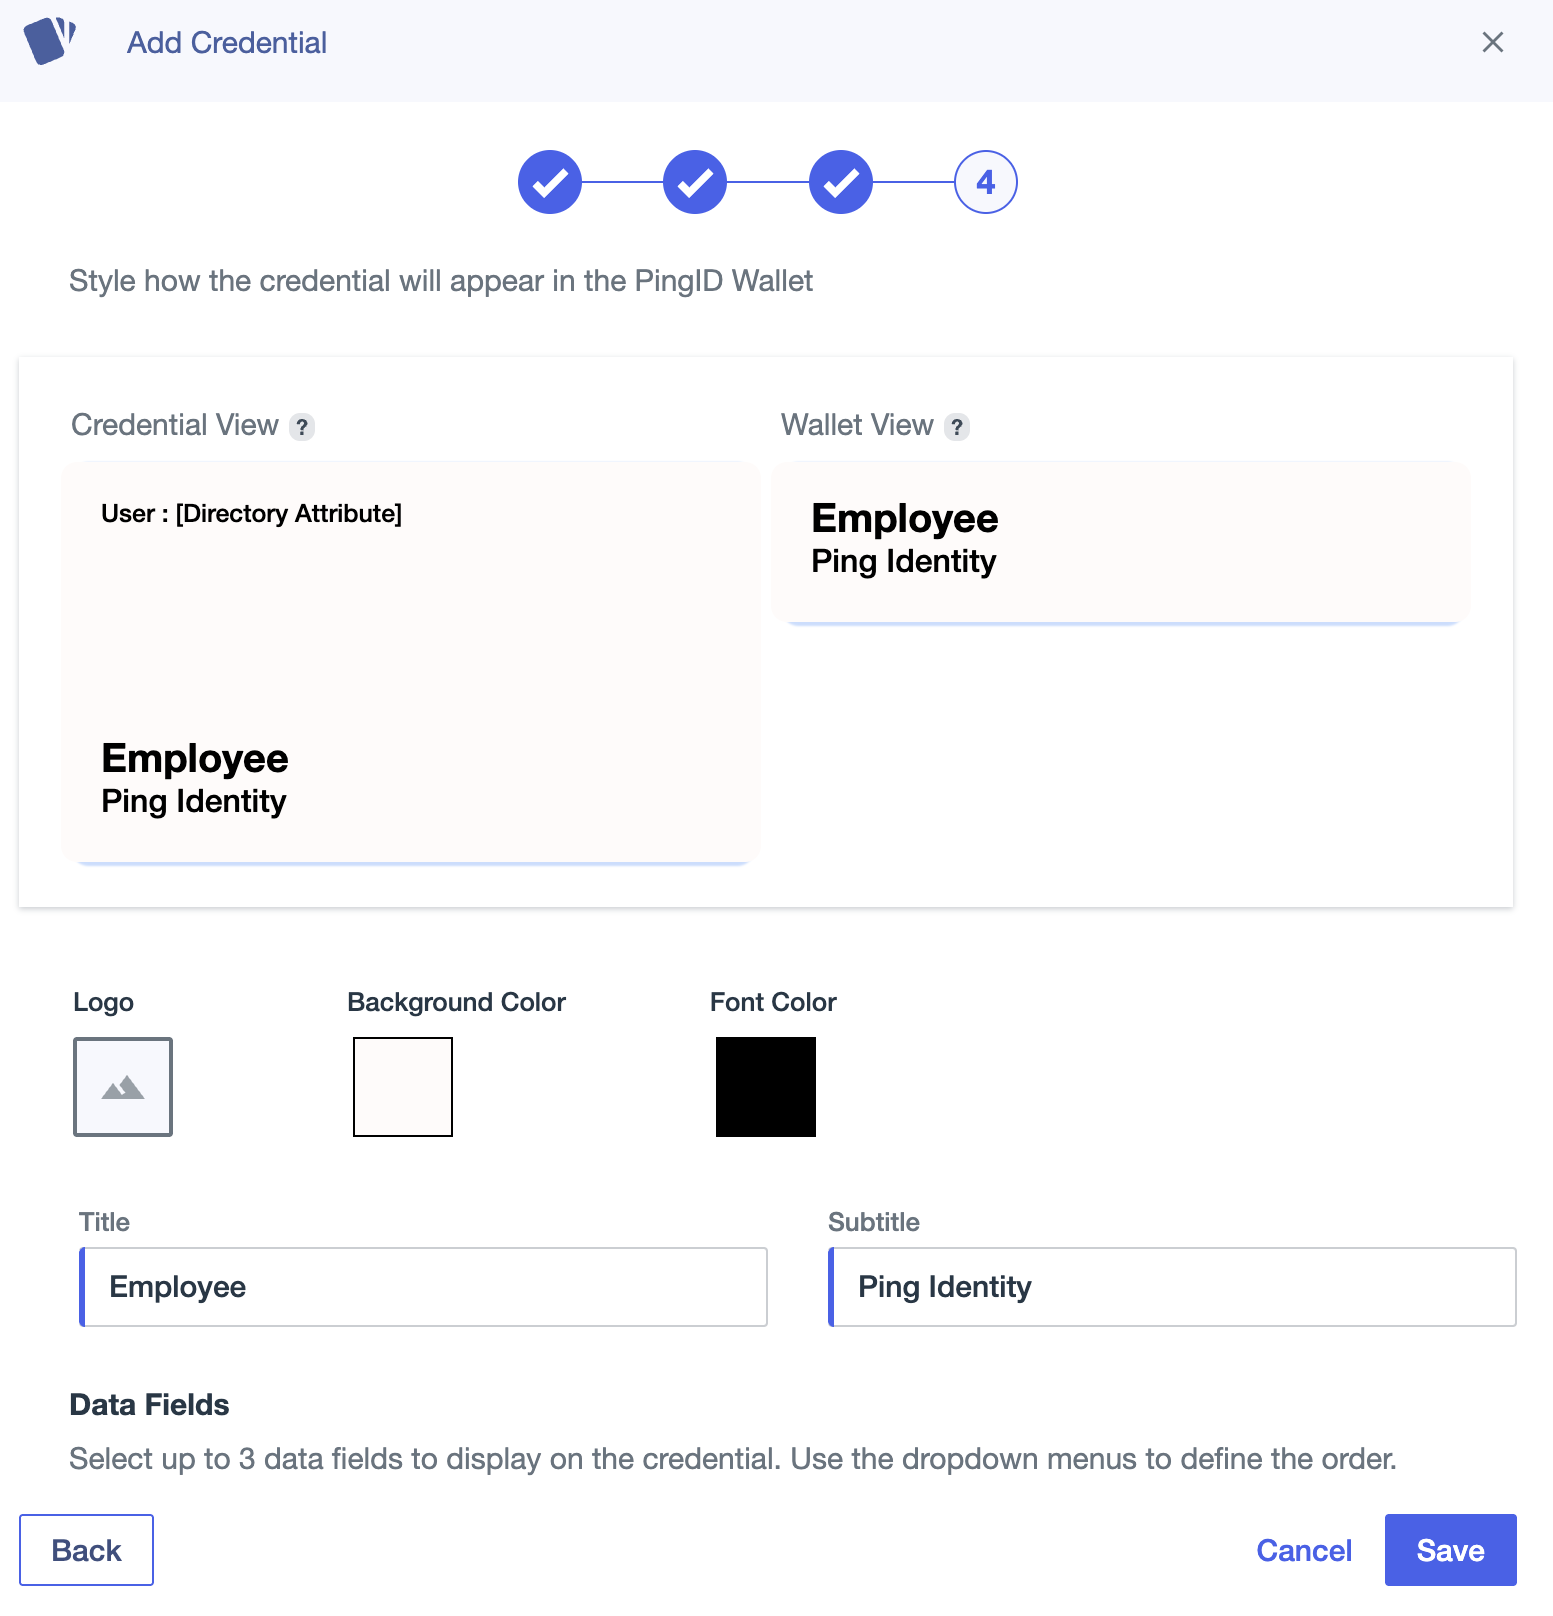
(Optional) For Style Credential, style how the credential will appear in the PingID wallet:
As you set configurations, the Credential View and Wallet View update in real time.
-
To add a logo, click the image under Logo and select the image file that you want to use.
Logo images must be smaller than 25 KB.
-
To delete a logo, hover over the logo image, click the Camera icon (), and click Remove Image or Upload New Image.
-
Select the Background Color and Font Color of your credential using the color picker or by entering an RGB value.
-
Enter a display name to add a Title and Subtitle.
-
Select up to three Data Fields to display on the credential.
-
To change the order in which the credential attributes are displayed, select a different data field.
-
To display a data field, click Show label.
-
-
-
Click Save.
-
To enable the credential, click the toggle on the Credentials page to the right (blue).