Configuring single sign-on in Contentful
Complete the connection by entering your PingFederate URL and certificate in Contentful.
Steps
-
On the Contentful admin console, go to Organization settings > Single Sign-On (SSO).
-
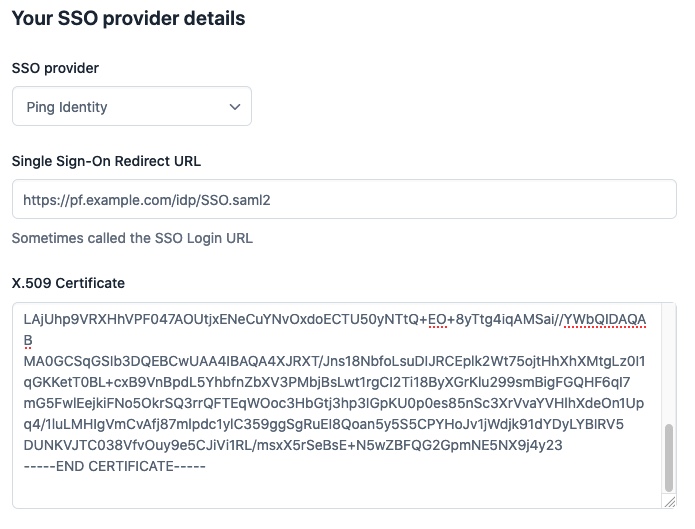
In the SSO provider list, select Ping Identity.
-
In the Single Sign-On Redirect URL field, enter
https://pf_host:pf_port/idp/SSO.saml2.For example, https://pf.example.com:9031/idp/SSO.saml2.
-
Using a text editor, copy the contents of the
.crtfile that you downloaded in Exporting your PingFederate signing certificate. -
In the X.509 Certificate field, paste the contents of the certificate file.

-
Click Test connection.
-
In the SSO name field, type a friendly name for the connection.
-
Check your settings. After enabling SSO in the next step, the only way to change your SSO settings is to contact Contentful.
-
Click Enable SSO.
-
Optional: If you want SSO to be the only sign-on method, contact Contentful and ask for Restricted SSO. This prevents users from signing on using email or third-party services, such as GitHub, Google, or Twitter.