Adding Jamf security posture results to your authentication policy
By modifying your PingFederate authentication policy to include the isManaged or isMDMCapable results from Jamf Pro, you can control access to resources dynamically based on the device’s security posture.
These steps are intended to help you add to an existing authentication policy. You can find general information about configuring authentication policies in Defining authentication policies in the PingFederate documentation.
Steps
-
In the PingFederate admin console, go to Authentication > Policies > Policies.
-
Select the IdP Authentication Policies checkbox.
-
Open an existing authentication policy.
-
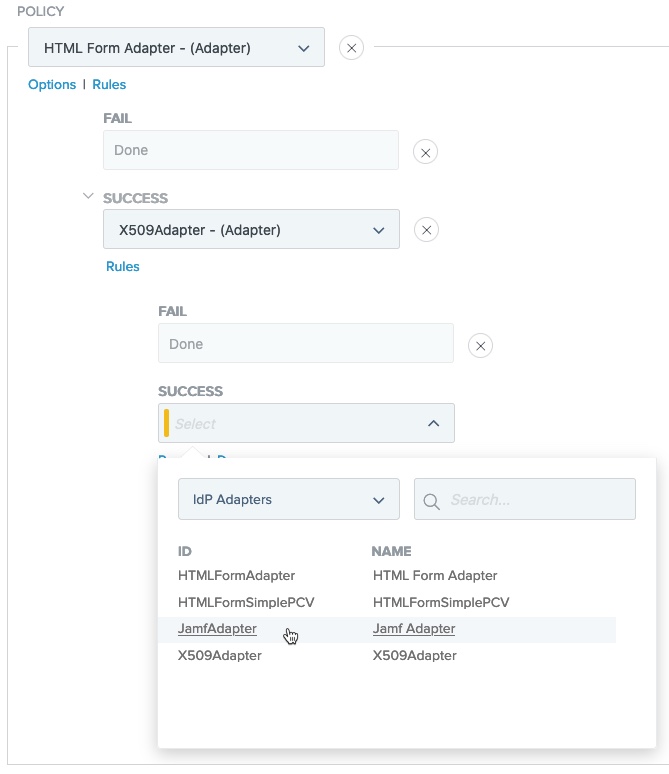
In the Policy area, in the Select list, select a Jamf IdP Adapter instance.
-
Map the attribute that contains the device identifier (shown here as SerialNumber) from your X.509 Certificate IdP Adapter instance into the Jamf IdP Adapter instance.
-
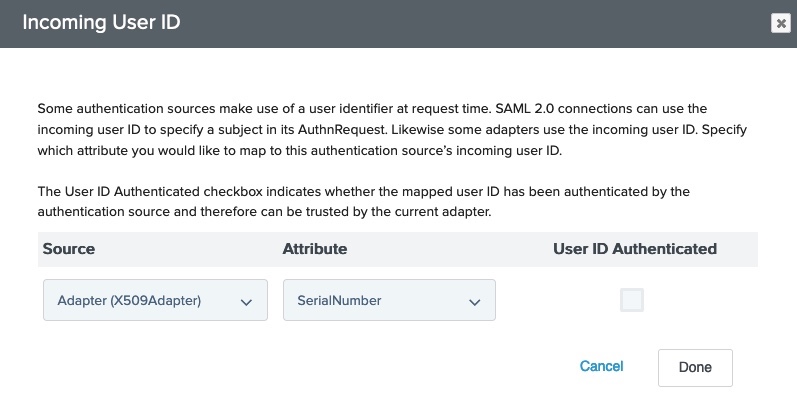
Under the Jamf IdP Adapter instance, click Options.
-
On the Options modal, in the Source list, select your X.509 Certificate IdP Adapter instance.
-
In the Attribute list, select an attribute that matches the Device Identifier you selected in your adapter configuration. Click Done.
-
-
Define policy paths based on the security posture attribute
isCompliant.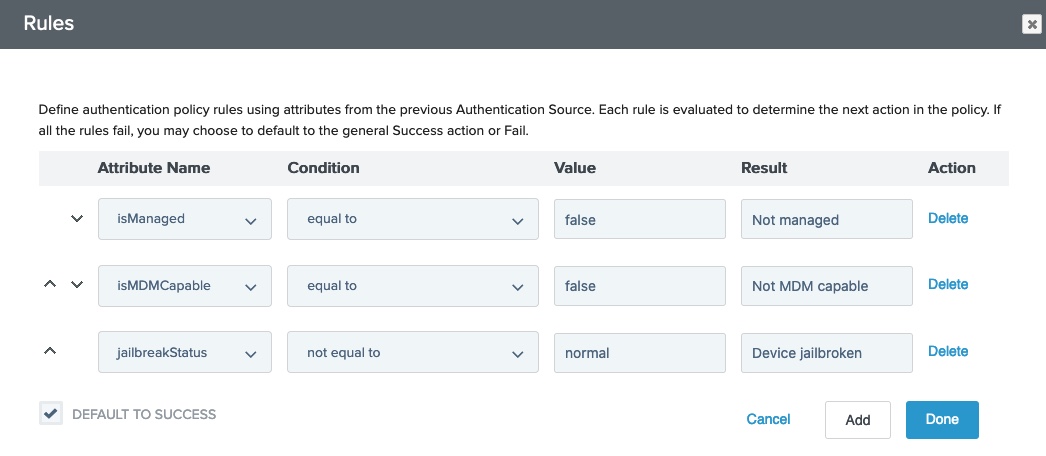
-
Under the Jamf IdP Adapter instance, click Rules.
-
On the Rules modal, in the Attribute Name list, select
isCompliant. -
In the Condition list, select equal to.
-
In the Value field, enter
trueorfalse. -
In the Result field, enter a name.
This appears as a new policy path that branches from the authentication source.
-
(Optional) Repeat steps a - e for
isMDMCapableor any attributes that you mapped in the Jamf API Attribute Mappings table in the adapter configuration. -
(Optional) Clear the Default to success checkbox to ensure the authentication flow follows one of the paths you defined.
-
Click Done.
-
-
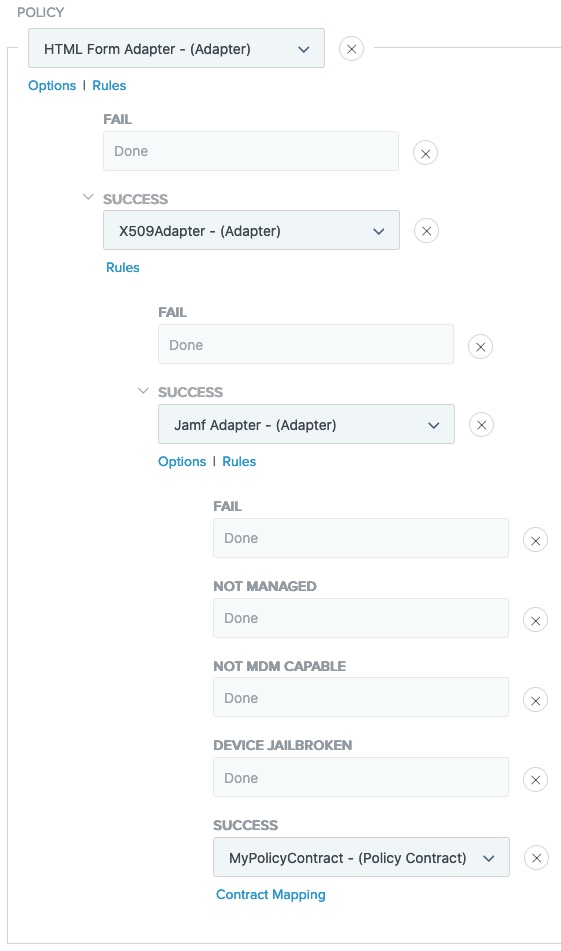
Configure each of the authentication paths.
-
Click Done.
-
In the Policies window, click Save.