Configure PingFederate for SSO
About this task
The following section describes the steps for configuring single sign-on (SSO) to Egnyte. Configuring SAML SSO involves configuring both the PingFederate SP connection and Egnyte SSO screens. NOTE: Configuring SSO is optional for outbound provisioning.
Steps
-
Create a new SP connection or select an existing SP connection from the SP Configuration menu.
-
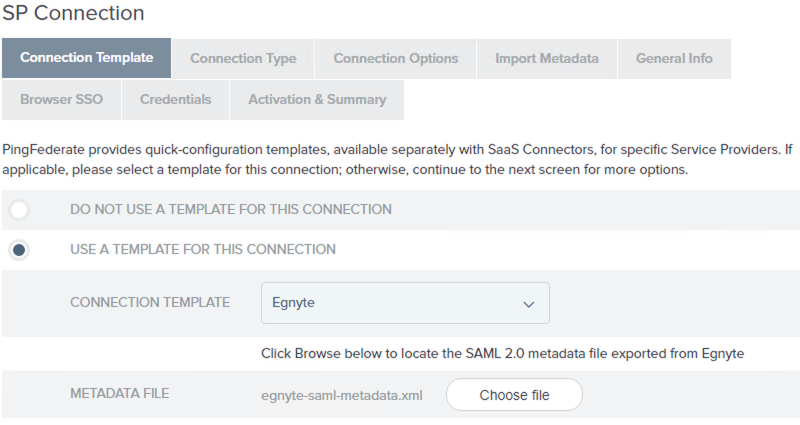
On the Connection Template screen, select Use a template for this connection and choose Egnyte from the Connection Template drop-down list. When asked during the connection configuration steps, import the
egnyte-saml-metadata.xmlyou prepared earlier in Obtain Egnyte SAML 2.0 metadata.
If this selection is not available, verify the connector installation and restart PingFederate.
-
On the Connection Type screen, ensure the Outbound Provisioning check box is selected, and the Browser SSO Profiles check box is cleared (if appropriate).
-
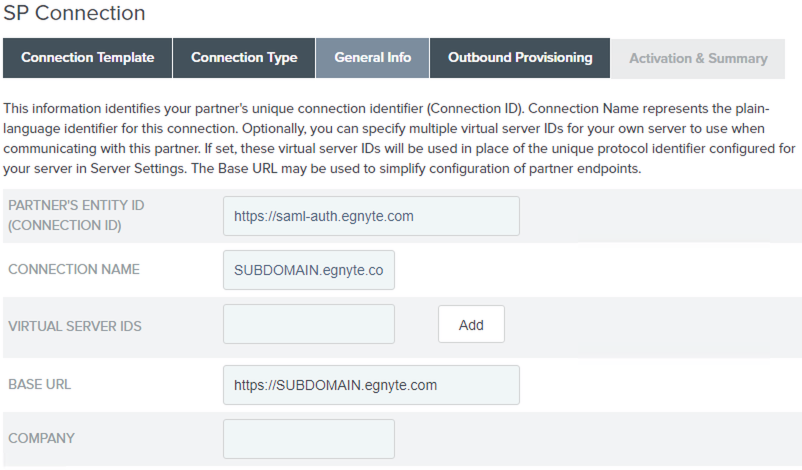
On the General Info screen, the default values are taken from the metadata file you selected in step 2.

-
Click Next to continue the Browser SSO configuration. For more information, see the following sections under Identity provider SSO configuration:
-
The SAML_SUBJECT configured on the IdP Adapter Mapping > Attribute Contract Fulfillment screen must match the Default user mapping configured in Egnyte. For more information, see Configure Egnyte for SSO.
-
On the Protocol Settings > Allowable SAML Bindings screen, ensure that both POST and Redirect are selected.
-
On the Credentials > Digital Signature Settings screen, select the signing certificate.
-
On the Activation & Summary screen, set Connection Status to Active, then click Save.
If you are not ready to complete the SSO configuration, you can click Save and return to the configuration page later. To return to the configuration page, select the connection from Identity Provider > SP Connections > Manage All.