Creating a group
Use the Groups page to create groups. You can create static and dynamic groups. Learn more in Static and dynamic groups.
|
You must have the Identity Data Admin role or a custom role with equivalent permissions to create or edit groups. |
Steps
-
In the PingOne admin console, go to Directory > Groups.
-
Click the icon.
-
Enter the following:
-
Group Name: A name for the group. The name must be unique within the environment for environment groups, and unique within a population for population groups.
-
Description (optional): A brief description of the group.
-
Population (optional): The population in which the group will be created. Users with the Environment Admin role can create groups at the environment level, but users with the Identity Admin role must assign a group to a population for which they are an Identity Admin. If you select a population, the group can contain users from that population only.
-
Metadata Properties (optional): Custom metadata properties associated with the group, represented as key-value pairs for administrative purposes.
To add properties, click Add and do either of the following:
-
Enter a Name and Value in the corresponding fields.
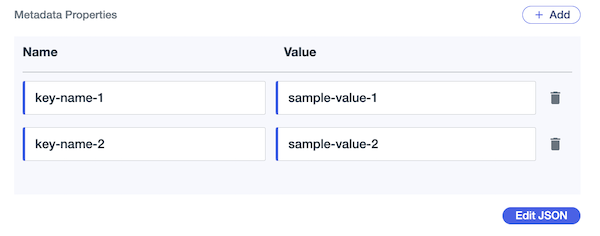
-
To add complex properties that include JSON object values or to directly write properties as JSON, click Edit JSON and add the key-value data in the editor.
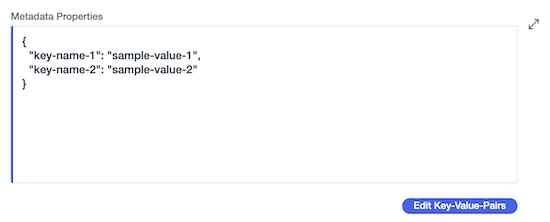
-
To switch back to the field view, click Edit Key-Value-Pairs.
-
You can’t add metadata properties to the built-in system applications in PingOne, such as the PingOne Admin Console, PingOne Application Portal, and PingOne Self-Service - MyAccount applications.
-
To define more than 10 custom properties, you must use the JSON editor.
-
If you define fewer than 10 properties in the JSON editor, the Overview tab displays them in the Name and Value columns. Otherwise, they’re displayed as JSON.
-
If you include a JSON object for any property value in the JSON editor, the Overview tab displays the properties as JSON.
-
-
-
-
Click Save.