Defining your MCP server in PingOne Authorize
Define a managed Model Context Protocol (MCP) server so that PingOne Authorize can work with your MCP gateway to enforce access control.
An MCP server allows PingOne Authorize to recognize requests for the server and instruct your MCP gateway to block access for unauthorized clients and allow it for authorized clients.
An MCP server definition specifies:
-
Pointers to the MCP server you want to protect.
-
Whether access tokens for the MCP server are issued by PingOne SSO or an external token source.
-
The PingOne resource associated with the MCP server (this is specified only when PingOne SSO is the token source).
-
The URL of the protected resource metadata (PRM) document that describes your MCP server’s authorization requirements to the client.
|
You can define up to 100 API services and MCP servers combined in each environment. |
You must deploy the MCP server after you make configuration changes, such as updating settings or updating custom policies.
Before you begin
-
If you’re using an external token source, add an external OAuth server to allow PingOne Authorize to validate access tokens from this issuer.
-
Host a PRM document for the MCP server. PingOne Authorize doesn’t generate the PRM document. You can host it on your MCP gateway or on any endpoint that your MCP clients can reach.
Steps
-
In the PingOne admin console, go to Authorization > API Services.
-
Click the Plus icon () next to MCP Servers to add an MCP server.
-
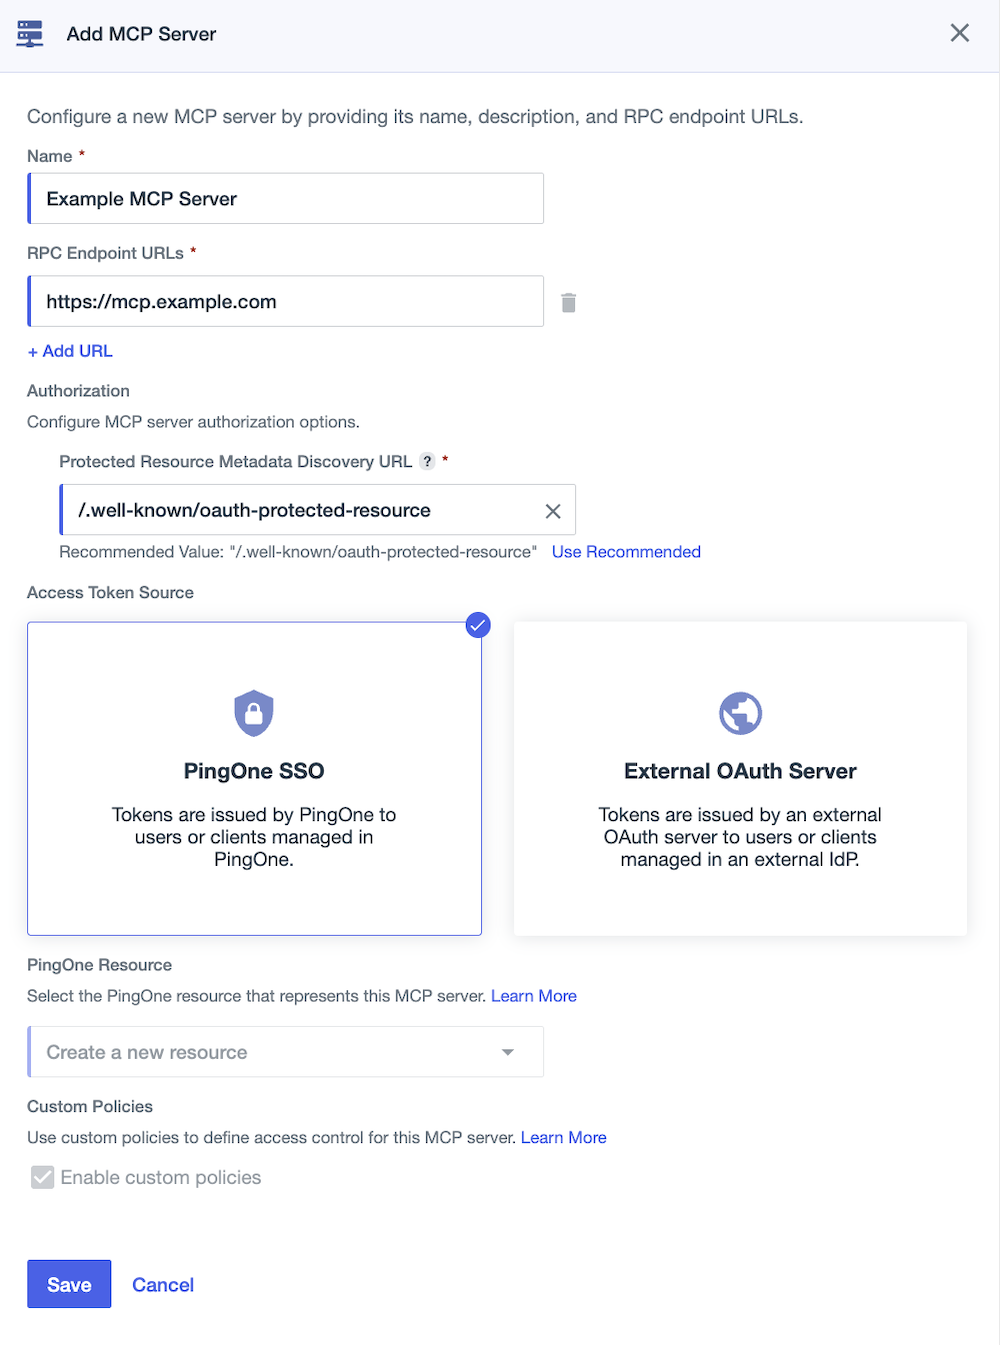
For the Name, enter a unique name that identifies the MCP server.
The name must be unique across all API services, MCP servers, and resources.
-
Enter one or more RPC Endpoint URLs for the MCP server that you want to protect.
You can enter multiple URLs to support aliases for the same MCP server. URLs must be valid and unique within the environment.
Unlike API services, MCP server URLs are complete endpoint URLs, not base URLs. PingOne Authorize matches requests to the MCP server by the full URL, including the path.
RPC endpoint URLs must:
-
Use the http or https scheme.
-
Not end with a trailing slash, if the path isn’t empty.
-
Not include a query or a fragment.
-
Not exceed 256 characters.
-
Not be assigned to any other API service or MCP server in the environment.
-
-
For the Protected Resource Metadata Discovery URL, enter the URL of the PRM document that describes your MCP server’s authorization requirements to the client.
PingOne Authorize includes the PRM URL in authentication challenge responses. Use an absolute URL only if the MCP server has exactly one RPC Endpoint URL. Otherwise, use a relative URL so that each origin can serve a valid PRM document.
We recommend hosting the PRM document using the default well-known URI from RFC 9728,
/.well-known/oauth-protected-resource. This supports MCP clients attempting to discover the PRM document preemptively without a challenge response.Learn more in Protected Resource Metadata.
-
Select a token source:
Choose from:
-
PingOne SSO (default): PingOne manages user directory services and access token validation for the MCP server.
-
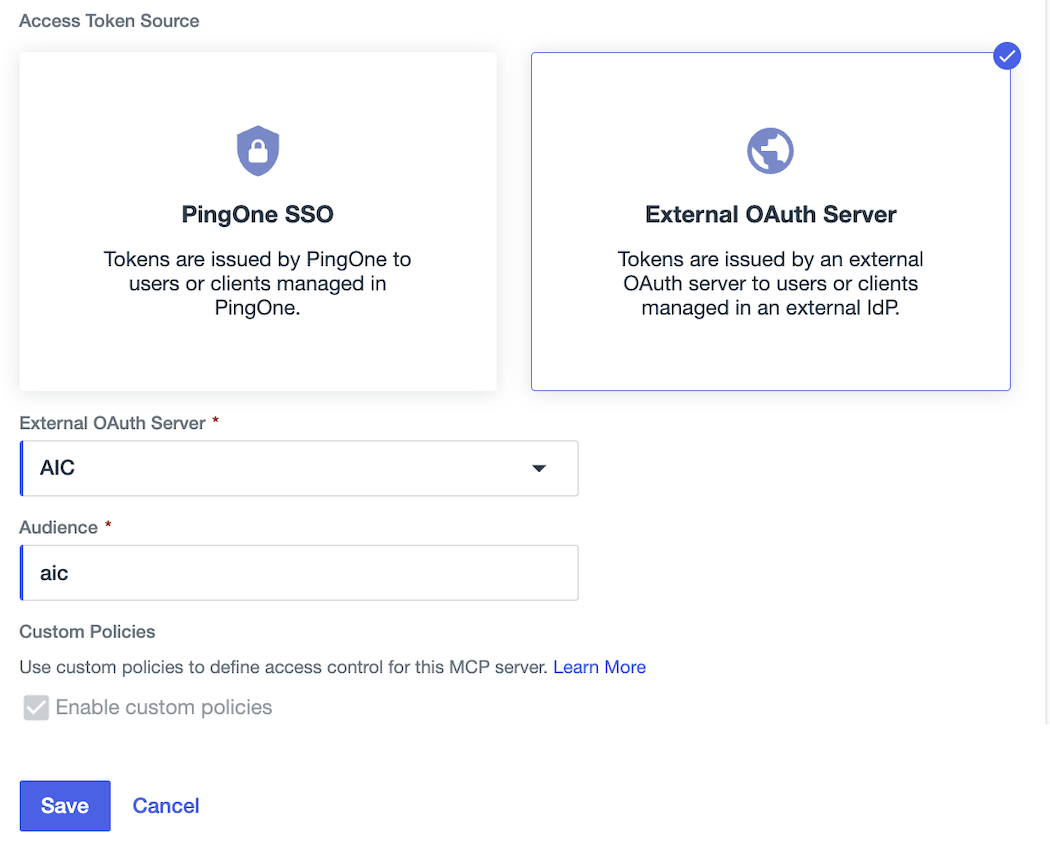
External OAuth Server: PingOne Authorize validates tokens issued by the external OAuth server.
After you save the MCP server, you can’t change whether the token source is PingOne SSO or an external OAuth server. If you need to change the token source, you must delete and re-create the MCP server.
-
-
If you selected PingOne SSO as the token source, select a PingOne Resource in the list, or keep the default option to Create a new resource.
This resource is managed by the MCP server, and you can’t delete the resource while it’s associated with an MCP server. Resources created automatically will have the same name as the MCP server.
-
If you selected External OAuth Server as the token source, do the following.
-
Select the External OAuth Server that issues access tokens for the protected MCP server.
Learn more in External OAuth servers in PingOne Authorize.
-
Enter the token Audience.
-
-
Click Save.
-
Click Deploy.
-
If PingOne SSO is the token source, add a scope to the MCP server’s resource.
The scope defines which resources an MCP client can access. An application requests a scope for the resource associated with the MCP server in order to set the audience for the access token.
-
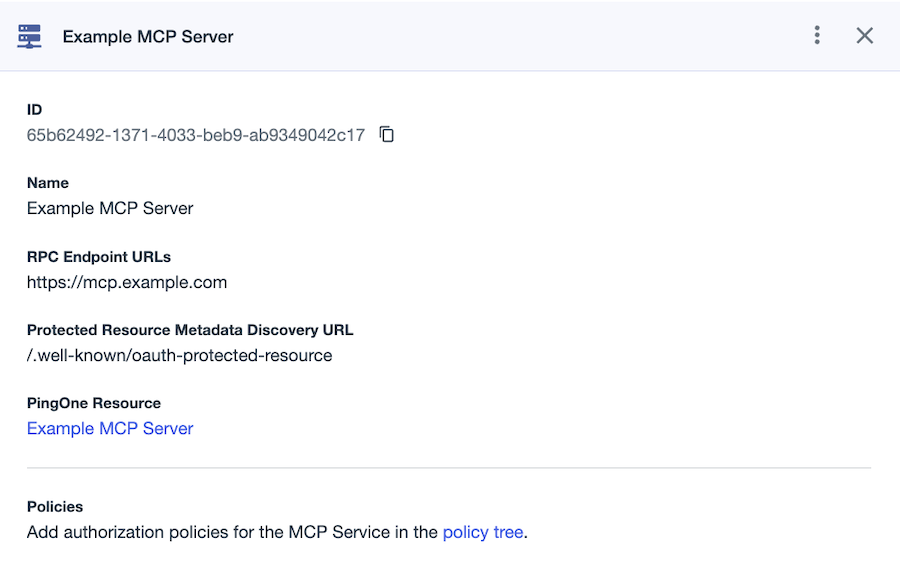
Under PingOne Resource, click the resource link.
-
In Applications > Resources, click the Scopes tab, and then click Add Scope.
-
In the Scope Name field, enter a name for the scope.
For consistency, use a lowercase version of the MCP server name and replace spaces with hyphens.
-
(Optional) Enter a Description for the scope.
-
Click Save.
-
Go to Authorization > MCP Servers, select the MCP server, and then click Deploy.
-
Result
PingOne Authorize is now configured to recognize the MCP server.
Next steps
-
If PingOne SSO is the token source for the MCP server, add an AI agent that’s allowed to access the protected MCP server. To allow access, grant the agent the same scope that you configured for the MCP server. Learn more in editing an AI agent.
-
For more complex access control scenarios, add custom policies for the MCP server.